

[GM] Razgrom
-
Posts
366 -
Joined
-
Last visited
-
Days Won
27
Content Type
Profiles
Forums
Articles
Blogs
Calendar
Posts posted by [GM] Razgrom
-
-
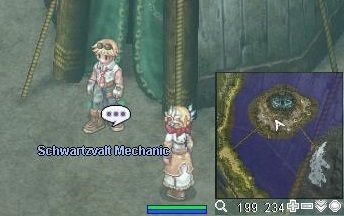
1. Speak to Schwartzvalt Mechanic outside the Alliance Headquarters of Rune Midgard Allied Forces Post.
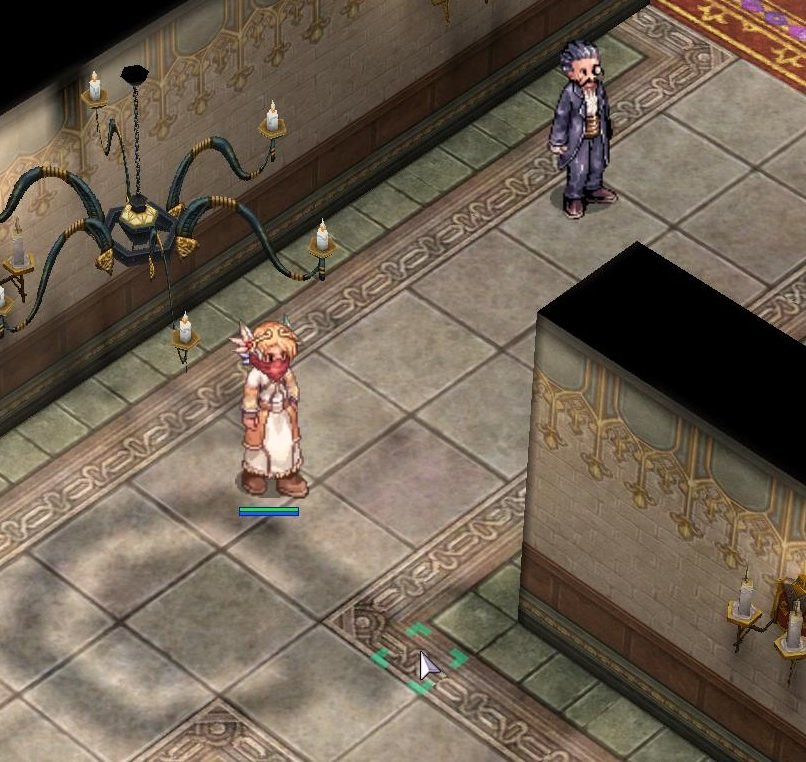
2. Inside, up the stairs, find the Arunafeltz Linguist in the room to the far right.
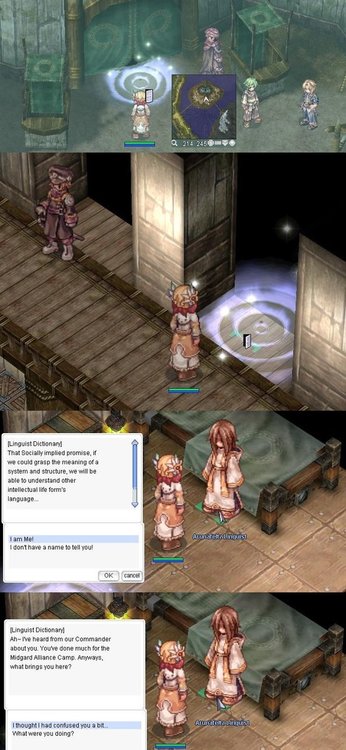
3. Now you need to enter everything that asks for the Arunafeltz Linguist
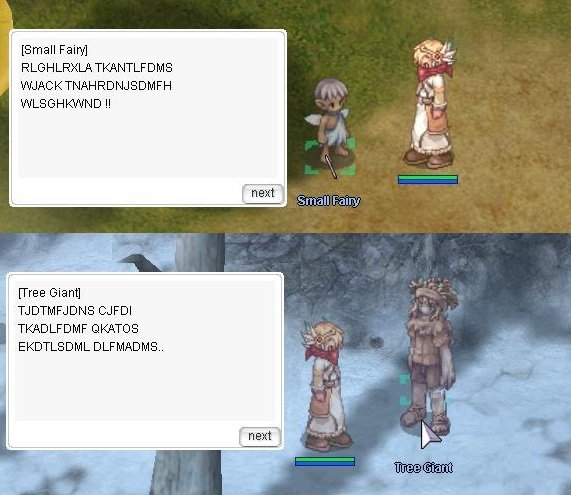
1. Fairies:
- RLGHLRXLA TKANTLFDMS
- WJACK TNAHRDNJSDMFH
- WLSGHKWND !!
2. Wooden Giants:
- TJDTMFJDNS CJFDI
- TKADLFDMF QKATOS
- EKDTLSDML DLFMADMS..
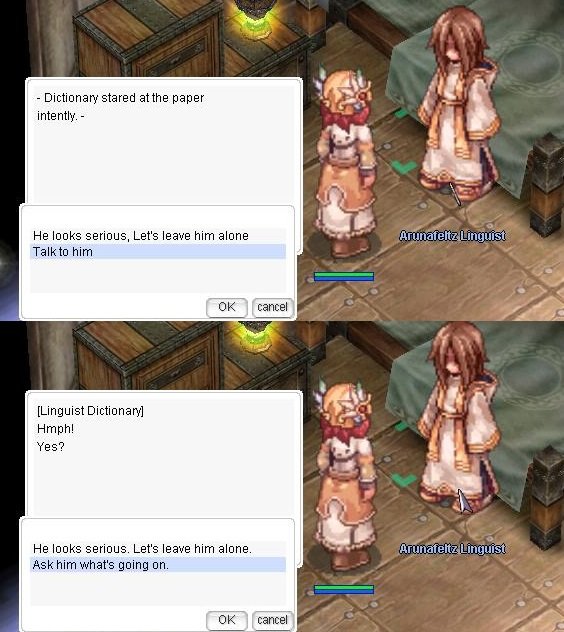
5. Talk to Arunafeltz Linguist again. He will tell you that he isn't able to make any sense of the languages and refers you to the Rune Midgart's Magician.
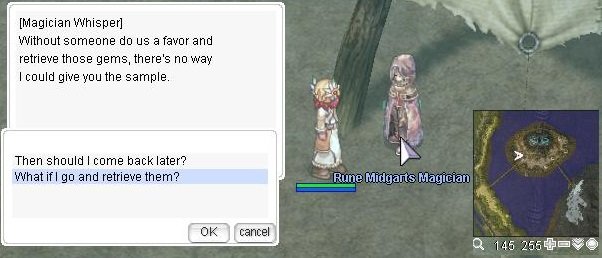
6. The Rune Midgart's Magician , located in the west portion of the allied camp, says he needs to hear the languages being pronounced.
He had some assassins bury gems near the villages to record the spoken languages. He would like you to go retrieve the gems.
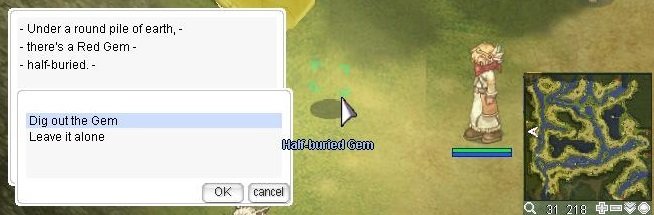
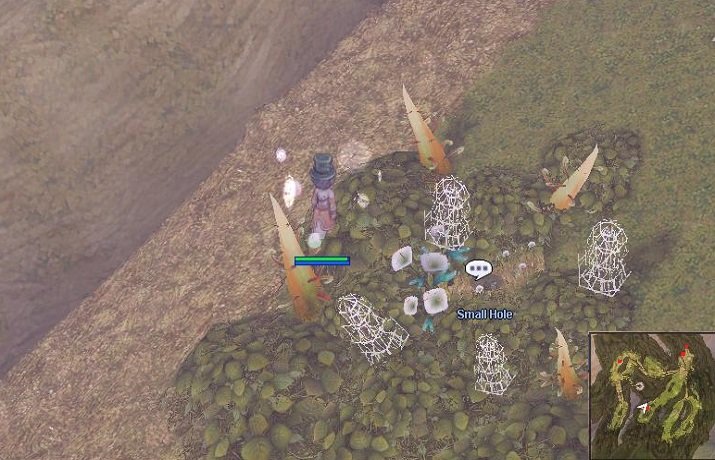
7. Talk to the Half-Buried Gem, near the Small Fairy, and attempt to dig it out.
Several thief bugs will spawn, kill them. Repeat until you obtain a Red Jewel
 from it.
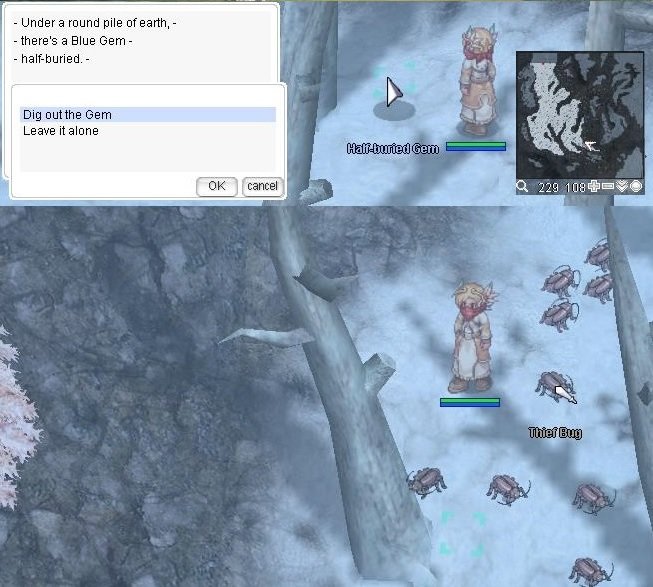
8. Talk to the Half-Buried Gem, near the Tree Giant, and attempt to dig it out.
Several thief bugs will spawn, kill them. Repeat until you obtain a Blue Jewel
 from it.
9. Return to the Rune Midgart's Magician with the Jewels, he says he will extract the voices from the gems and send them to the Arunafeltz Linguist.
10. Return to the Arunafeltz Linguist, he tells you that he has made amazing progress decoding the language.
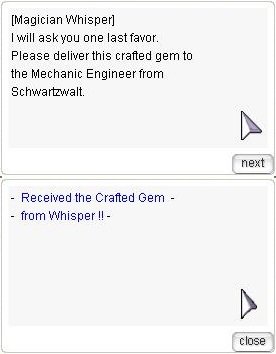
11. Lets go to Schwartzvalt Mechanic says he needs some way to store the massive amount of data and asks you to inquire with the Rune Midgart's Magician about a magical gem to hold the data.
12. The Rune Midgart's Magician says he needs an ore unlike any found in the old world to store the data. He asks you to go find one of these ores on the Manuk fields.
Until you find a 1 ? Unidentified Ore

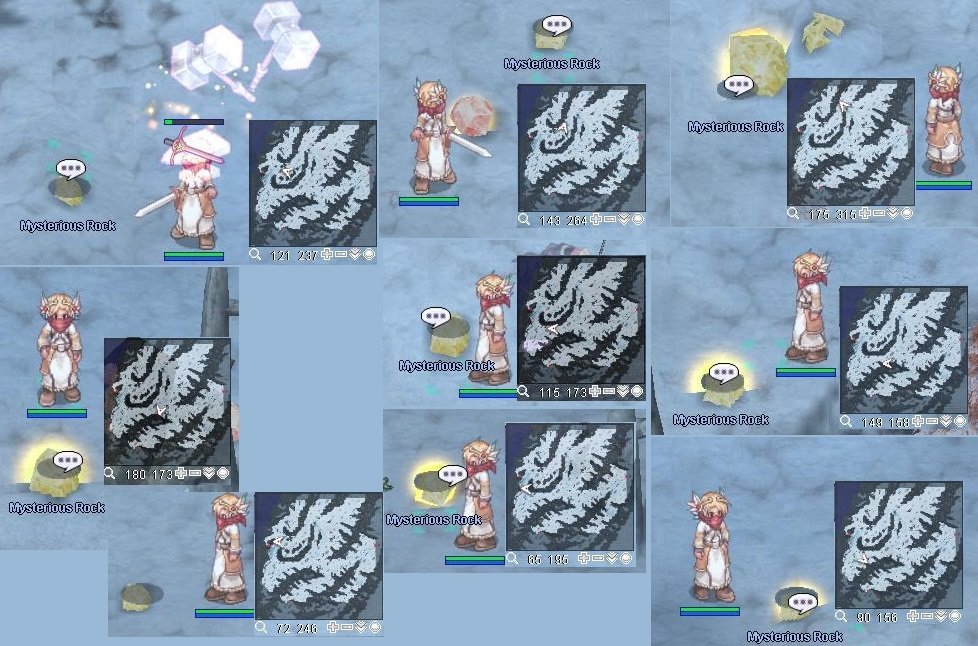
13. Return to Rune Midgart's Magician with 1 x Unidentified Mineral
obtained from Mysterious Rock, found in several of which can be found on all three Manuk maps.
14. The Schwartzvalt Mechanic will tell you it will take him at least an hour to complete a machine to translate using the gem.
Receive 1 000 000 Base exp and 25 000 Job exp.
Ring of the Ancient Wise King

-
1. Inside the central building at the Midgard camp, talk to Hibba Agip who is on the north side of the table in the center, he and Staff Officer Abidal discuss your accomplishments.
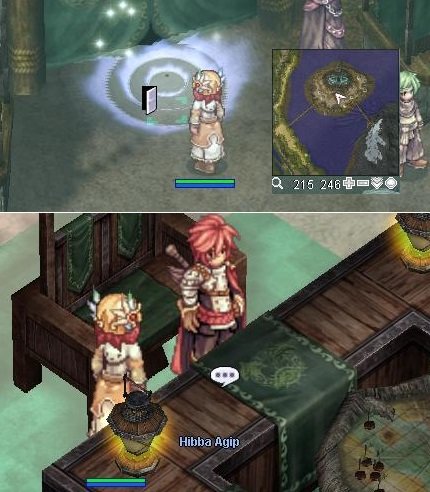
2. Talk to Staff Officer Abidal at the east end of the table, accept his request. He tells you to talk to Commander Agip.

3. Speak to Hibba Agip again, he gives you a Expedition Report
 and asks you to speak to the Expedition Messenger at the dimensional gate.

- Protect the report
4. Return to Hibba Agip to inform him that the Expedition Report has been destroyed. He tells you to go find the pieces of it.
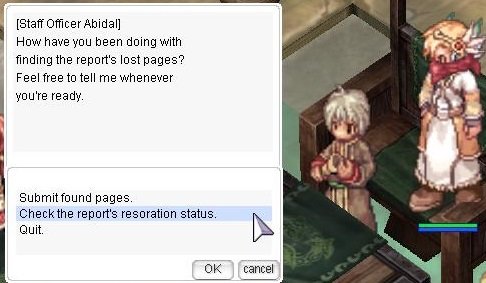
5. Now speak to Staff Officer Abidal. He asks you to bring him pages of the 10 x Part of a Report
 . Abidal gives you one of four random reports.
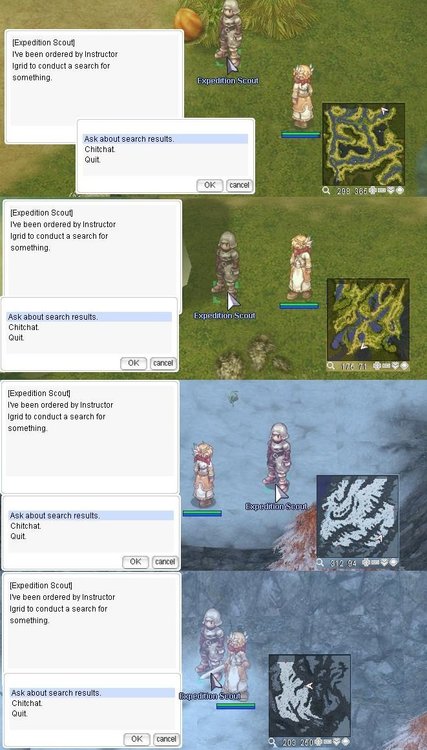
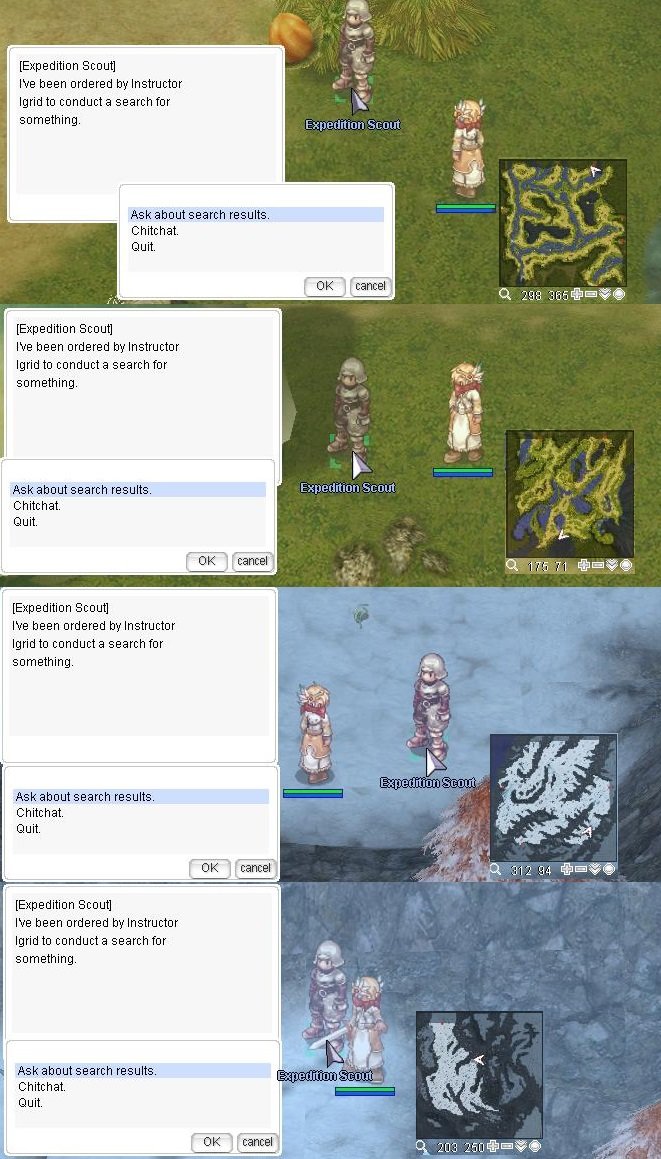
Expedition Scouts on following location gives a chance to give you certain amount of Part of a Report or you can kill monsters in same maps as Expedition Scouts has chance to drop Part of a Report.
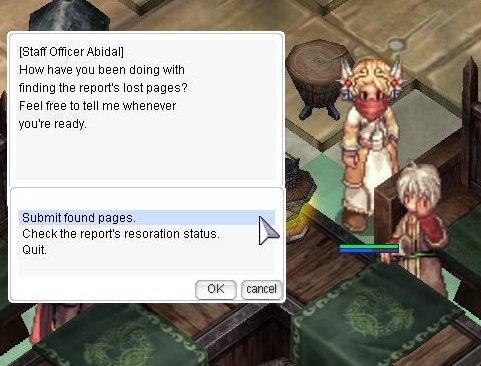
6. When you collect all 4 reports ( Expedition Report Vol1 / 2 / 3 / 4
), speak to Staff Officer Abidal. He gives you a Expedition Report .
7. Speak to Hibba Agip and he will make copies of the report for you. You will now have three copies given to you of the final report. He instructs you to follow the plan as before, except that you will now deliver the reports instead of his soldiers; he has stationed more soldiers in the area to protect you. He gives you a 3 x Expedition Report
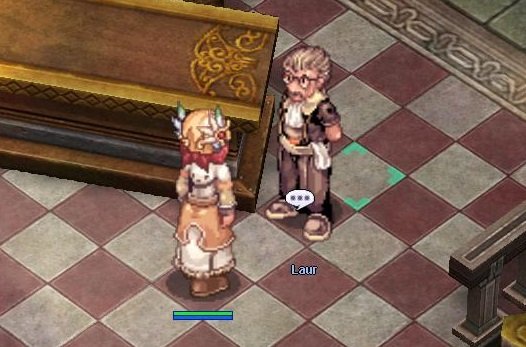
8. Deliver a report to Laur in the throne room of Prontera Castle (prt_cas 107 265) in the main banquet hall, up the right stairs.
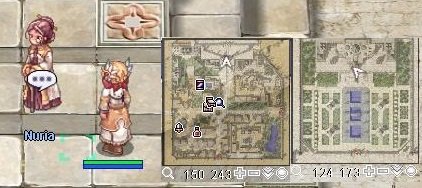
9. Deliver a report to Nuria outside Rachel's temple (ra_temple 122 174) standing directly in front of the actual Rachel temple entrance, older woman.
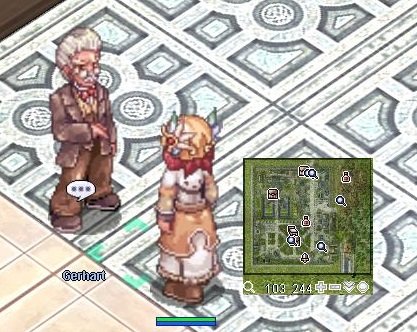
10. Deliver a report to Gerhart at the front desk, inside Rekenber Corporation's Headquarters (lhz_in01 110 174) large building in the top left of Lighthalzen, older man standing in front of the front desk.
11. After delivering all the reports, return to Hibba Agip. Receive 1 500 000 Base exp and 3 First Aid Kit

-
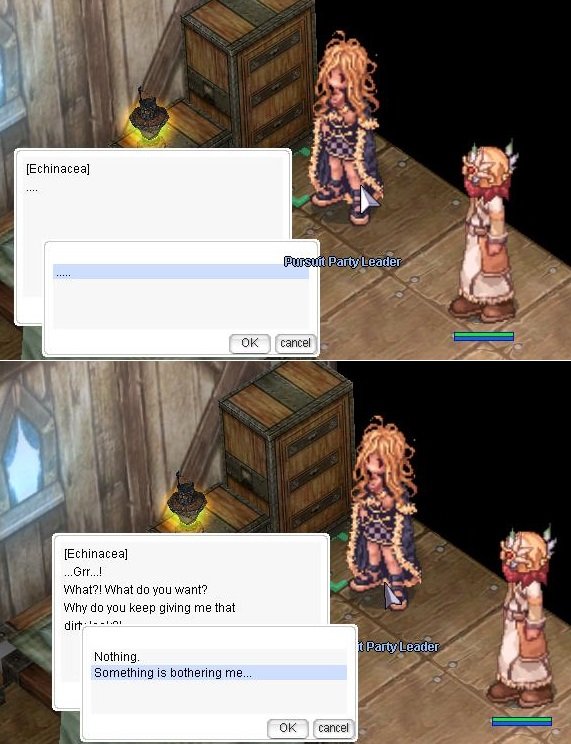
1. Talk to Echinacea and she asks you to go help Mr. Kidd.

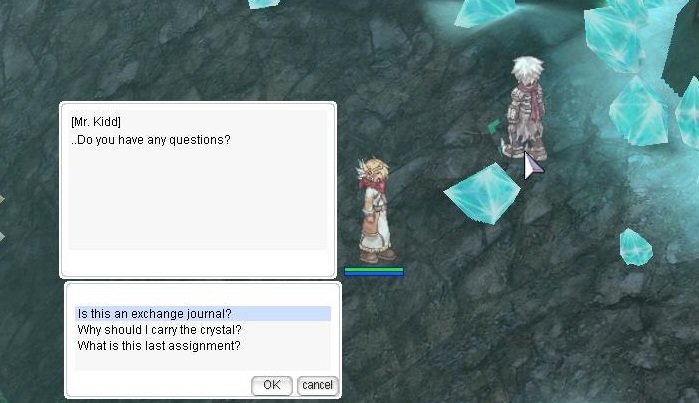
2. Mr. Kidd tells you that he hasn't received any communications from the Old World in some time, and he asks you to find Rin in the secret Assassin Pub in southwest Morroc.
- Echinacea...
- Yes

3. Go back to the Echinacea and then again to the Mr. Kidd.
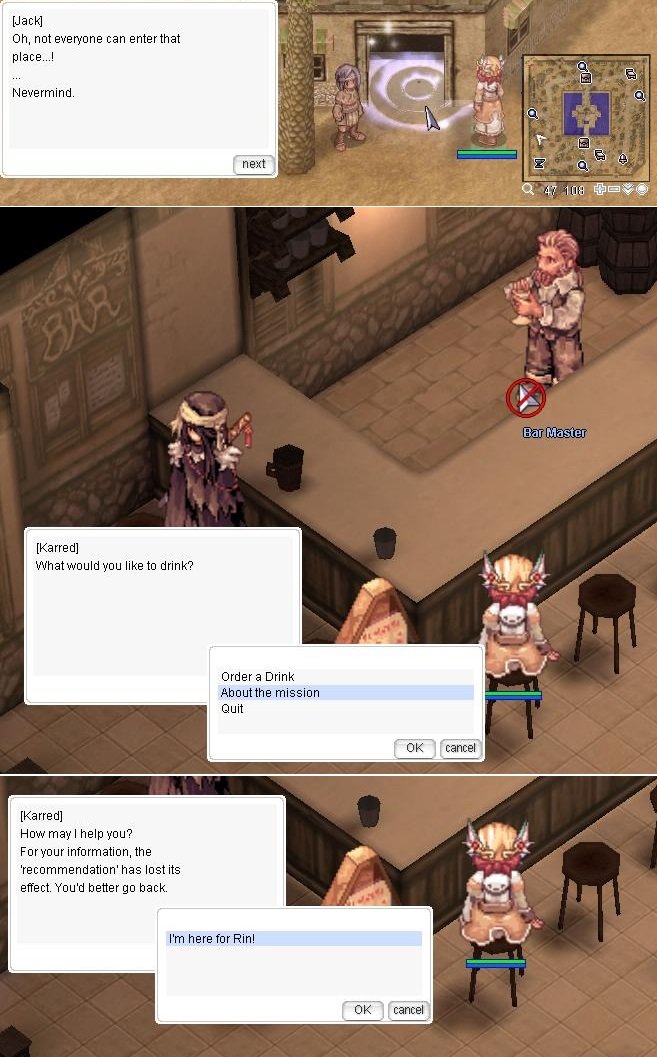
4. Talk to the Bar Manager in the secret pub, and ask about a mission. He tells you Rin is in the back room resting.

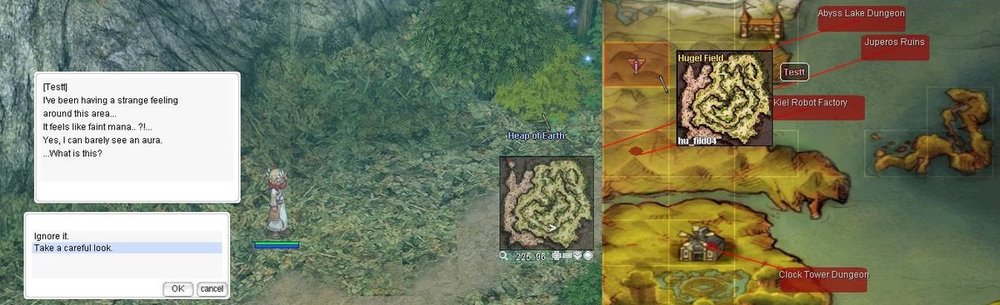
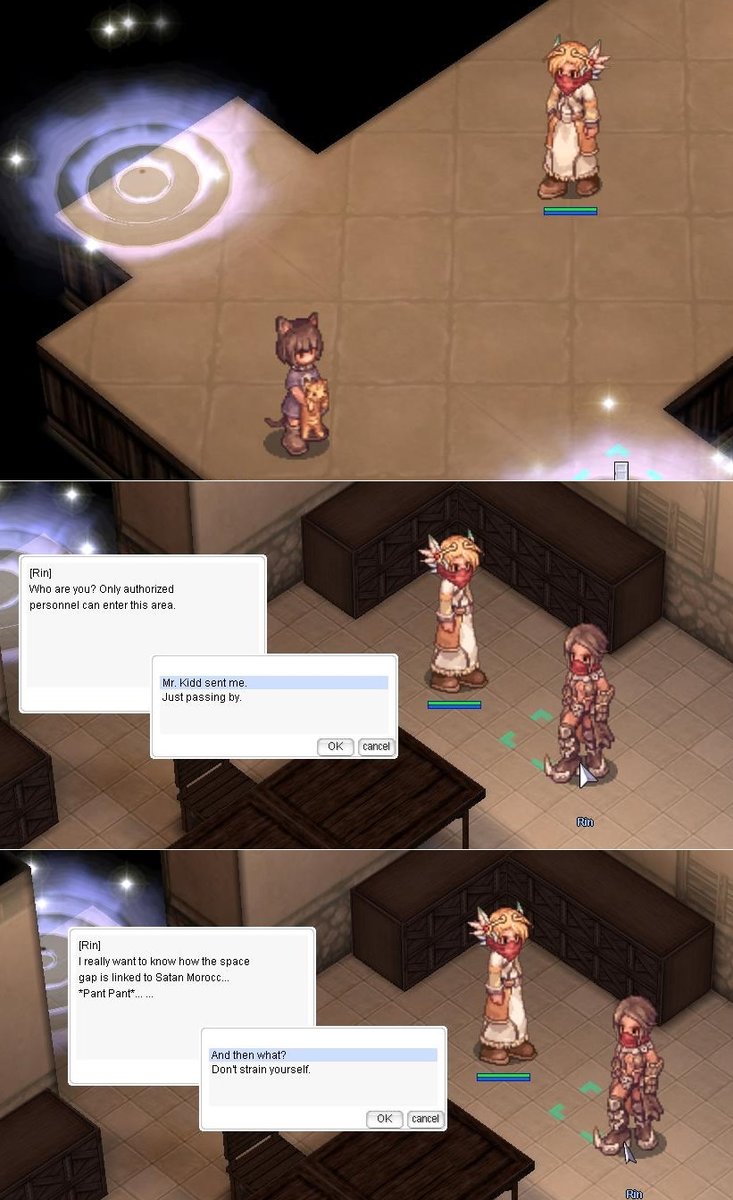
5. Enter the back room, and go into the room to the south. Speak to Rin and offer to help her. She will ask you to investigate the area where she was ambushed.

6. Check to the Heap of Earth at and investigate it closely. You will receive a Crystal of Feardom
 .
.
7. Return to Rin with the Crystal of Feardom, she will give you a Morocc Tracing Log
 to take to Mr. Kidd along with the crystal.
8. Deliver the Crystal of Feardom and Morocc Tracing Log to Mr. Kidd, he will ask you to come back later. Receive 100 000 Base exp and 5 000 Job exp.
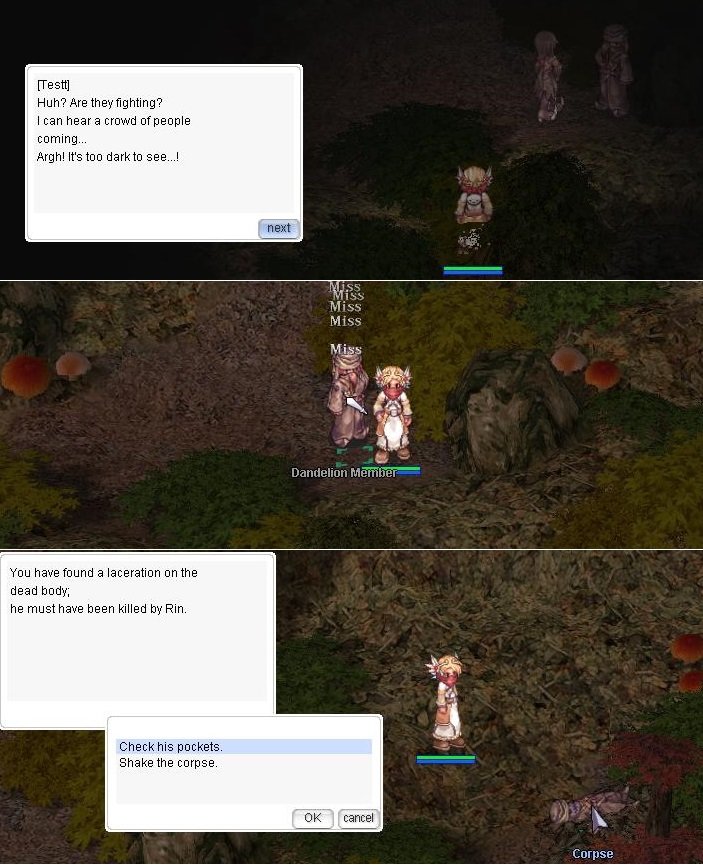
9. Speak to Mr. Kidd and you will feel the urge to touch the crystal. After a short dialogue, you will start to battle several Dandelion Members. There is a time limit on this battle.
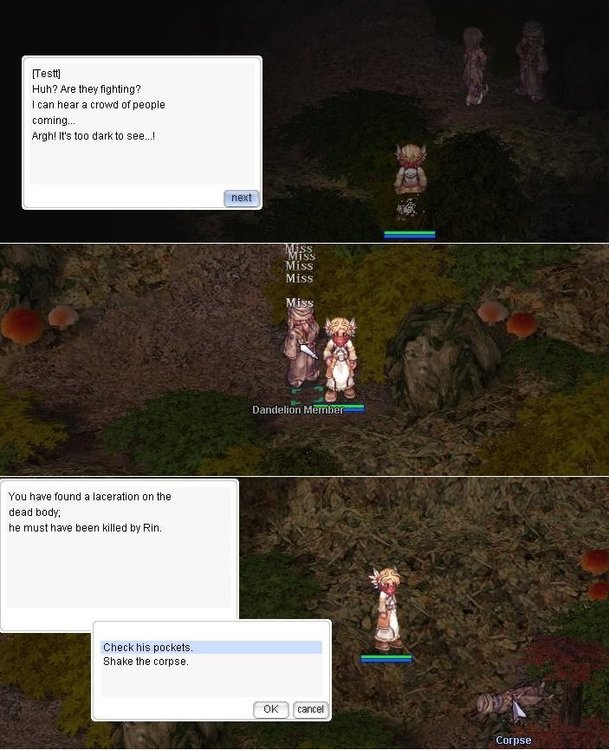
10. After dispatching them, check to the Corpse, and search his pockets. You will obtain a Sealed Scroll
 .
.
11. Speak to Mr. Kidd regarding what you saw after touching the crystal.
12. Mr. Kidd asks you to get Echinacea's opinion about which scholar to consult regarding the scroll.
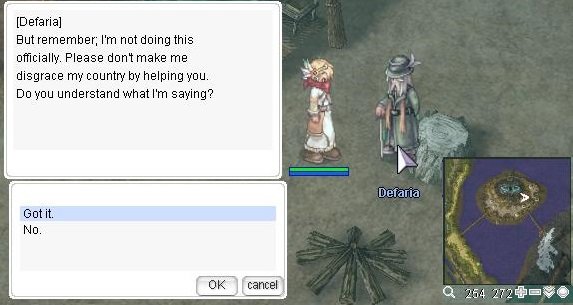
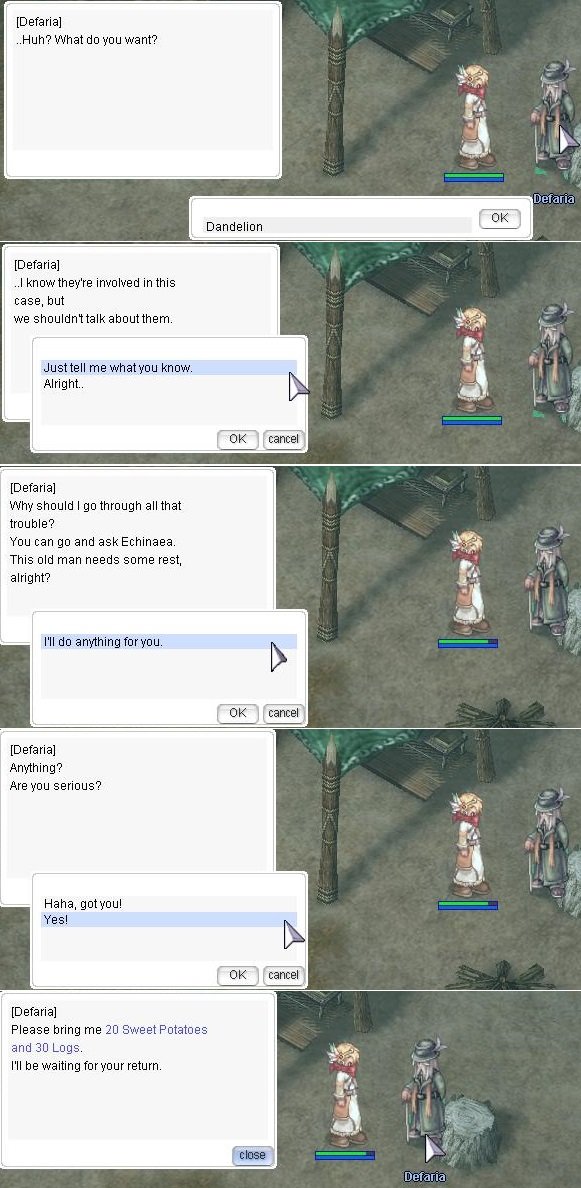
13. Speak to Echinacea and she will direct you to Defaria.
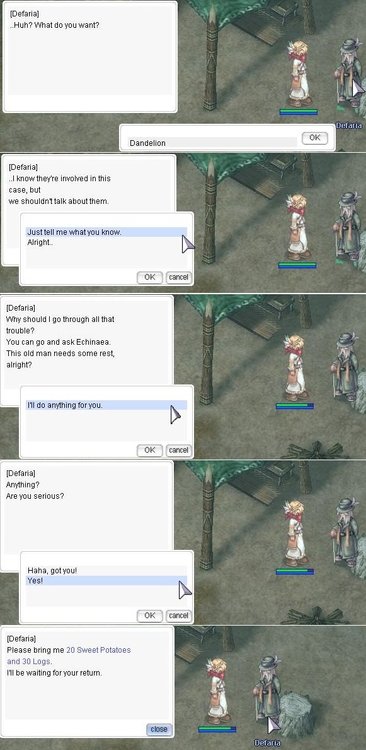
14. Defaria tells you the scroll is from Arunafeltz, and asks you to collect some items to unseal it:
15. After bringing 30 Holy Water
 ( Priest can create them ) , 30 Runes of Darkness and 30 Bloody Runes.
- Relog
Defaria will give you an Unsealed Magic Spell
.
16. Consult with Mr. Kidd, he reminds you that your are his assistant and he tells you to use the scroll to go to the meeting. Double click the Unsealed Magic Scroll to use it, you will be warped to (yuno_fild09 255 127).
17. Walk up the hill and go into the building. Walk behind the curtain at the back of the building. After some conversation, you will be returned to your save point.
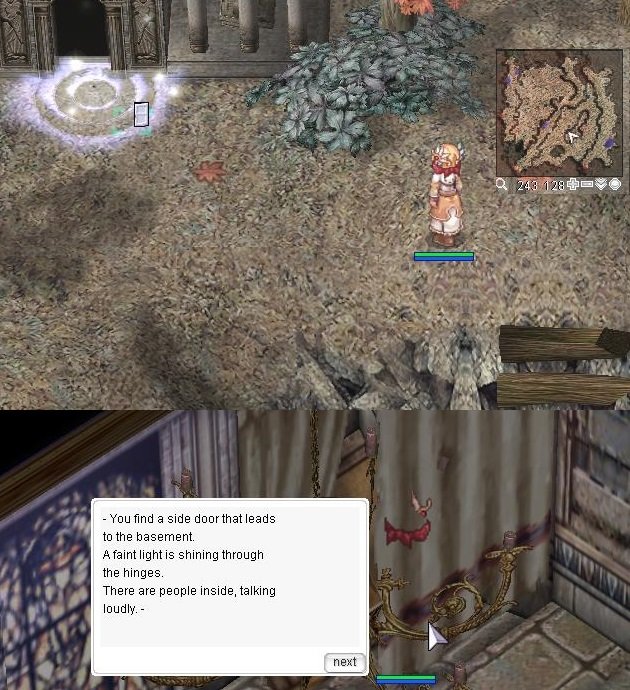
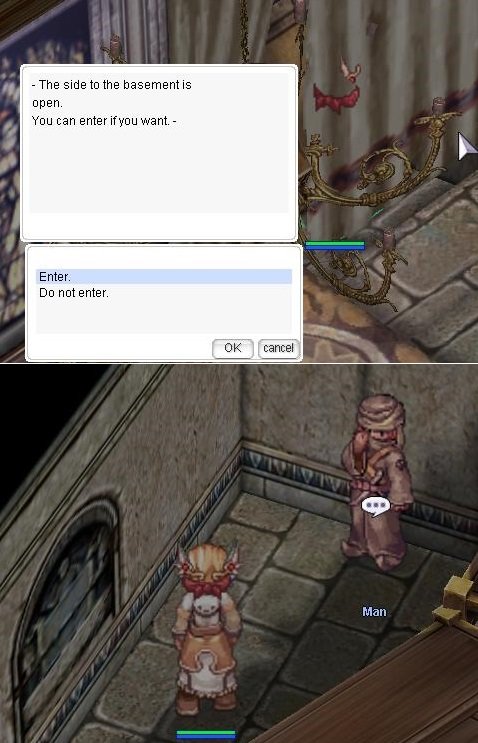
18. Talk to Mr. Kidd, he asks you to listen in some more. Return to the house and enter the basement.
19. Speak with the Man (que_dan02 115 53) at the back of the basement. Mr. Kidd will appear and arrest him.
20. Return to Mr. Kidd in the new world, he gives you a Morocc Tracing Log
to take back to Rin.
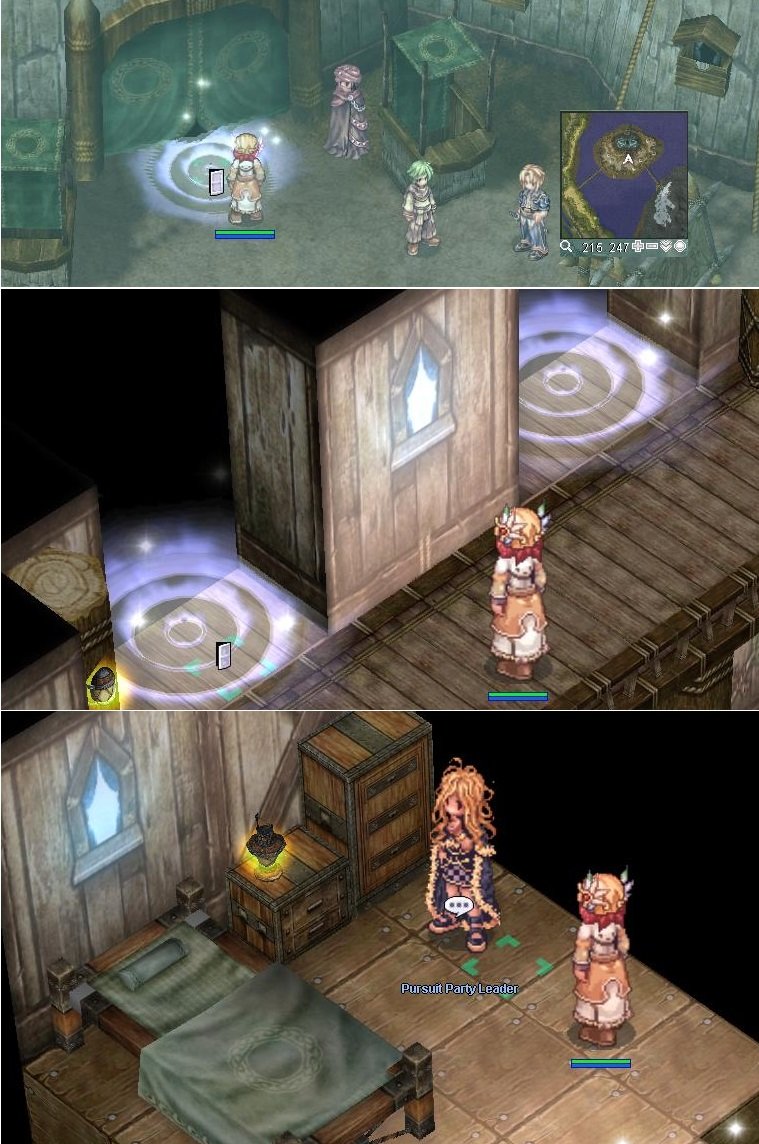
21. Return to Rin, after some conversation you accidentally drop the Crystal and Rayan uses it to escape. Rin gives you a tracking number that can be used to find Rayan and asks you to go see Echinacea.
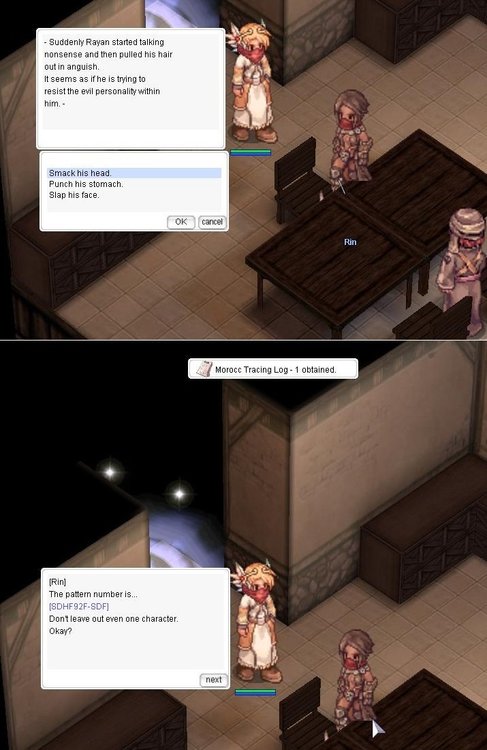
Tracking number are 3 pattertn:
1. SDHF92F-SDF
2. VWNM94GVWN90
3. CM3-TRDFGHE0
22. Speak with Echinacea, she asks for the tracking number (The number changes, write yours down or take a screenshot) and explains how it works.
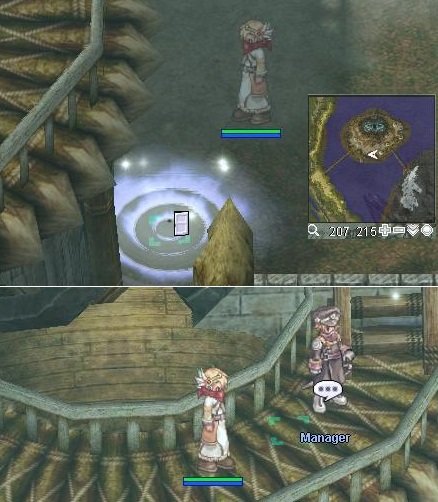
23. Speak with her again and she tells you to check with building manager at the south end of the camp.
24.Talk to the Manager, he tells you that he can not locate the target, but that Rayan must still be alive.
25. Return to Echinacea to report the results. She thanks you for your help and rewards you. Receive 1 old purple box, 600 000 Base exp and 100 000 Job exp.
Additional task
1. Talk to Echinacea
2. Then go talk to Defaria.
After bringing 20 Sweet Potatoes
 and 30 Logs
  , talk to Defaria again. Receive 2 Yam
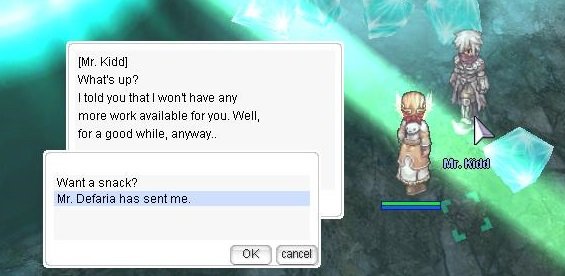
3. Talk with Mr. Kidd.
4. Get back to Defaria. Receive 2 Yam
5. Bring them to Echinacea
6. Then to Dafaria again. Receive 5 Sweet Potato
 .
.
-
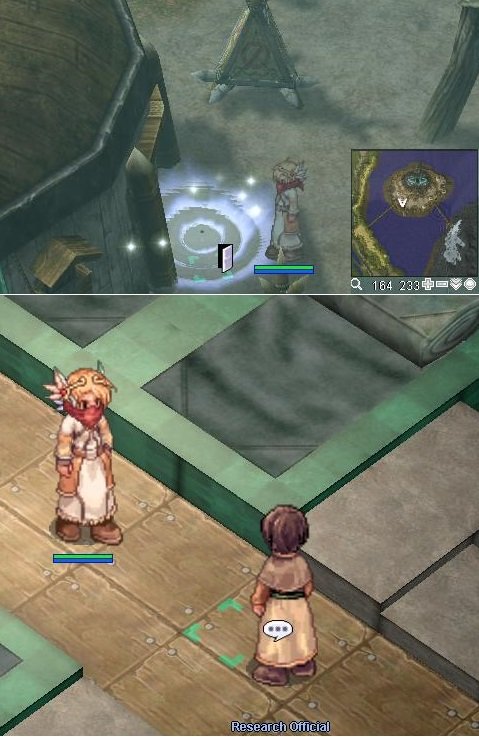
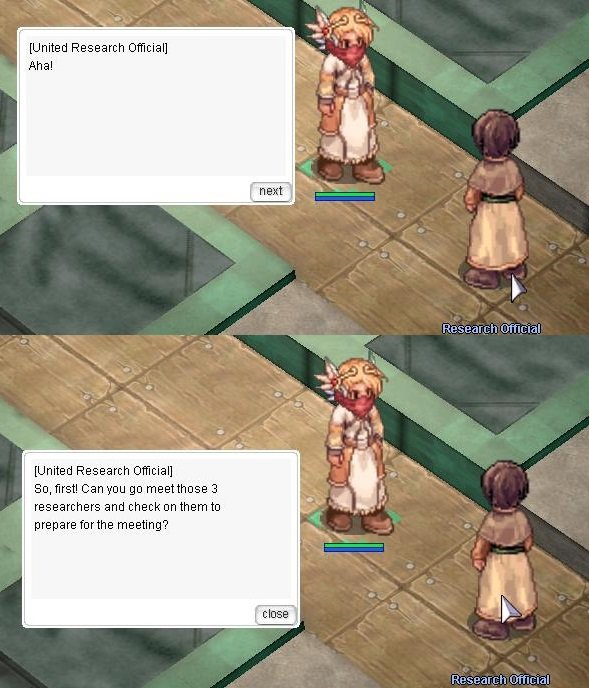
1. Lets go to the building to the NPC United Research Official. He asks you to speak to the people managing the documents.
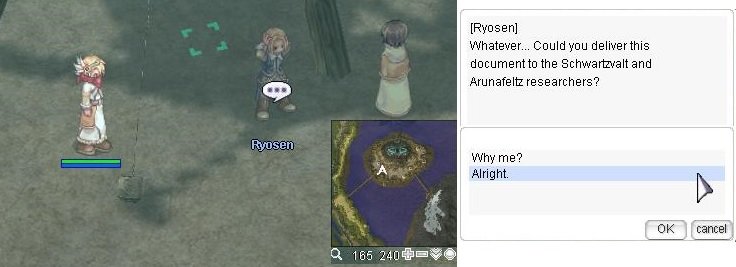
2. Speak to Ryosen, he asks you to deliver a Meeting Invitation
 to Hue, then to Hansenne.
3. Deliver the invitation to Hue, and ask him to sign it. Receive Meeting Invitation

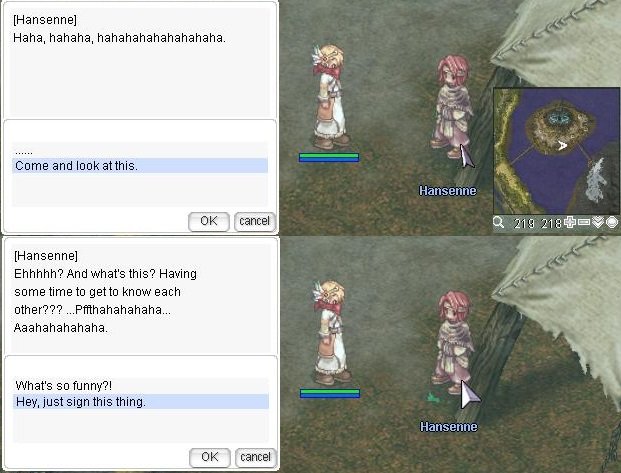
4. Deliver the invitation to Hansenne and ask him to sign it. Receive Meeting Invitation
5. Return to Ryosen, he directs you to return to the United Research Official. Receive Meeting Invitation
6. The United Research Official asks you to check on each of the researchers to make sure they're preparing for their meeting.
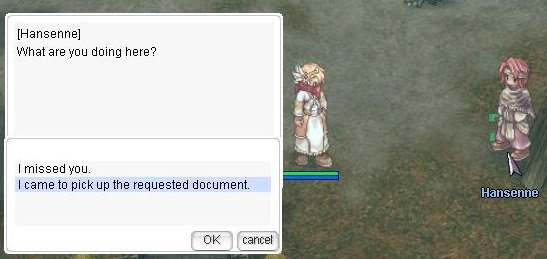
7. Speak to Ryosen, he asks you to retrieve a document from Hansenne.
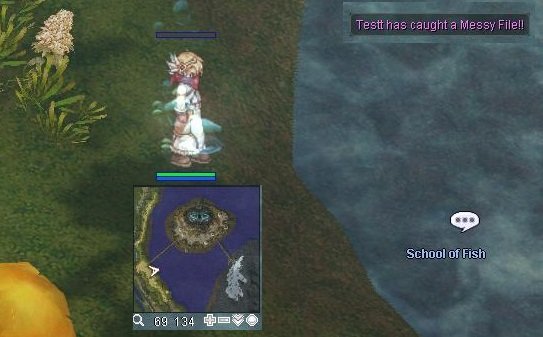
8. Hansenne tells you he lost the document (Messy File
 ) while playing on the west bridge. He suggests you go fishing.
9. Now let's get some fish. Walk to the west and find School of Fish. If suddenly there is no more fish, you need to wait.
10. Return to Hansenne, who tells you to take the document to Hue to restore it.
11. Hue requires, to restore the document:
12. After giving him the items, he restores the document and gives you a Neat Report
 .
.
13. Return the document to Ryosen, who then asks you to go the United Research Official to wait for the meeting to start.
14. Walk up to the United Research Official, and the meeting begins. The three researchers give their reports, but the meeting is interrupted by the appearance of Thief Bugs, and everyone (including yourself) leaves the room.
15. Reenter the building and kill all of the Thief Bugs, after which the others reappear.
16. Walk over to the United Research Official, and the 'meeting' resumes, whereupon Ryosen accuses the rest of tampering with his precious Cake, and an argument ensues, until the United Research Official finally tells everyone to call it a day.
17. Walk back again towards the United Research Official, where you explain that you know Hansenne wasn't the tamperer, although he took the blame for it.
18. Talk to Hansenne, and he gives you a Arunafeltz Desert Sandwich
 in appreciation for your caring. He suggests you help Ryosen and Hue get along better.
19. Talk to Hue, who asks you to take the Rune Midgard report to Ryosen, and gives you a Schwartzwald Pine Jubilee
 in thanks.
20. Hand the report to Ryosen, who realizes he should've thanked Hue earlier, and asks you to set up another meeting with the United Research Official. He gives you a piece of Rune Strawberry Cake
 in appreciation.
21. Talk to the United Research Official, who thanks you for all the work you've done, and gives you a First Aid Kit
 . Receive 400 000 Base exp, 15 000 Job exp.
Exchange of resources for food
1. Ryosen will give you 1 Rune Strawberry Cake
(ATK & MATK +5 for 10 minutes) for every 2 Mystic Horn  you turn in.
2. Hansenne will give you 1 Arunafeltz Desert Sandwich
(CRI +7 for 10 minutes) for every 2 Peaked Hat  you turn in.
3. Hue will give you 1 Schwartzwald Pine Jubilee
(HIT +10, Flee +20 for 10 minutes) for every 2 Fur  you turn in.
-
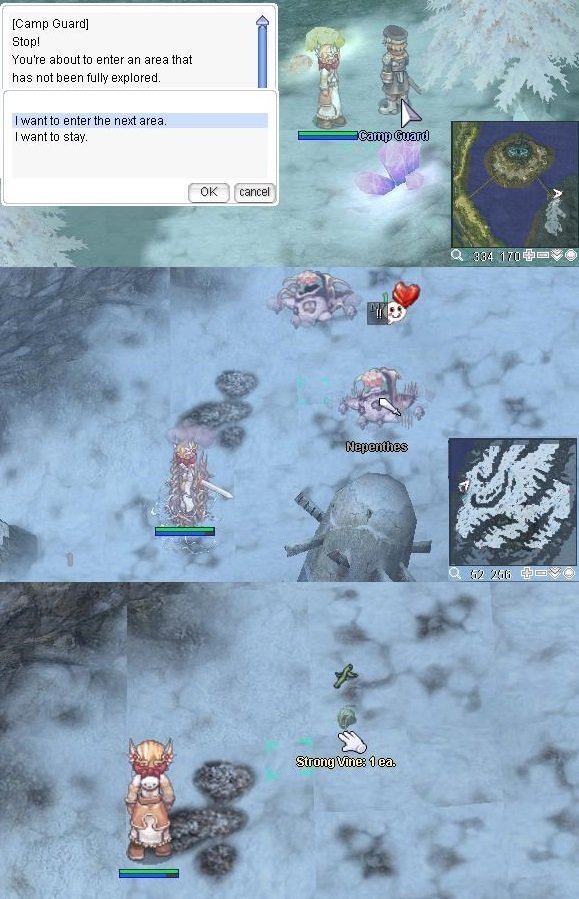
1. In Splendide Field 2, talk to the Small Fairy

2. Back at the Midgard Camp, talk to the Camp Guard Captain. Receive 450 000 Base exp.

3. In Manuk Field 3, talk to the Tree Giant

4. Back at the Midgard Camp, talk to the Camp Guard Captain. Receive 450 000 Base exp.
-
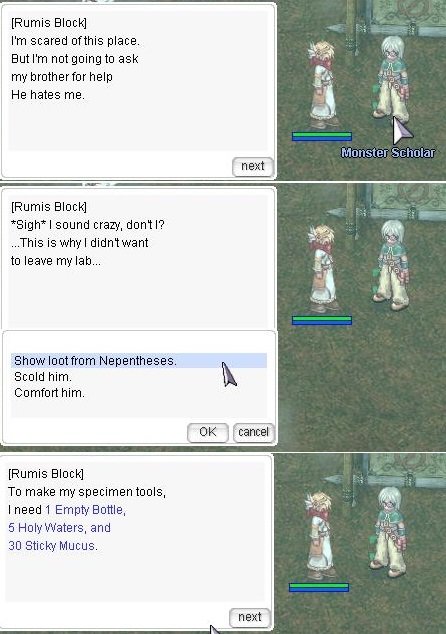
1. Speak to Rumis Block (NPC name is Monster Scholar) , he tells you he hates the New World and loathes his job.

2. Lets go man_fild01. Kill a Nepenthes and bring back a 1 Strong Vine to help Rumis realize these monsters aren't so scary.

3. Return to Rumis Block with 1 Strong Vine, he thanks you and asks for further help. He needs some supplies to prepare a Nepenthes specimen:
Holy Waters
 . Priest can create them !
4. Rumis asks you to deliver his specimen to his brother Terris Block (NPC name is Botanist)

5. After some conversation, Terris asks you to kill 30 Pinguicula

and then 10 Cornus.

6. Return to Terris, He tells you he suspects the land to the west is cultivated. He hands you a Decaying Stem and asks you to meet him near the mushroom west of the bridge.

7. Walk over the end of the bridge and he will appear. Talk to him and plant the Decaying Stem in the dirt.
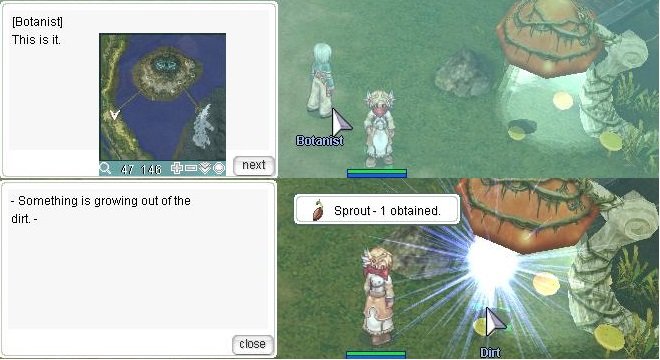
8. After the Sprout comes to life talk to Terris again. Terris asks you to inform Rumis of his success.
9. Rumis has already heard, and strives to make his own discovery. Rumis asks you to meet him at the end of the east bridge to escort him to study a one of the new species.
10. Walk past (man_fild01 57 256 ), and Rumis tells you to head towards the tree slightly southeast.
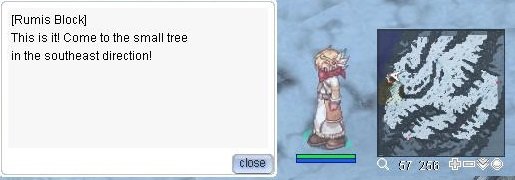
11. Talk to the Frozen Tree (man_fild01 92, 229), Rumis climbed the tree because monsters were looking at him. He asks you to hunt 5 Horn of Hillslion.
Horn of Hillslion dropped by Hillslion
 .
.
12. Return to the tree with 5 horn Horn of Hillslion. Rumis sees nothing particularly interesting about them, but he has gained the confidence to come to his tree alone next time. He asks you to talk to him back at the camp.
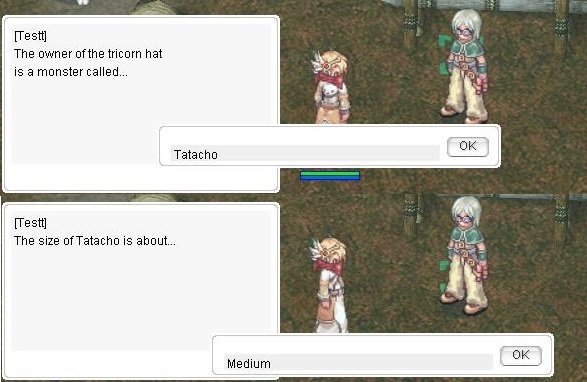
13. Rumis heard about someone being attacked to the east, he asks you to go investigate if the natives are hostile. Rumis asks you to kill 10 Tatacho.

14. Return to Rumis, he thanks your for your help and asks you some questions:
15. Additionally if you bring Rumis one Horn of Tendrilion you will gain 250 000 Base exp. This marks the end of this quest.
Horn of Tendrilion dropped by Tendrillion (MVP)
-
1. Talk to Marian, who tells you to talk to Instructor Lugen, and gives you a Chocolate Pie
 .
.
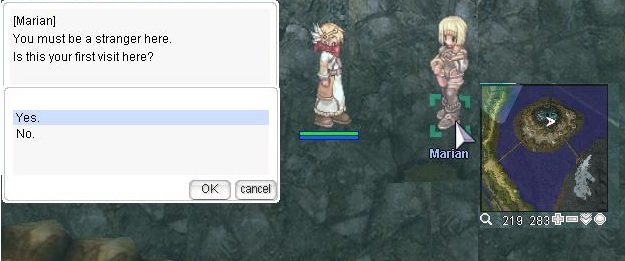
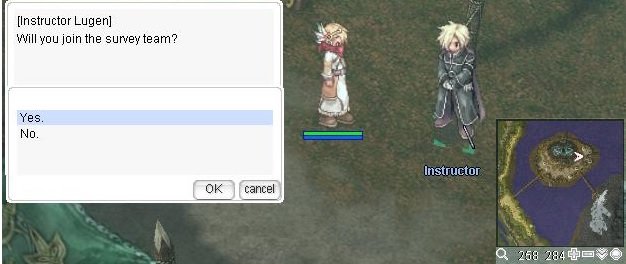
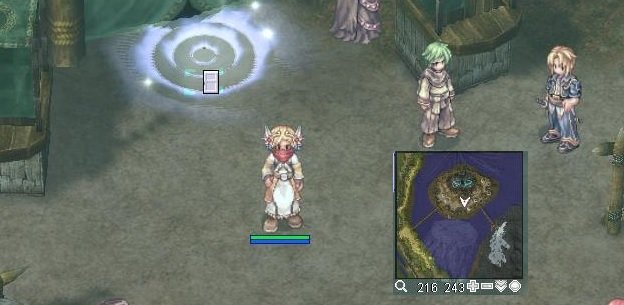
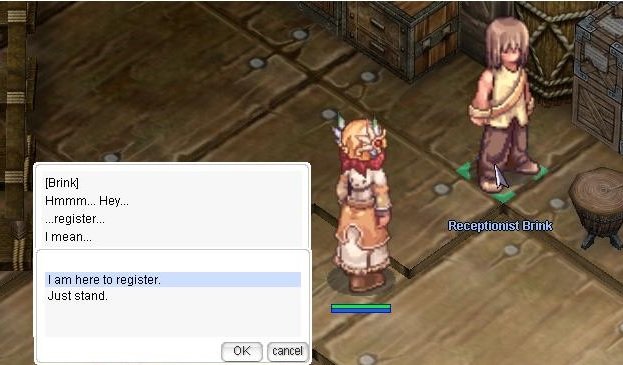
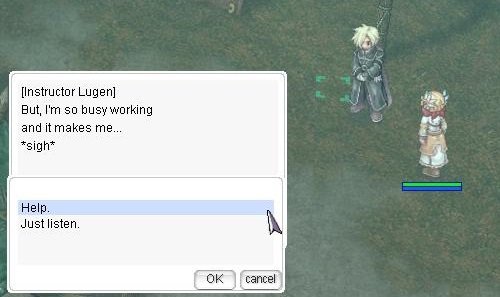
2. Talk to Instructor Lugen, who says you need to register with the Receptionist Brink at the big building in the center of the camp.
3. Enter the building, and talk to Receptionist Brink (mid_campin 106 122). He registers you, gives you another Chocolate Pie
, and sends you back to Instructor Lugen.
4. Instructor Lugen gives you another Chocolate Pie
, and tells you to go to the Barracks to rest for the night.
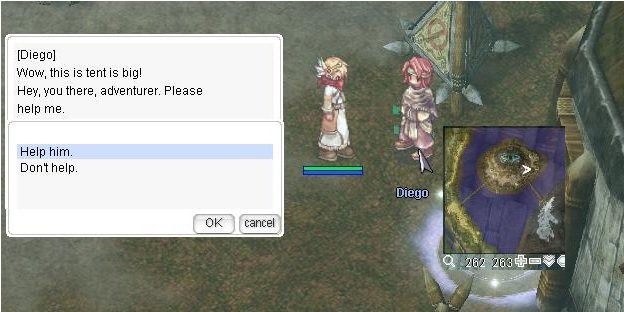
5. At the entrance to the Barracks, speak to Diego and offer to help him.
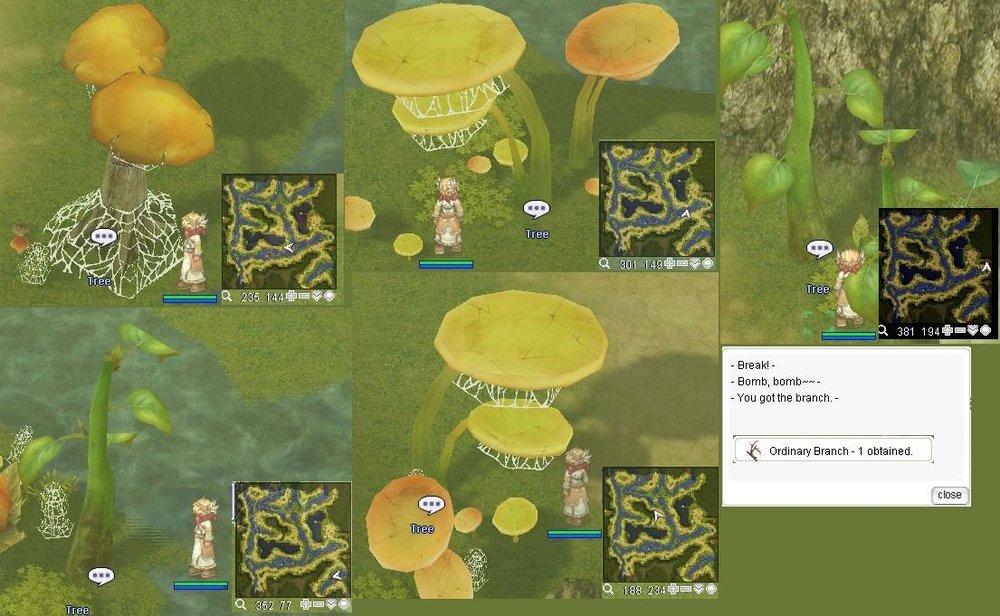
He asks you to bring him 20 Ordinary Branch and 20 Strong Vine.

Strong Vine is dropped by Nephentes on the first Manuk Field. Speak to the Camp Guard (mid_camp 336, 171) to move to man_fild01.

6. Speak to the Camp Guard (mid_camp 13, 143) to move to spl_fild02. On spl_fild02, click on one of the trees, repeatedly until you have 20 Ordinary Branch.
There's a chance you won't find anything.
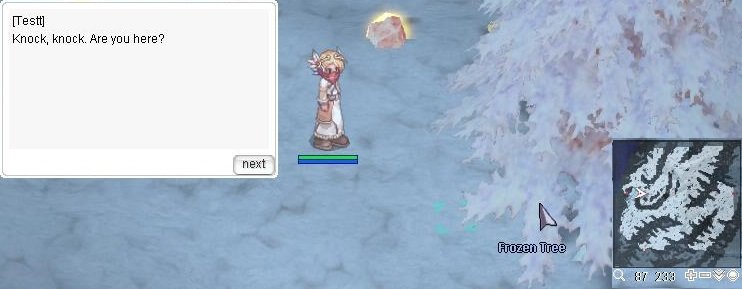
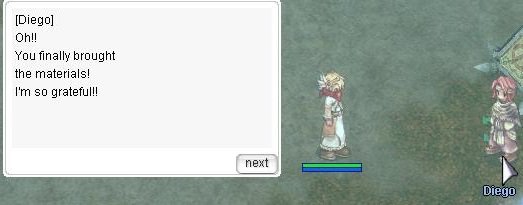
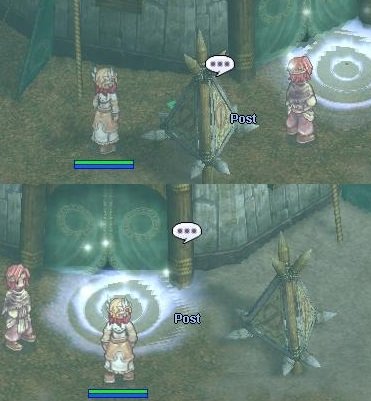
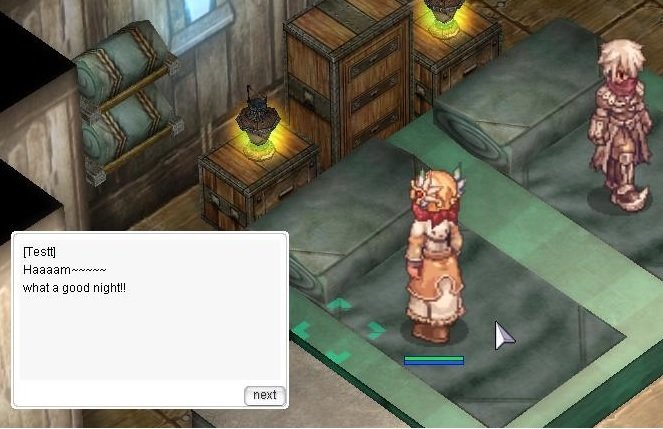
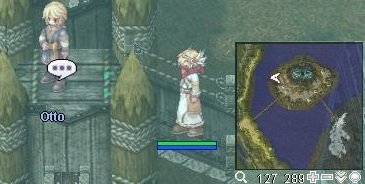
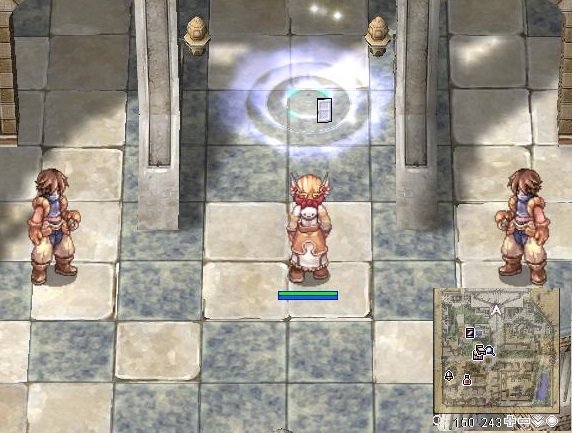
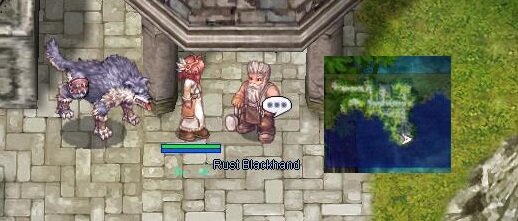
7. Return to Diego with the parts, he asks you to fix the posts with them.
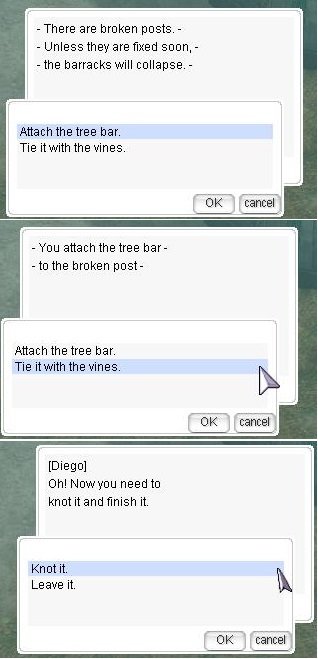
8. Speak to one of the Posts. Repeat this til the post has been fixed and then select the option Knot it. Do the same to the other post, once it is repaired, talk to Diego again. Receive 5 Chocolate Pie
.
9. You will then be warped inside to your bed. Speak to Lucas.
10. Return to Instructor Lugen, who asks you to distribute some supplies. He directs you to Marian. Receive 1 Chocolate Pie
.
11. Speak to Marian and receive 3 Supply Box
 and 1 Chocolate Pie .
12. Instructor Lugen tells you to deliver the 1st box to Jan, northwest of the camp. Receive 1 Chocolate Pie
.

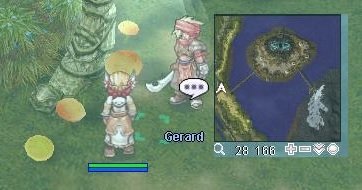
13. Return to Instructor Lugen. Your next delivery is to Gerard across the west bridge. Receive 1 Chocolate Pie
.
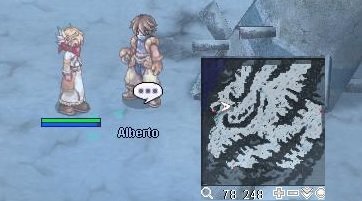
14. Return to Instructor Lugen. The last delivery is to Alberto at the entrance to the east field. He asks for your help to open the box. Receive 1 Chocolate Pie
.
15. Return to Instructor Lugen. He thanks you for your help. Continue talking to Lugen until he asks you to deliver a letter
 for him .
16. Deliver his letter to Otto. Otto has a letter
 for you to send back to Lugen. Receive 1 Chocolate Pie .
17. Return to Instructor Lugen. Receive Chocolate Pie
, 5 old purple box  , 500 000 Base exp, 50 000 Job exp.
-
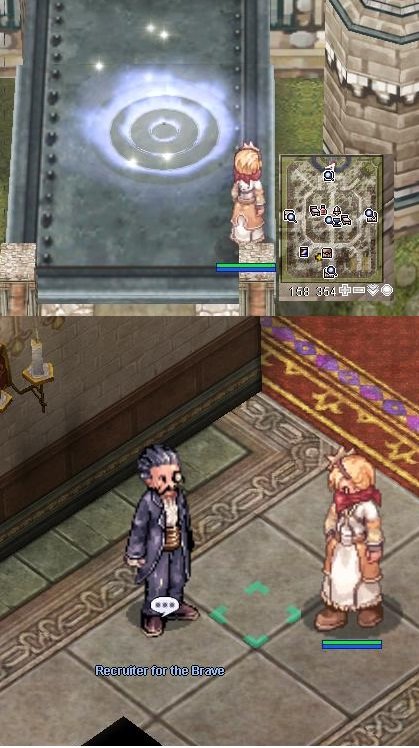
1. Talk to the Recruiter for the Brave (prt_cas 208 165).
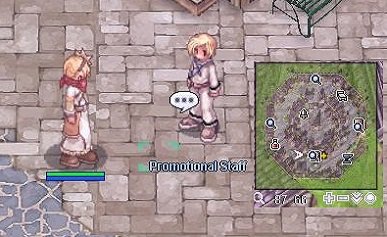
2. Talk to the Promotional Staff member in Aldebaran (127 138)
He will ask you to bring 300 Jellopy

Then he will ask you to visit a Promotional Staff in Geffen

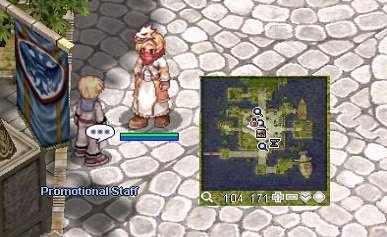
3. Talk to the Promotional Staff member in Geffen (90 66)
He will ask you to bring 1 Emelard
 and 1 Ruby
Then he will ask you to visit a Promotional Staff in Izlude
4. Talk to the Promotional Staff member in Izlude (103 170)
5. Return to the Recruiter for the Brave, who says you are now ready to explore the 'Ash-Vacuum' which is an entirely different place from Rune Midgard.
He tells you to go to Lighthalzen to register for the United Midgard Alliance. He will reward you 330 000 Base exp and 105 000 Job exp.
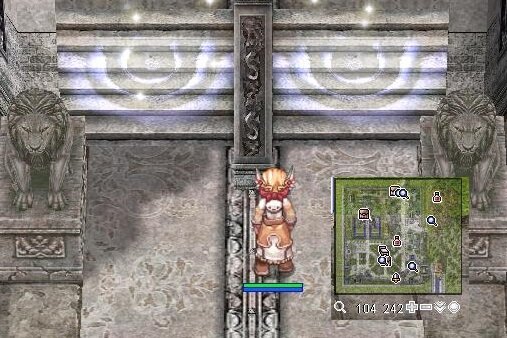
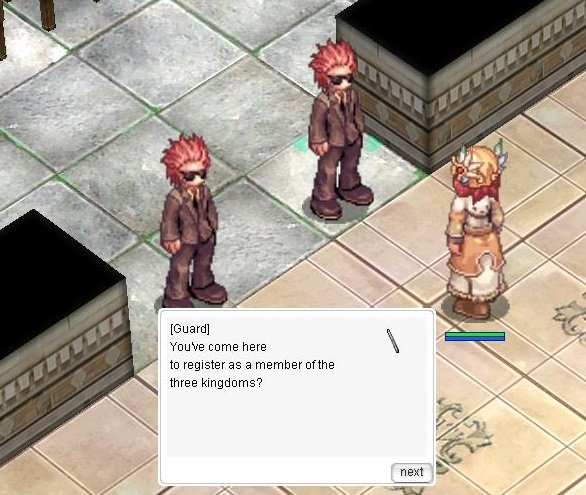
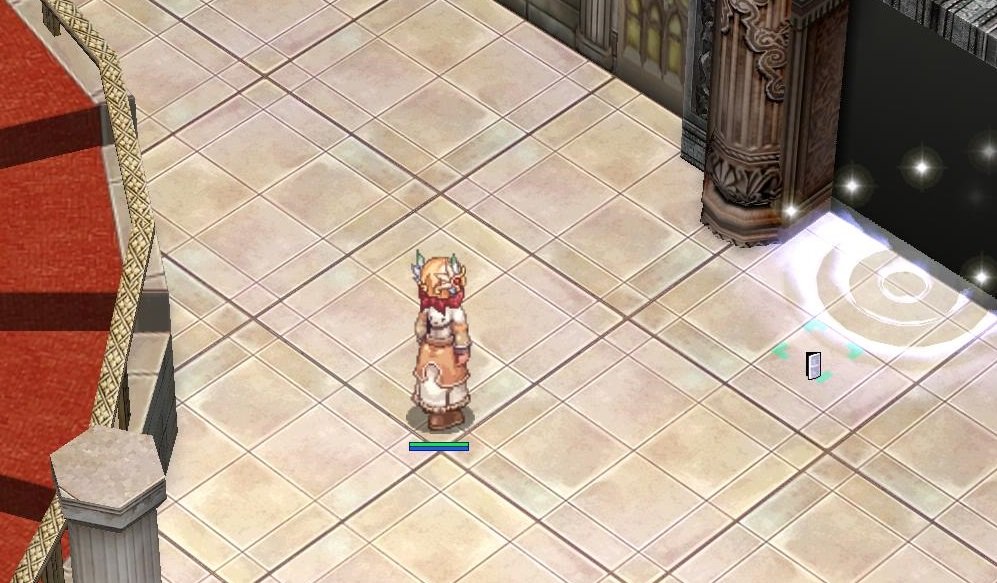
6. In Lighthalzen, go into Rekenber HQ (104 243) and talk to one of the Guards upstairs ( for example lhz_in01 120, 233), who let you in to register.
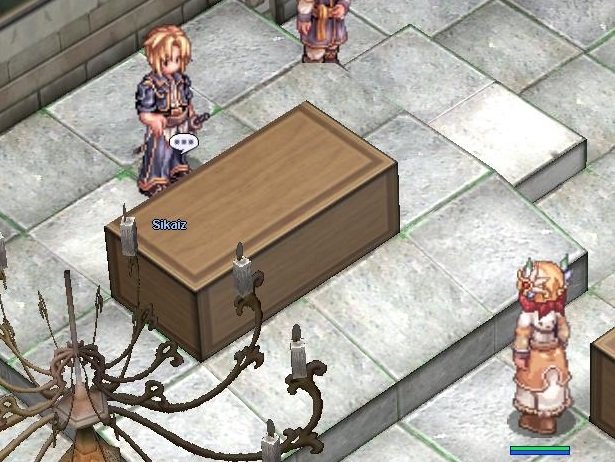
7. Talk to Sikaiz, (lhz_in01 132, 259) at the front of the desk, who's giving a speech.
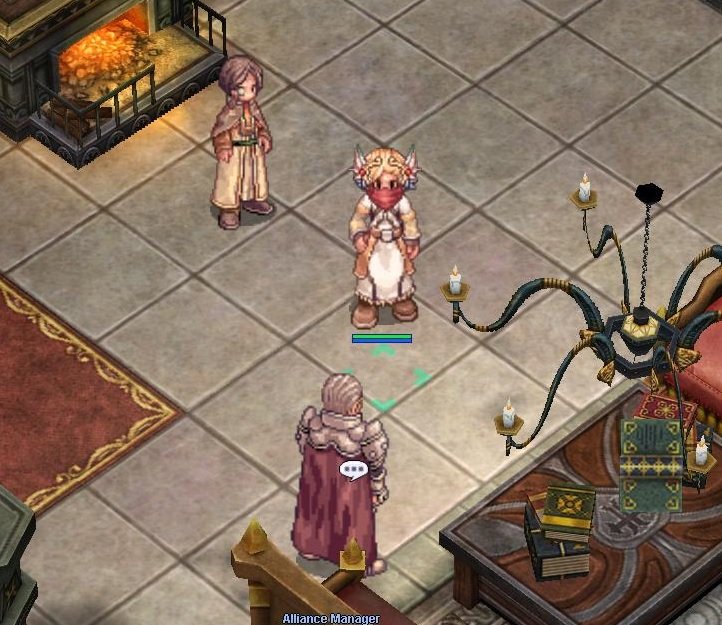
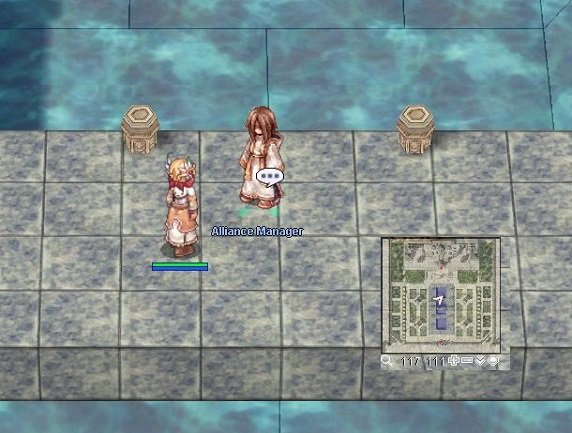
8. Speak to him again and he will ask you to inform the Alliance Manager in Rune Midgard that they are ready to depart.
9. Find Alliance Manager in (prt_cas 20 98) and speak to him.

10. He will discuss with you how the kingdom feels about the upcoming expedition.
11. Go back to Sikaiz in Lighthalzen, who tells you about the Three Kingdom's Alliance and his aide Munkenro.
He asks you to deliver a message to the Alliance Manager in Rachel.
12. Find the Arunafeltz Alliance Manager (ra_temple 119, 112) outside the temple in Rachel and report the status to her.
13. Go back to Sikaiz, who registers you and sends you to talk to some Officers to let them know of your departure.
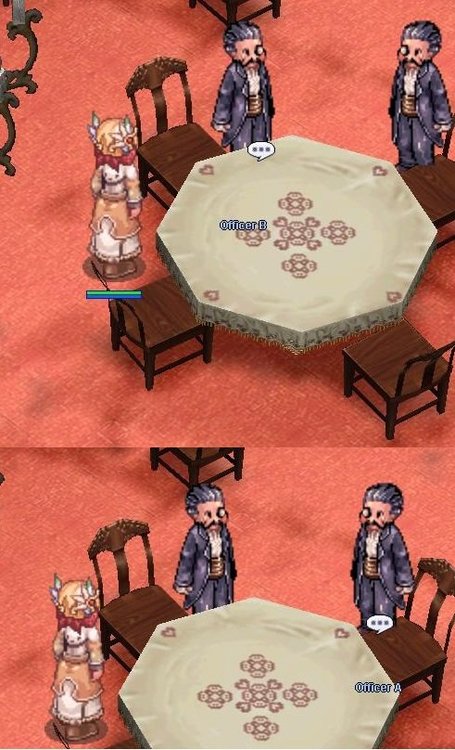
14. Go downstairs to the banquet hall (lhz_in01 147, 179) (next to the stairs on the right) and talk to them, but first you overhear them plotting to ignore the peace and take control of things for themselves.
15.Report back upstairs, but the guards won't let you in.
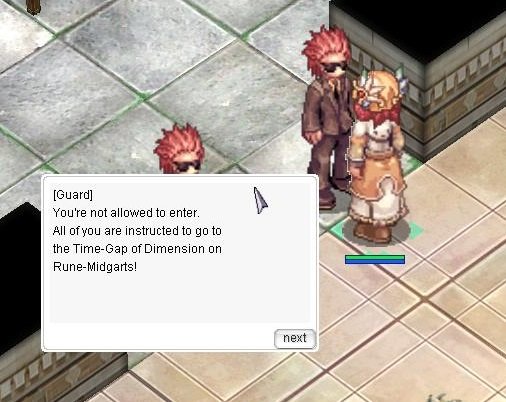
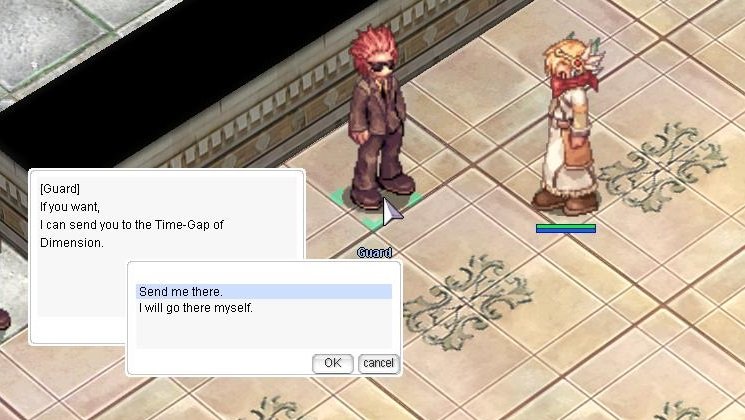
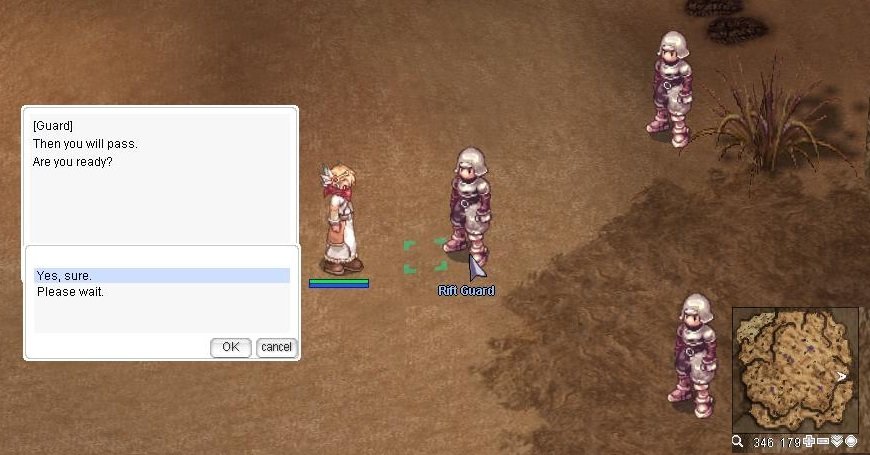
16. Talk to the Guard outside of the lecture hall (lhz_in01 130, 231). Ask it to teleport you immediately to the Continental Guard Quarantine (moc_fild20), and talk to the Rift Guard (moc_fild20 349, 179). He takes you to the Dimensional Gorge.
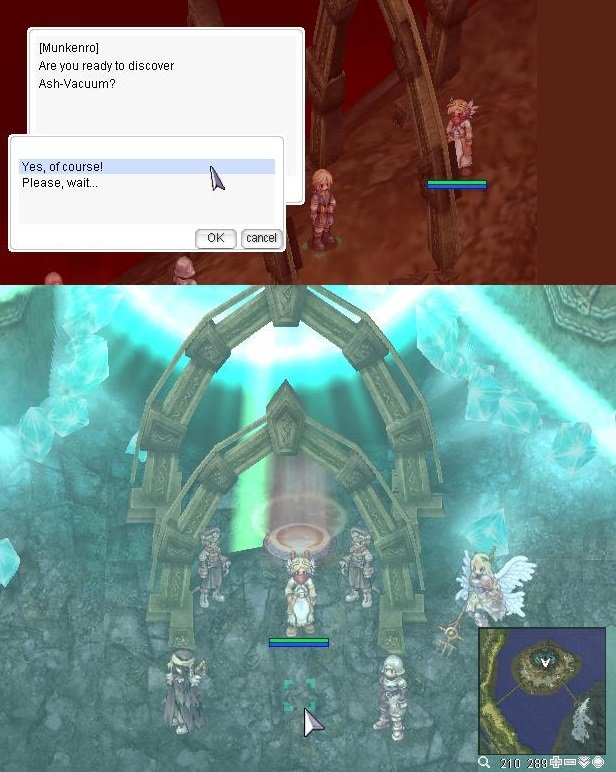
17. From the middle of the right side of the map, go towards the center until you reach Munkenro (moc_fild22b 230, 197). He says Sikaiz has 'retired' and that he is now the alliance leader. Talk to him again and he will give you to pass another test, by defeating 40~50 Allied Soldier who will spawn on this map.
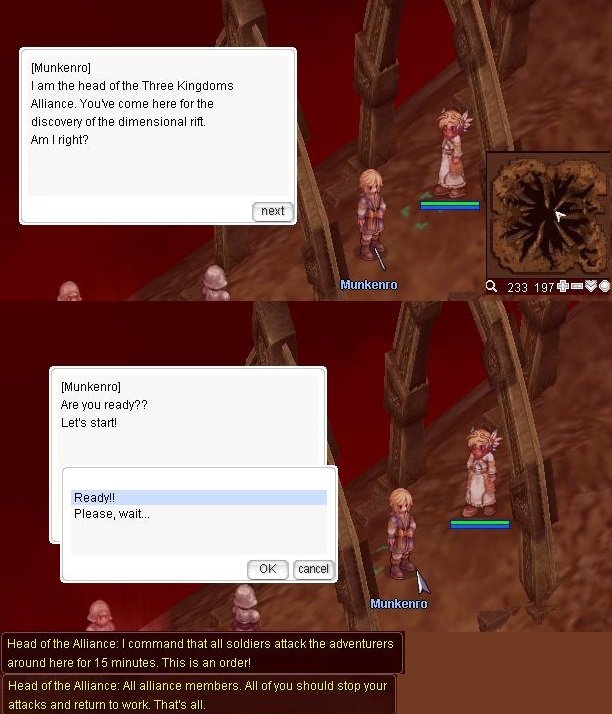
18. After passing the test, talk to Munkenro again, who sends you to the Ash-Vacuum.
He will reward you 330 000 Base exp and 105 000 Job exp?.

-
!Note - to enter you need a party of 2+ people.
1. Enter the building at (prt_monk 192, 170). Inside, your Party leader must speak with Friar Patrick
2. After asking to enter, the party must wait for the instance to be created. The party will have 5 minutes to enter the dungeon, or else the dungeon will be destroyed. If the dungeon is destroyed, the party may request another one immediately. A party may leave the shrine, but they must return to the shrine in 5 minutes. The party will have 2 hours to finish the dungeon. After the instance expires, the party leader and anyone that participated in the party will be unable to create a new instance for 12 hours. (Party members can go with another party leader who can create the dungeon, however.)
Note: A window will appear showing pertinent time limits for the dungeon. If it is closed, it can be opened again using the shortcut Alt+B.

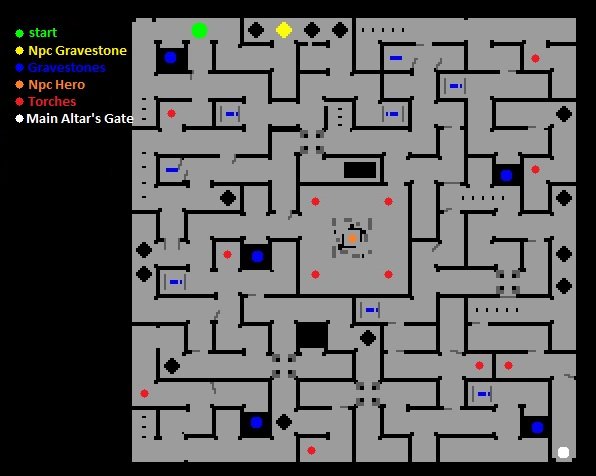
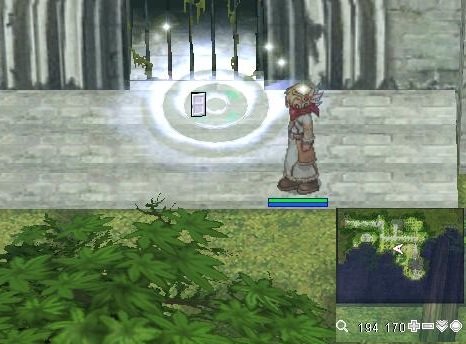
3. Once inside, the party leader must talk to the NPC Gravestone to begin the quest in the Shrine (141, 221). Teleport/Fly Wings, Safety Wall and Assumptio are disabled in the dungeon.
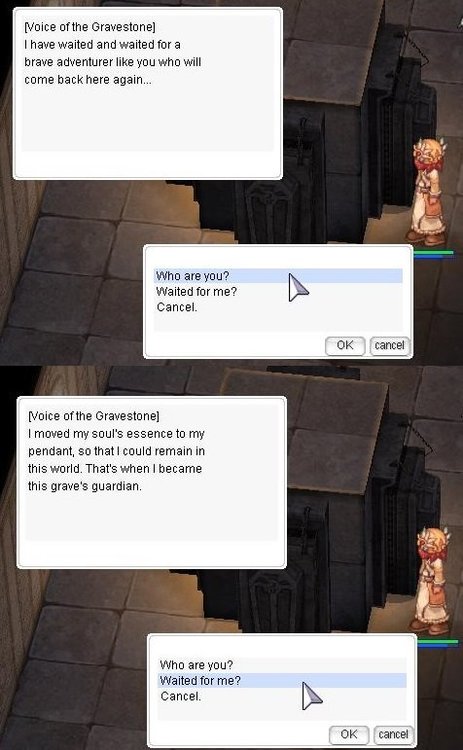
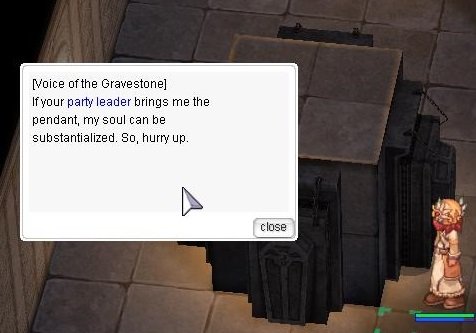
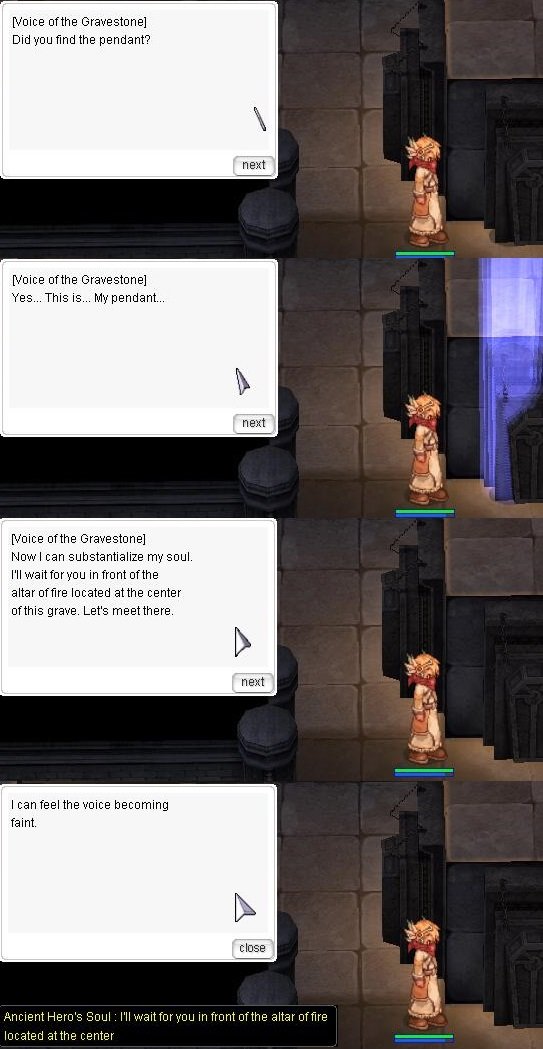
3. You need to find a Pendant of spirit. To do this, click on 'Gravestones' .Only the Party Leader can obtain and return the pendant to the NPC Gravestone (141, 221).
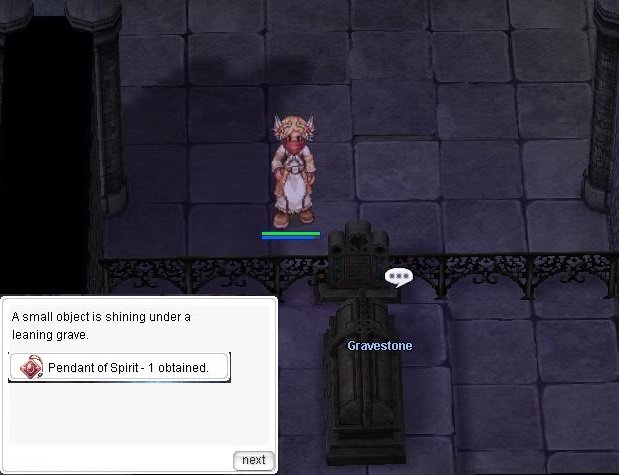
4. Return the Pendant of Spirit to the NPC Gravestone. The NPC will instruct you to meet him in the center of the Catacomb.
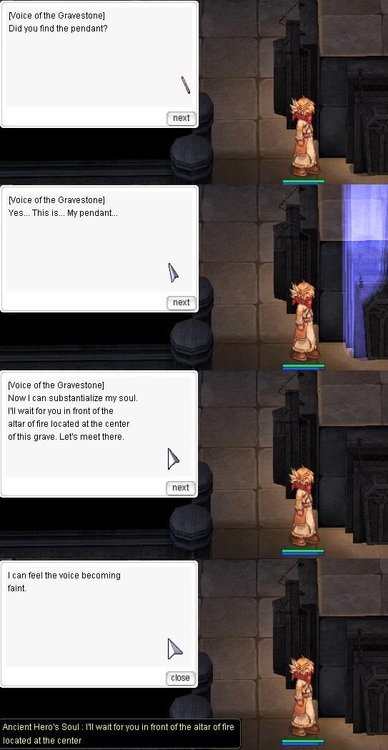
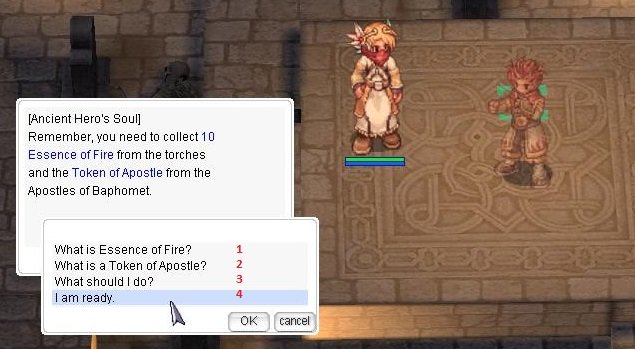
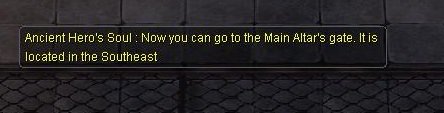
5. Now talk to the Ancient Hero's Soul in the middle of the map. He will require one representative of the party (the party leader) to get 10 Essence of Fire
 . He will also instruct you to gather Token of Apostle
  . Only the party leader and anyone who left the dungeon during the quest needs to have a Token of Apostle to progress to the next floor. You will have 1 hour to finish his task.
-
Essence of Fire are obtained from Torches.
-

-
Token of Apostle are obtained automatically by killing any monster named Apostle of Baphomet. These are tradable among party members, but only the party leader and anyone who left the dungeon during the course of the quest are required to have them in order to progress to the next floor.
-

- If the party leader disconnects, respawns, or otherwise leaves the dungeon while collecting Essence of Fire, the Soul of Ancient Hero will no longer correctly recognize the party leader, and the quest cannot be continued.
6. After returning with the items, Ancient Hero's Soul will open the portal to the second floor. The portal can be found at the lower right side of the floor.
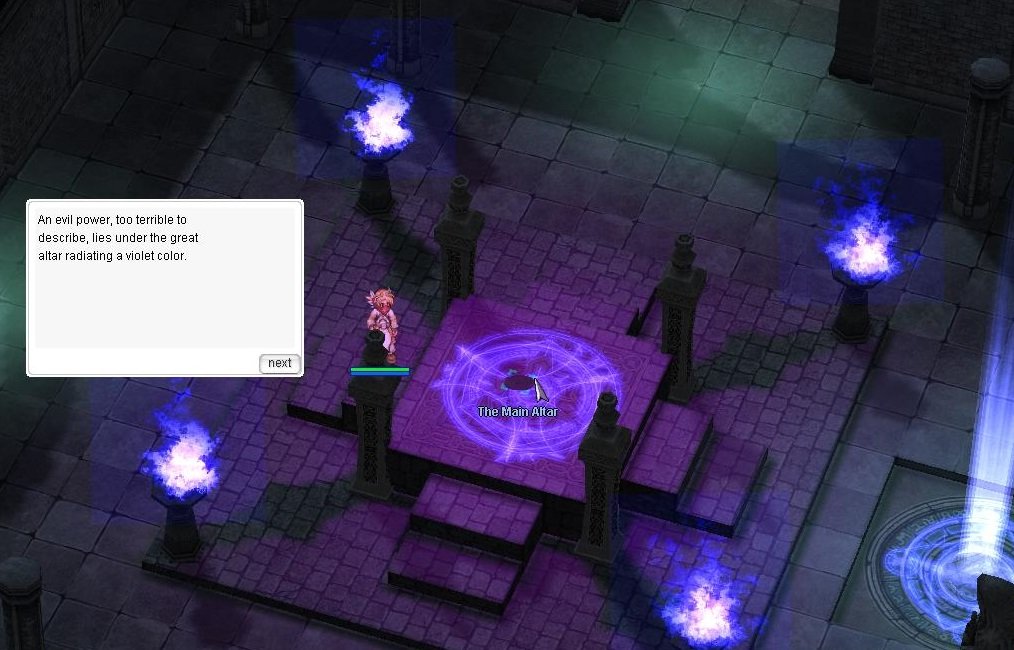
7. Once on the second floor, talk to The Main Altar to summon Great Demon Baphomet. Great Demon Baphomet is invulnerable to your attacks.


Start
Seals
Spawn monsters every 5 min
8. The Ancient Hero's Soul will tell you of seals that will weaken Baphomet. He will instruct you to go to 5 seal locations on the map. The locations are: 2 o'clock, 4 o'clock, 8 o'clock, 10 o'clock and the middle (above The Main Altar). The blue dots show the locations of the seals.
9. Great Demon Baphomet must be brought in to the seal and the seal must be activated to weaken Baphomet. Upon activating a seal, your party has a few seconds to damage Baphomet. The Soul of Ancient Hero will tell your party which seal to activate next. The party member who activates a seal will be Stone Cursed for approximately 30 seconds. It is during this time that the other party members must attack and damage Baphomet. The party member who activates a seal cannot activate two seals in a row. Thus, a party must have a rotation for members who will activate seals.
10. Upon killing Great Demon Baphomet, one of the possible drop items is a Cursed Baphomet Doll
 , which is used to make the headgear, Gigantic Magestic Goat
  .
.
Craft Gigantic Magestic Goat
Combination:
990 000 zeny
-
Essence of Fire
-
1. In Alberta, talk to Captain Janssen (214, 77) and donate 10,000 Zeny.
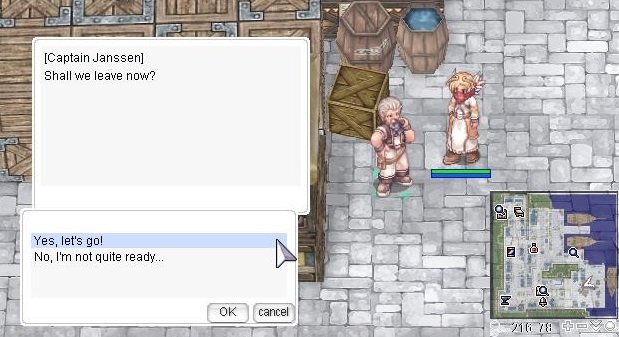
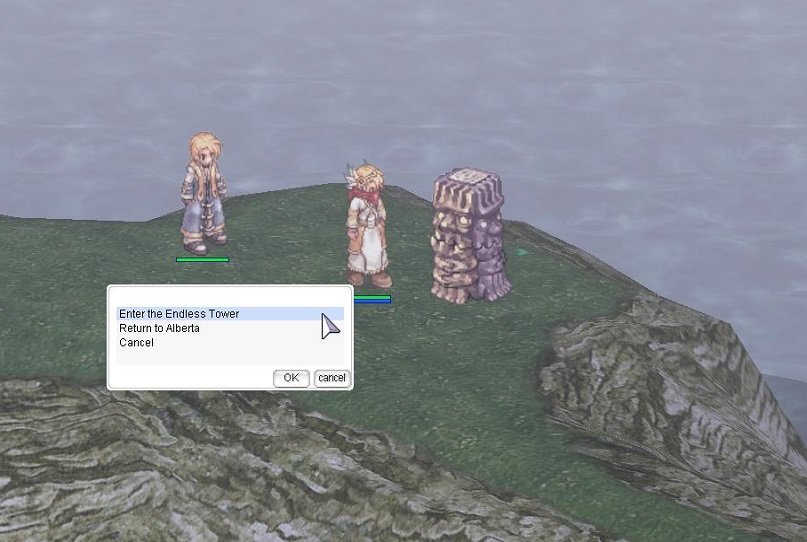
2. Listen to him and agree to be his first mate so he will bring you to the Endless Tower Island.
3. After reaching the island, your party leader must speak with the Tower Protection Stone. They then must generate the Endless Tower Dungeon instance.
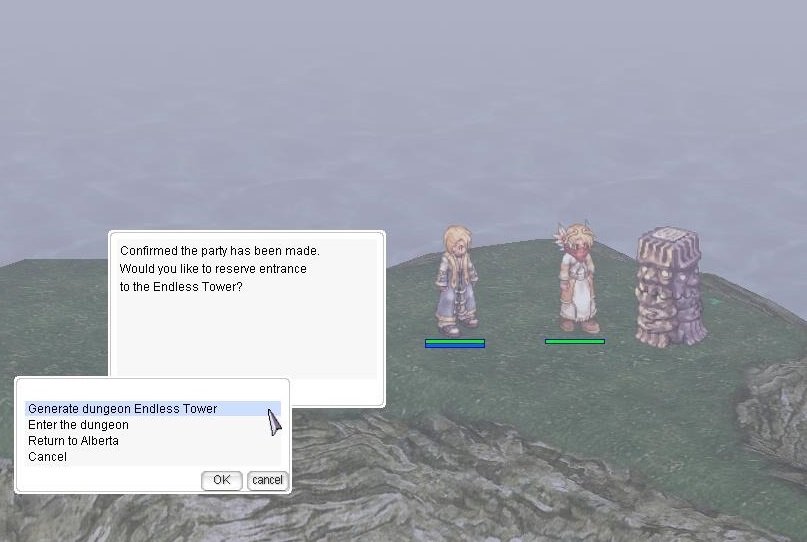
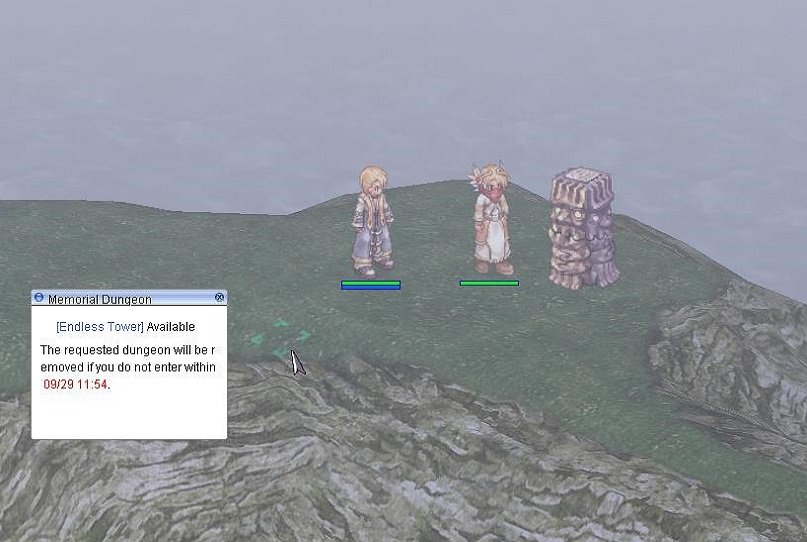
4. After an instance is created, the party will have 5 minutes to enter the dungeon, or else the dungeon will be destroyed. If the dungeon is destroyed, the party leader will not be make a new instance for 6 days 20 hours.
A party may leave the tower, but they must return to the tower in 5 minutes.

The party will have 4 hours to finish the dungeon. If in 4 hours they do not finish, all players in the dungeon will be warped out and sent back to their save points.
- A window will appear showing pertinent time limits for the dungeon. If it is closed, it can be opened again using the shortcut Alt+B.
- If any party member leaves their party while inside the dungeon, they will be kicked out and sent back to their save point! However, they can be reinvited to the party and reenter the tower.
- Taming any monster or killing the last monster on a floor with a mercenary will cause the instance to not register the kill, and the portal to the next floor will not open.
If a player is forced to leave the tower, they can re-enter by talking to the stone on the Misty Island again.
The Endless Tower instance lasts until the party either gives up or runs out of time, after which time all players will be teleported out of the dungeon.
There is no limit on how many instances a party can create within the 4 hour limit. A new instance can be created under a different party leader if the previous instance was destroyed. Once the time limit is up, there is a 6 day 20 hour cooldown period for all party members in which they cannot enter a new Endless Tower instance.
-
1. Approach any Continental Messenger and he will ask for your help. He can be found at any of the following locations:

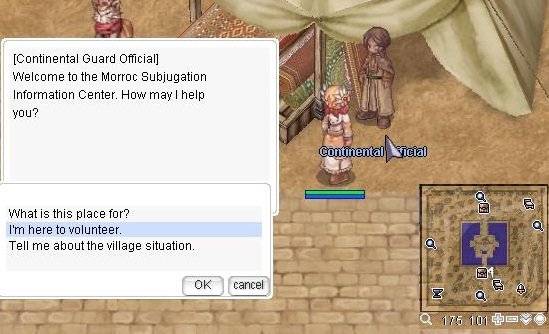
2. In Morroc, Talk to the Continental Official (176, 103), and tell him that you want to volunteer.
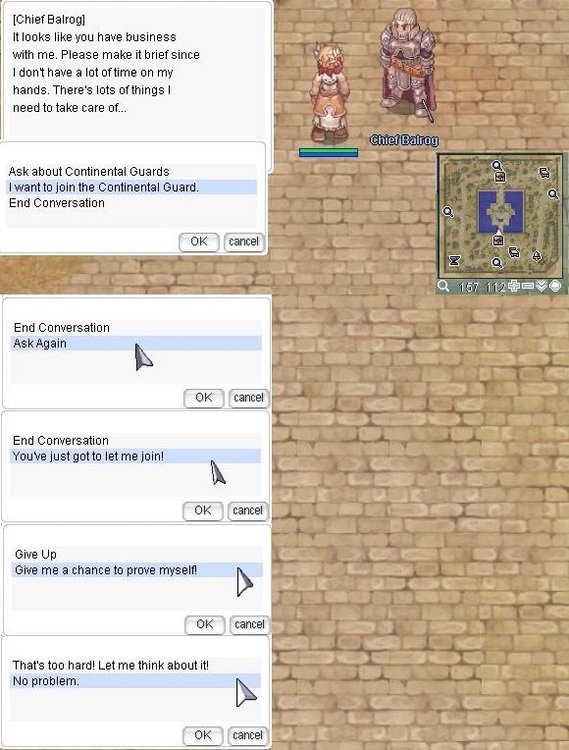
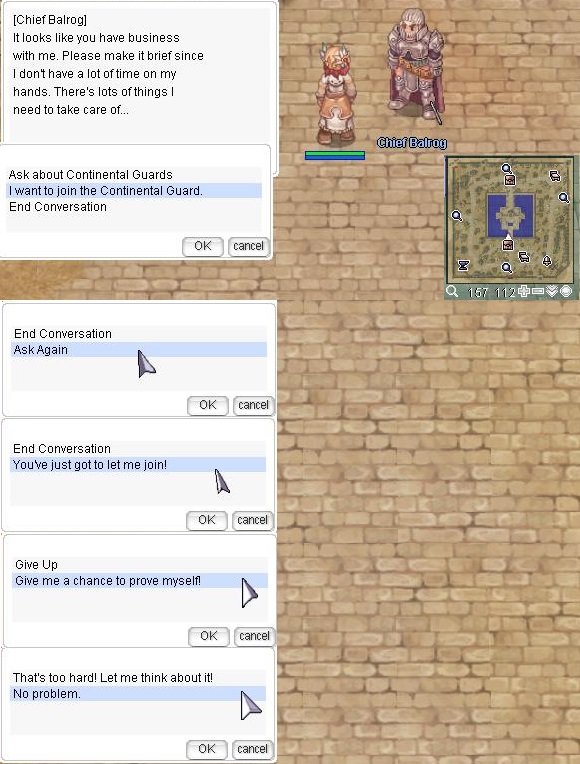
3. Talk to Chief Balrog in Morroc (159, 113) and tell him that you want to join the Continental Guard. He'll ask you to bring him 30 Live Coal and 50 Glacial Heart.
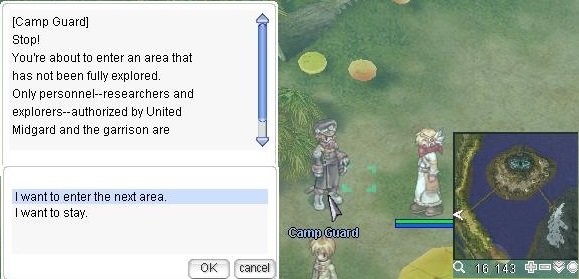
4. Once you bring him the items, he'll give you a Continental Guard Paper.

5. Exit Morroc to the East. Talk to the Rift Guard there (moc_fild20 348, 179), and than tell Continental Guard that you have to enter the field to investigate. Being in a party of at least two people is required to enter the field.

6. Look for the Group of Evil in the Dimensional Gorge (moc_fild21 171, 227).

7. At this moment, Satan Morroc appears next to him. Once you defeat Satan Morroc (Satan Morroc will announce his defeat with 'I'll let live just a little longer. You'll never find me through this time-space gap!'), the Group of Evil will change to Time-Space Gap. Each party member must click on it to receive Piece of Morocc Skin. Any player who was on the map can receive the skin regardless of whether or not they were in the party that killed Satan Morroc.


8. Return to Morroc to Chief Balrog (159, 113) You will also be rewarded with 1 000 000 Base exp and exchange Piece of Morocc Skin for one of the following accessories of choice:
1. Seal of Continental Guard [1]
Now you have access to the main Satan Morroc
-
Quest Prerequisite(s): Wandering Guardian
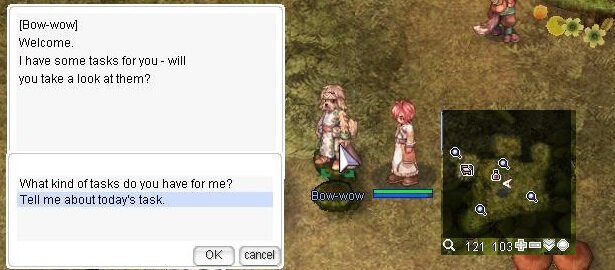
1. Bow-wow (97+ LvL)
1.1 Talk to Bow-Wow.
You will be asked to gather one of one of these following items:
-
4 x Insect Feelers

-
5 x Immortal Heart

-
1 x Rotten Bandage

-
3 x Orcish Voucher

-
3 x Skeleton Bone

1.2 Talk to General Goods Dealer. Receive 1 x Mora Coin


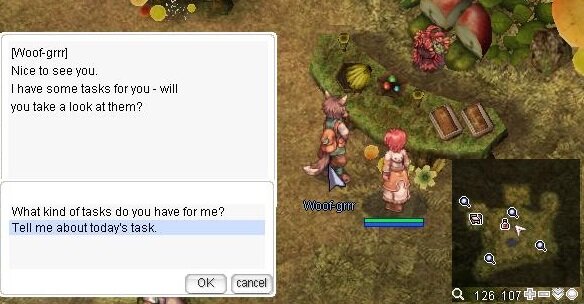
2. Woof-grrr (97+ LvL)
2.2 Talk to Woof-grrr.
You will be asked to gather one of one of these following items:
-
2 x Venomous Canine

-
2 x Memento

-
3 x Shell

-
3 x Scale Shell

-
5 x Sticky Mucus

2.3 Talk to Commodities Dealer. Receive 1 x Mora Coin

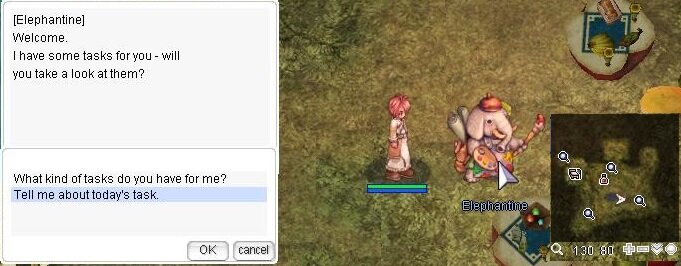
3. Elephantine (135+ LvL)
You must be above Base Level 135 to take any of these quests.
3.1 Talk to Elephantine.
You will be tasked to kill the given amount of one of the following monsters:
- 3 x Pom Spider
- 4 x Angra Mantis
- 5 x Parus
- 6 x Little Fatum
- 7 x Miming
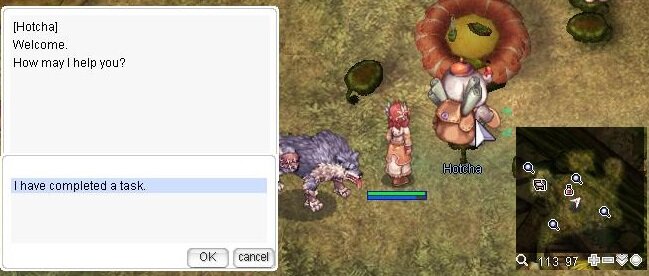
3.2 Talk to Hotcha. Receive 3 x Mora Coin
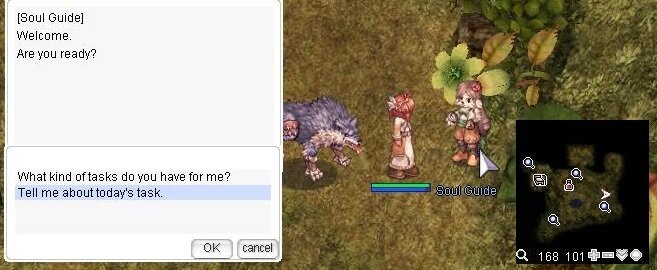
4. Soul Guide (97+ LvL)
4.1 Talk to Soul Guide.
Asks you to find and rescue the souls of people who have gotten lost in the Hazy Forest. There is a small chance that you will not find any coins from the NPC.
Carefully look at the description of the quest through the list of quests.
-
Tual - 116 40 (Island 2) Receive 3 x Mora Coin
-
Chaihokin - 170 50 (Island 6) Receive 2 x Mora Coin
-
Tazar - 130 100 (Island 8) Receive 6 x Mora Coin
-
Nigel - 100 240 (Island 30) Receive 5 x Mora Coin
-
Messil - 140 240 (Island 42) Receive 5 x Mora Coin
-
Norit - 196 276 (Island 49) Receive 6 x Mora Coin
-
Kunmoon - 285 85 (Island 63) Receive 4 x Mora Coin
-
Pajama Sin - 300 320 (Island 67) Receive 5 x Mora Coin
-
Mendel - 330 280 (Island 74) Receive 7 x Mora Coin
-
Milebit - 330 170 (Island 75) Receive 5 x Mora Coin
Mendel is also visible over the ledge from the southeast edge of Island 65
Milebit is also visible over the ledge from the northeast of Island 68
-
4.2 FE, Soul Guide said find NPC Tazar.

-
4 x Insect Feelers
-
Verified by our database!
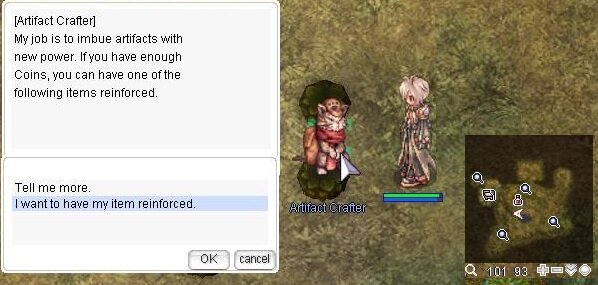
1. Talk to Artifact Crafter ( Warlock). Costs for enchant 2 x Mora Coin

Equipments Enchantable slots Min enchantment(random) Max enchantment(full) (very low chance) 2  INT 1-2
DEX 1-2
INT 1-2
DEX 1-2
 HP 200
 SP 100
 Mdef 2
 MATK 2%
INT 4 MATK 2%
INT 4 INT 4
MATK +2% MATK +2%
MATK +2% INT 4
MATK 2%
INT 4 MATK 2%
INT 4 INT 4
MATK +2% MATK +2%
MATK +2% INT 4
3 INT 1-2
DEX 1-2
HP 200
SP 100
Mdef 2
MATK 1%
INT 3 INT 4 MATK 2%
INT 3 INT 4 INT 4
INT 3 MATK +2% MATK +2%
INT 3 MATK +2% INT 4
DEX 3 INT 4 MATK 2%
DEX 3 INT 4 INT 4
DEX 3 MATK +2% MATK +2%
DEX 3 MATK 2 INT 4
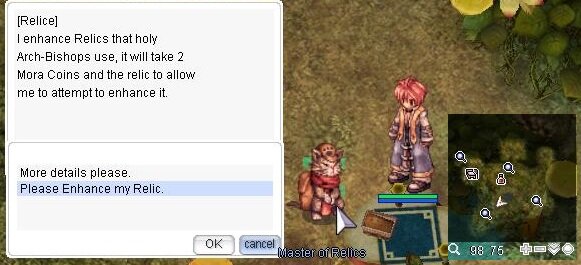
2. Talk to Master of Relicts (Arch bishop). Costs for enchant 2 x Mora Coin
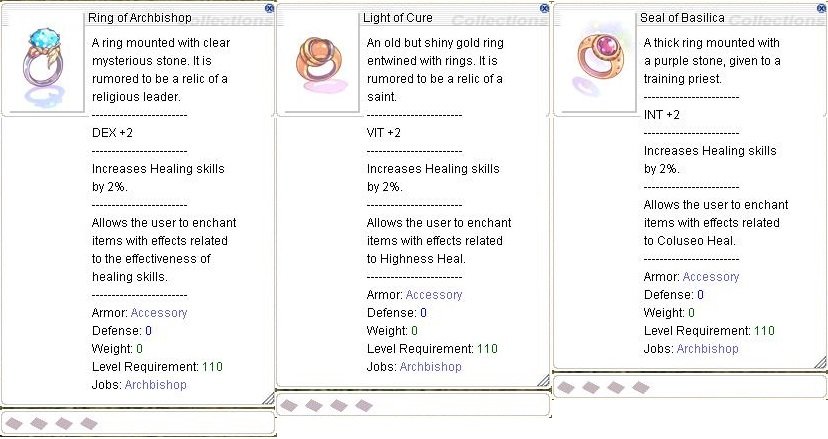
Equipments Enchantable slots Min enchantment(random) Max enchantment(full) (very low chance)  Light of Cure
2 VIT 1
INT 2
DEX 1-2
HP 500
ATK 2%
Mdef 6
Decreases cooldown time for Highness Heal By 3 sec + Decreases cooldown time for Highness Heal By 3 sec
 Seal of Cathedral
2 VIT 1
INT 2
DEX 1-2
HP 500
ATK 2%
Mdef 6
Decreases SP cost of Coluseo Heal by 30 + Decreases SP cost of Coluseo Heal by 30
 Ring of Archbishop
2 VIT 1
INT 2
DEX 1-2
HP 500
ATK 2%
Mdef 6
 Increases healing Skills by 3% + Increases healing Skills by 3%
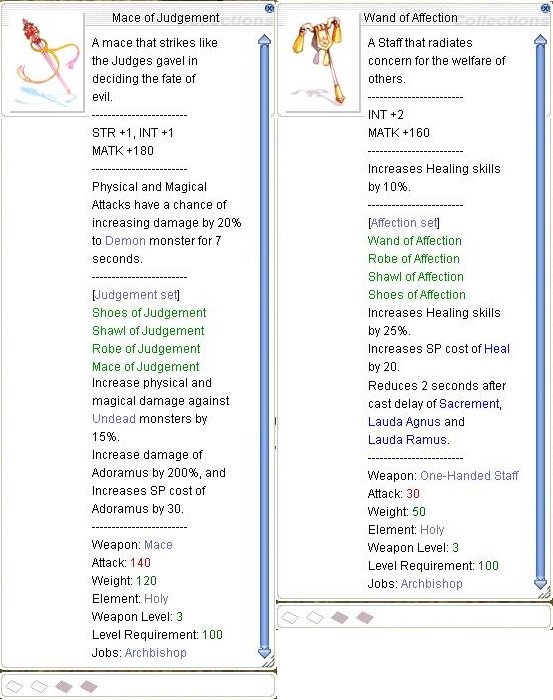
 Wand Of Affection [2]
2 VIT 1-2
INT 1-2
DEX 1-2
SP 100
MATK 2%
MATK 2% MATK 2%
MATK 2% DEX 4
MATK 2% INT 5
INT 5 INT 5
INT 5 DEX 4
DEX 4 DEX 4
 Mace Of Judgement [2]
2 STR 1-2
VIT 1-2
DEX 1-2
ATK 3%
ATK 3% ATK 3%
ATK 3% DEX 4
ATK 3% STR 5
STR 5 STR 5
STR 5 DEX 4
DEX 4 DEX 4
3 VIT 1
INT 1-2
DEX 1-2
HP 500
ATK 2%
Mdef 6
CRIT 5
MATK 2% MATK 2% MATK 2%
INT 3 INT 4 INT 4
INT 3 MATK 2% MATK 2%
INT 3 INT 4 MATK 2%
DEX 3 DEX 4 DEX 4
DEX 3 STR 4 STR 4
DEX 3 ATK 3% ATK 3%
ATK 3% ATK 3% ATK 3%
3. Artifact collector (Arch Bishop / Warlock).
He will exchange your staff for a very powerful staff...Combination = staff + enchant + refine rate

Equipments Req. Enchants Value Req. Refine Reward MATK 2% or INT 4
+7 MATK 2% or DEX 4 or INT 5
ATK 3% or DEX 4 or STR 5
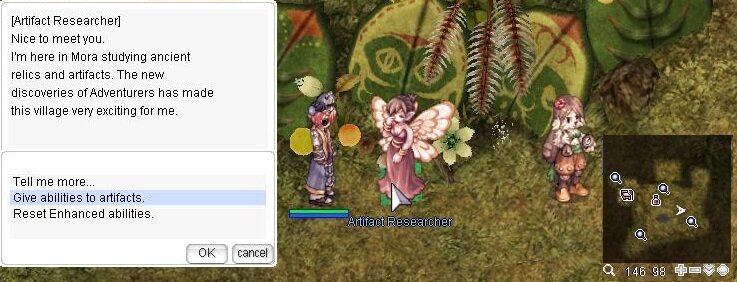
+7 4. Talk to Artifact Researcher.
-
Enchantments cost 1 x Mora Coin and 100 000 zeny each.
- The second enchantment has a chance of failure (failure erases all enchantments).
- The third enchantment has a low chance of success, failure results in either the removal of all enchantments, or the item breaking.
-
The third dialog option will remove all enchants, for 1 x Mora coin and 100 000 zeny.

Warlock / Arch Bishop
Equipments +0-8 +9 Enchant +9 Enchant 2  Empowered Aqua Staff [1]
Spell Ability 1 Spell Ability 1 Spell Ability 2  Empowered Forest Staff [1]
Spell Ability 1 Spell Ability 1 Spell Ability 2  Empowered Crimson Staff [1]
Spell Ability 1 Spell Ability 1 Spell Ability 2  Empowered Golden Rod Staff [1]
Spell Ability 1 Spell Ability 1 Spell Ability 2  Empowered Wand Of Affection [1]
Healer Healer Spell Ability 1  Empowered Mace Of Judgement [1]
ATK ATK Spell Ability 1 Rune Knight
Equipments +0-8 +9 Enchant +9 Enchant 2  Ur's Greaves [1]
Assist 1 Assist 1 STR  Ur's Manteau
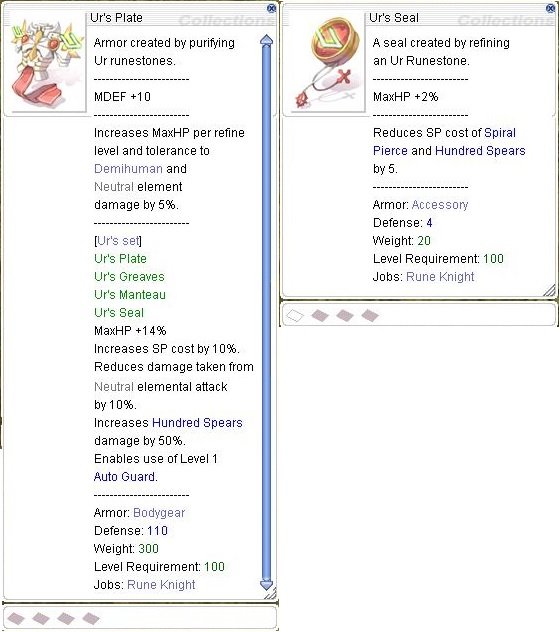
EVA EVA STR  Ur's Plate
STR STR ATK  Ur's Seal [1] ( enchant through the left slot )
Assist 1  Peuz's Greaves [1]
Assist 1 Assist 1 Physical  Peuz's Manteau
EVA EVA CRIT  Peuz's Plate
Physical Physical CRIT  Peuz's Seal [1]
Assist 1 Ranger
Equipments +0-8 +9 Enchant +9 Enchant 2  White Wing Boots [1]
Assist 1 Assist 1 CRIT  White Wing Manteau
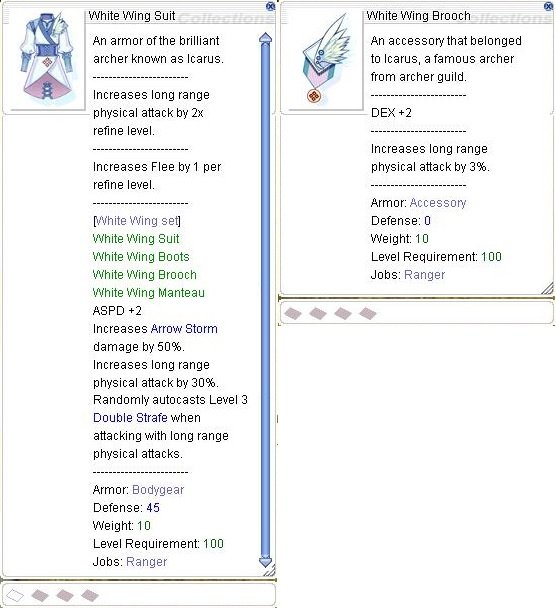
EVA EVA ATK  White Wing Suit [1]
CRIT CRIT Range  White Wing Brooch
Assist 1  Black Wing Boots [1]
Assist 1 Assist 1 ATK  Black Wing Manteau
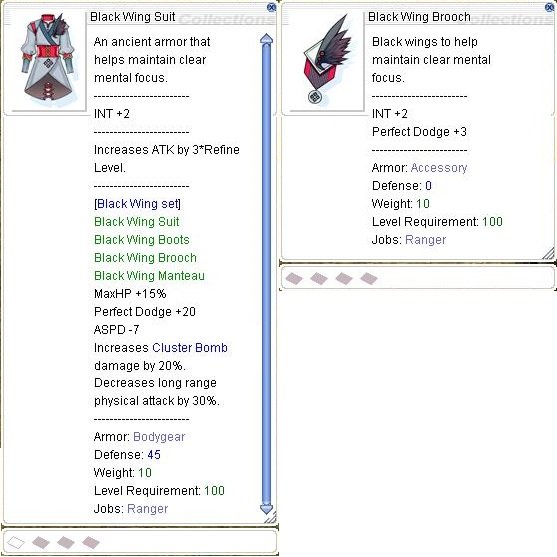
EVA EVA ATK  Black Wing Suit [1]
ATK ATK Range  Black Wing Brooch
Assist 1 Guillotine Cross
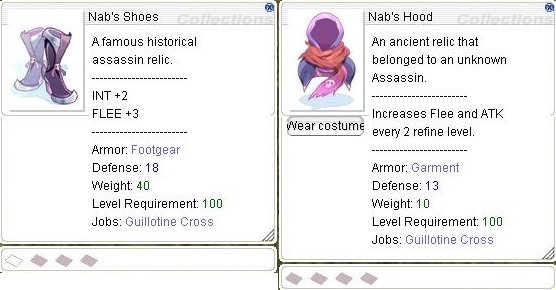
Equipments +0-8 +9 Enchant +9 Enchant 2  Nab Shoes [1]
Assist 1 Assist 1 ATK  Nab Hood
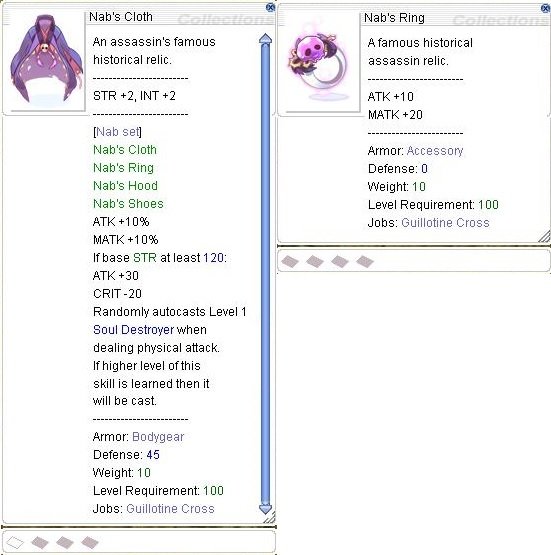
EVA EVA CRIT  Nab's Cloth [1]
ATK ATK CRIT  Nab Ring
Assist 1  Sapha Shoes [1]
Assist 1 Assist 1 CRIT  Sapha Hood
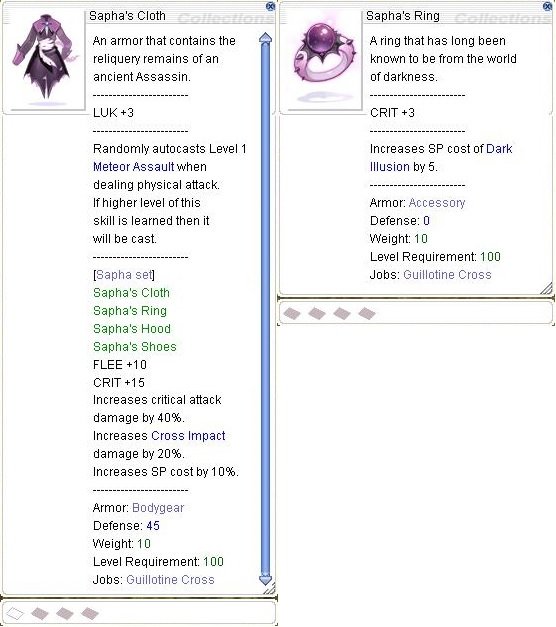
EVA EVA CRIT  Sapha's Cloth [1]
CRIT CRIT Physical  Sapha Ring
Assist 1 Enchant types SLOT 2 SLOT 3 SLOT 4 ATK STR 4-6
ATK 2%, 3%
 ATK 12 HIT 4
ATK 15 HIT 5
ATK 18 HIT 5
ATK 21 HIT 5
STR 2-4
ATK 1%, 2%, 3%
ATK 9 HIT 3
ATK 12 HIT 4
ATK 15 HIT 5
STR 1-3
ATK 1%, 2%, 3%
ATK 6 HIT 2
ATK 9 HIT 3
ATK 12 HIT 4
ATK 12 HIT 4
ATK 15 HIT 5
ATK 18 HIT 5
ATK 21 HIT 5
STR 2-4
ATK 1%, 2%, 3%
ATK 9 HIT 3
ATK 12 HIT 4
ATK 15 HIT 5
STR 1-3
ATK 1%, 2%, 3%
ATK 6 HIT 2
ATK 9 HIT 3
ATK 12 HIT 4
CRIT STR 3-4
LUK 3-5
CRIT 5, 7
CRIT 6 HIT 2
CRIT 9 HIT 3
CRIT 12 HIT 4
STR 1-3
LUK 2-5
CRIT 5, 7
CRIT 6 HIT 2
CRIT 9 HIT 3
STR 1-3
LUK 1-3
CRIT 5
CRIT 6 HIT 2
EVA AGI 2-5
LUK 3-5
FLEE 6, 12
AGI 1-4
LUK 2-4
FLEE 3, 6
AGI 1-3
LUK 1-3
FLEE 1, 3
Healer INT 3-4
DEX 2-4
MATK 1%, 2%, 3%
Increases Healing Skills by 3%
Increases Healing Skills by 6%, Increases SP Cost by 5%
Increases Healing Skills by 12%, Increases SP Cost by 10%
Increases Healing Skills by 20%, Increases SP Cost by 15%
INT 2-4
DEX 1-4
MATK 1%
Increases Healing Skills by 3%
Increases Healing Skills by 6%, Increases SP Cost by 5%
INT 1-3
DEX 1-3
Increases Healing Skills by 3%
Spell 1 INT 2-4
DEX 2-4
HP 200-300
 MATK 6, Reduces variable cast time by 3%
MATK 9, Reduces variable cast time by 6%
MATK 12, Reduces variable cast time by 8%
MATK 15, Reduces variable cast time by 10%
INT 2-3
DEX 2-3
HP 200-300
MATK 6, Reduces variable cast time by 3%
MATK 9, Reduces variable cast time by 6%
MATK 12, Reduces variable cast time by 8%
INT 1-2
DEX 1-2
HP 100-200
MATK 6, Reduces variable cast time by 3%
MATK 9, Reduces variable cast time by 6%
MATK 6, Reduces variable cast time by 3%
MATK 9, Reduces variable cast time by 6%
MATK 12, Reduces variable cast time by 8%
MATK 15, Reduces variable cast time by 10%
INT 2-3
DEX 2-3
HP 200-300
MATK 6, Reduces variable cast time by 3%
MATK 9, Reduces variable cast time by 6%
MATK 12, Reduces variable cast time by 8%
INT 1-2
DEX 1-2
HP 100-200
MATK 6, Reduces variable cast time by 3%
MATK 9, Reduces variable cast time by 6%
Assist 1 STR 2
AGI 2
VIT 1
DEX 2
 Def 9
Mdef 6
SP 150
HP 300
STR 1
AGI 1
VIT 1
DEX 1
Def 9
Mdef 6
SP 150
HP 200-300
STR 1
AGI 1
VIT 1
DEX 1
Def 6
Mdef 4
SP 100
HP 200
Def 9
Mdef 6
SP 150
HP 300
STR 1
AGI 1
VIT 1
DEX 1
Def 9
Mdef 6
SP 150
HP 200-300
STR 1
AGI 1
VIT 1
DEX 1
Def 6
Mdef 4
SP 100
HP 200
STR VIT 3-5
HP 500
Def 6, 9, 12
VIT 2-4
HP 400-500
Def 3, 6, 9, 12
VIT 1-3
HP 300-500
Def 3, 6, 9
Range DEX 2-5
LUK 3-4
CRIT 5, 7
 Increases long range physical attack by 2%
Increases long range physical attack by 4%
Increases long range physical attack by 6%
Increases long range physical attack by 8%
DEX 1-4
LUK 2-4
CRIT 5, 7
Increases long range physical attack by 2%
Increases long range physical attack by 4%
Increases long range physical attack by 6%
DEX 1-3
LUK 1-4
CRIT 5
Increases long range physical attack by 2%
Increases long range physical attack by 2%
Increases long range physical attack by 4%
Increases long range physical attack by 6%
Increases long range physical attack by 8%
DEX 1-4
LUK 2-4
CRIT 5, 7
Increases long range physical attack by 2%
Increases long range physical attack by 4%
Increases long range physical attack by 6%
DEX 1-3
LUK 1-4
CRIT 5
Increases long range physical attack by 2%
Physical AGI 3-4
LUK 3-4
HP 200-300
Def 9
 ASPD 1
AGI 2-3
LUK 2-3
HP 100-300
Def 6, 9
AGI 1-2
LUK 1-2
HP 100-200
Def 3, 6
ASPD 1
AGI 2-3
LUK 2-3
HP 100-300
Def 6, 9
AGI 1-2
LUK 1-2
HP 100-200
Def 3, 6
Spell 2 INT 3-5
DEX 3-5
MATK 1%, 2%, 3%
MATK 9, Reduces variable cast time by 6%
MATK 12, Reduces variable cast time by 8%
MATK 15, Reduces variable cast time by 10%
INT 3-4
DEX 3-4
MATK 1%, 2%
MATK 9, Reduces variable cast time by 6%
MATK 12, Reduces variable cast time by 8%
MATK 15, Reduces variable cast time by 10%
INT 2-3
DEX 2-3
HP 200
MATK 1%
MATK 9, Reduces variable cast time by 6%
MATK 12, Reduces variable cast time by 8%
5. Talk to someone from NPC.
-
Master Tailor sells a
 Army padding for 1 x mora coin . Can be enhcated for 5 x mora Coins .
-
Pendant Crafter can enhcated your
 Pendant Of Guardian (Quest item Wandering Guardian) for 5 x mora Coins .
-
Bulberry Westhood can enhcated your
 Loki's Muffler (Quest item Wandering Guardian) for 5 x mora Coins .

Equipments Slot 2 Slot 3 Slot 4 Max enchantment(full) (very low chance) ATK 2%, 3%
CRIT 5, 7
FLEE 6, 12
MATK 1%, 2%
INT 1-2
DEX 1-2
LUK 1-2
STR 1-2
AGI 1-2
VIT 1-2
MATK 2% DEX 1 STR 1
MATK 2% INT 3 INT 3
CRIT 7 AGI 3 AGI 3
FLEE 12 LUK 3 LUK 4
FLEE 12 VIT 3 VIT 3
FLEE 12 DEX 3 DEX 3
VIT 3 VIT 3 VIT 3
MATK 2% DEX 3 DEX 3
ATK 3% STR 3 STR 3
FLEE 12 AGI 3 AGI 3
-
Enchantments cost 1 x Mora Coin
-
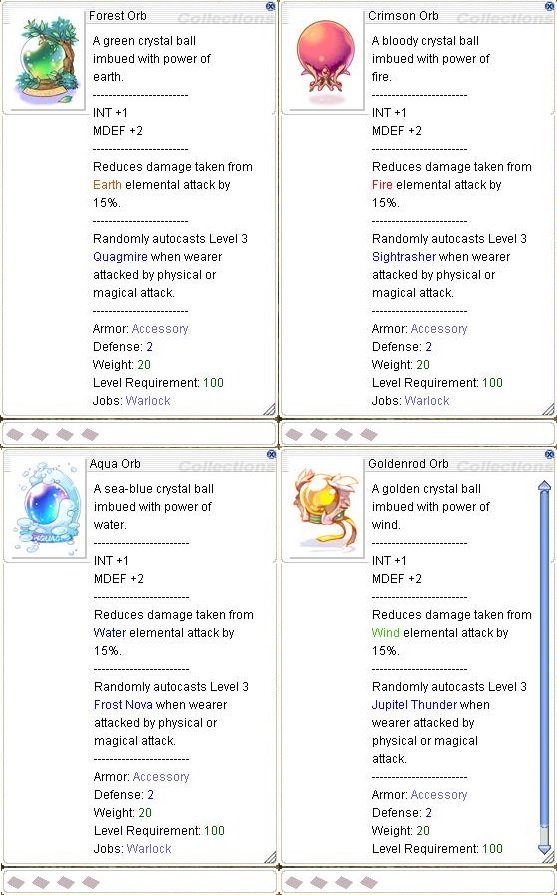
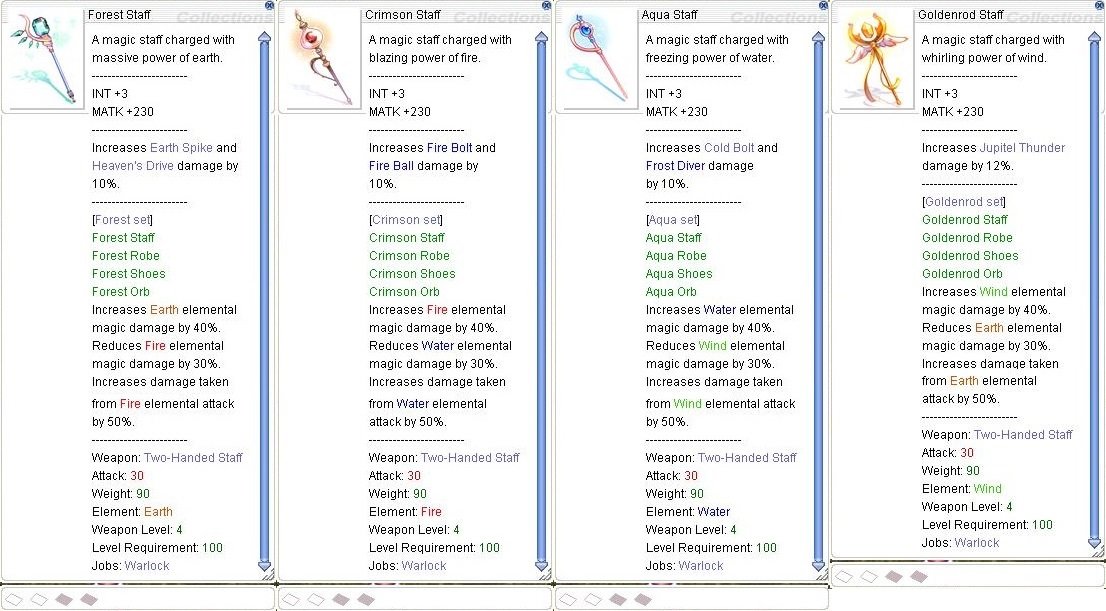
1. Guardian of Artifact, exchanges 10x Mora coins for equipment for the Warlock.
Select a category from the list (obtain random equipment) :

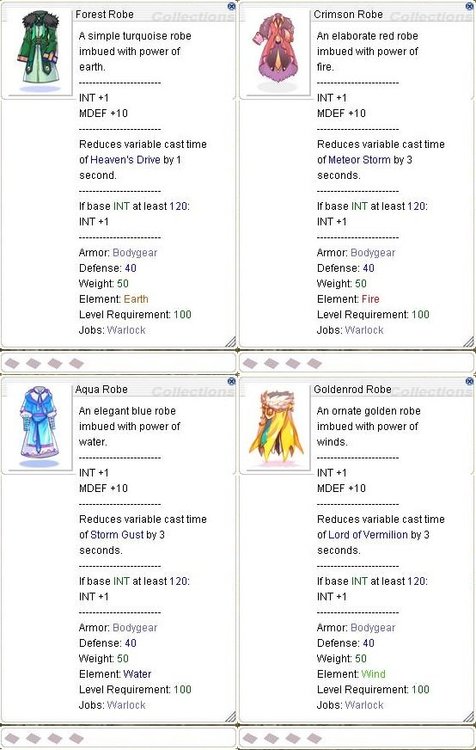
Shoes:
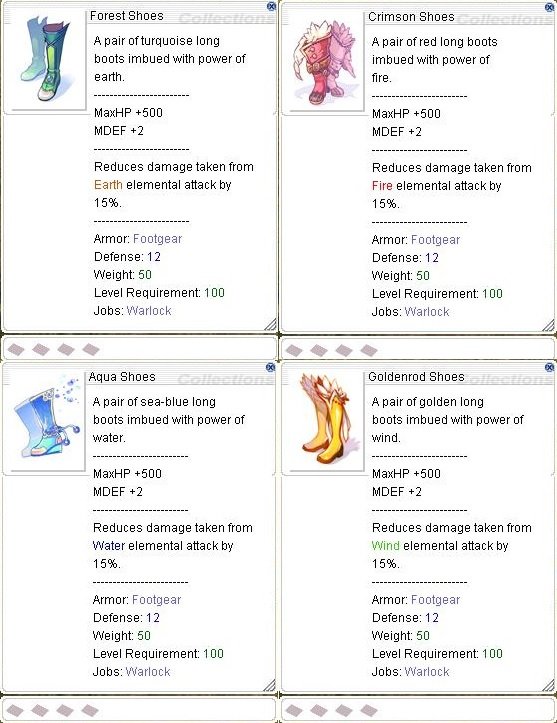
Orbs:

Robes:
Staves:

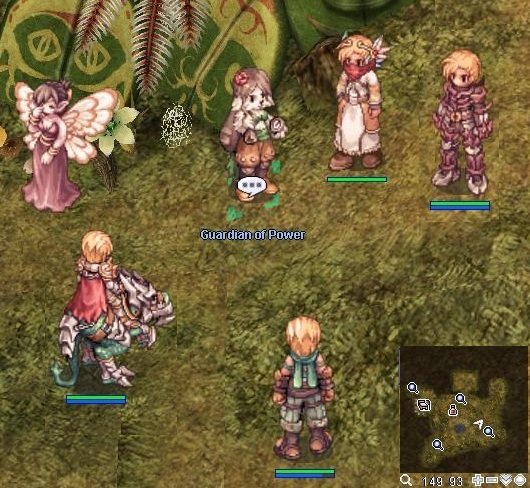
2. Guardian of Power exchanges 10x Mora coins for equipment for the Ranger, Rune Knight, Guillotine Cross.
You can select categories of items. These are very cool things, I advise you to get the rest of the set from monsters and use sets for different strategies.
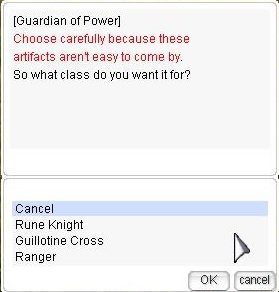
Ranger:
1st set is White Wing, The sets also has an armor and accessory
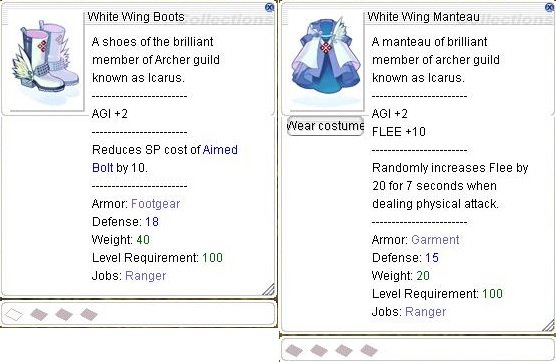
White Wing Suits [1] dropped by Anubis
White Wing Brooch dropped by Acidus / Acidus / Solid Acidus / Acidus RingLeader
2d set is Black Wing.
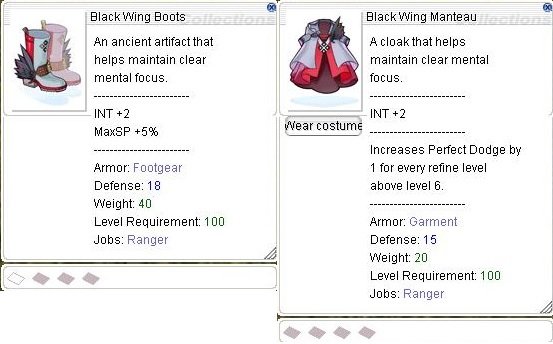
Black Wing Suits [1] dropped by Luciola Vespa / Elusive Luciola Vespa
Black Wing Brooch dropped by Ferus / Ferus
Guillotine Cross
1st set is Sapha's. The sets also has an armor and accessory

Sapha's Cloth [1] dropped by Loli Ruri / Swift Loli Ruri
Sapha Ring dropped by Zombie Slaughter / Swift Zombie Slaughter
2d set is Nab's
Nab's Cloth [1] dropped by Dullahan
Nab Ring dropped by Ragged Zombie
Rune Knight
1st set is Ur's, The sets also has an armor and accessory
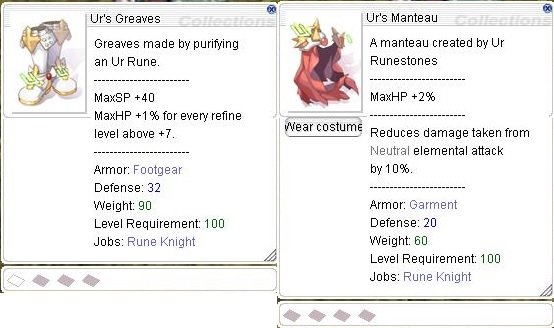
Ur's Plate dropped by Khalitzburg
Ur's Seal [1] dropped by Vanberk / Swift Vanberk / Isilla / Isilla Ringleader
2d set is Peuz's
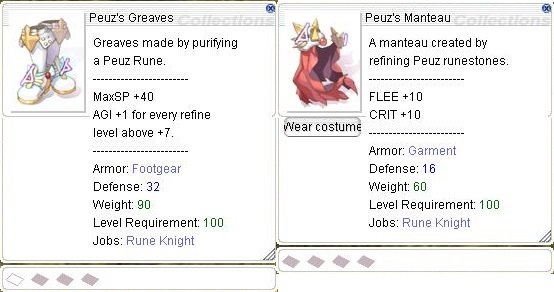
Peuz's Plate dropped by Raydric / Swift Raydric / Solid Raydric
Peuz's Seal [1] dropped by Skogul / Solid Skogul / Frus

3. Keeper of Secrets, exchanges 10x Mora coins for equipment for the Arch Bishop.
Only an Arch Bishop can trade in Mora Coins for the gear with the Keeper of Secrets.
Select a category from the list (obtain random equipment) :
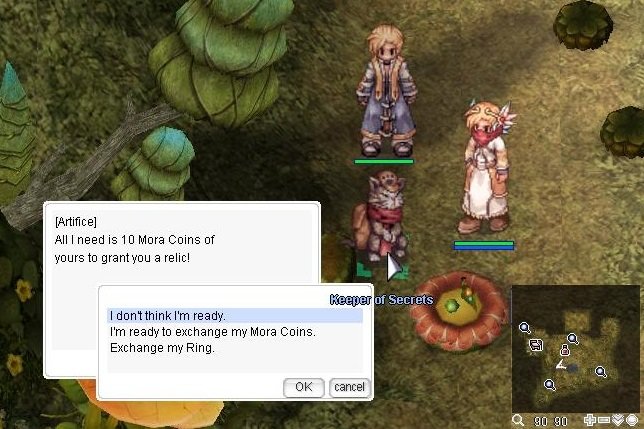
Ring
Not allowed to purchase an accessory when you already have one or more in your inventory.
Any of the rings can be exchanged for 10 mora coins, by any class, except the arch bishop.
Shoes
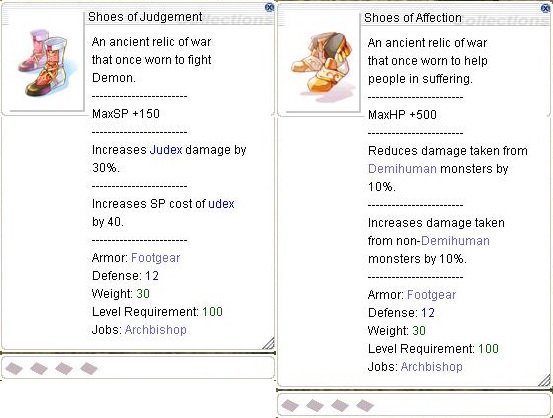
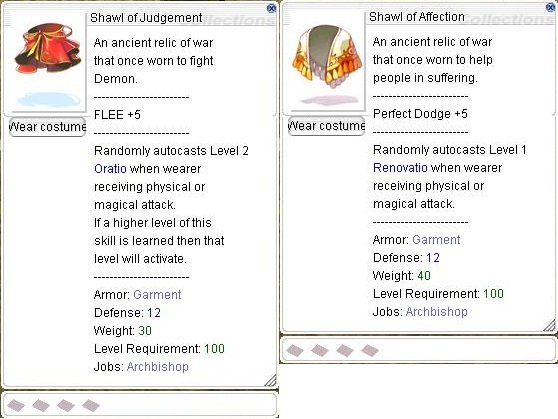
Shawl
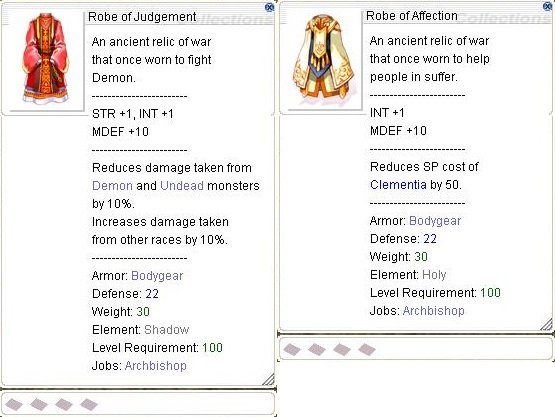
Robe
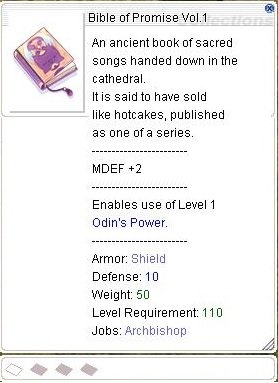
Shield
Weapon
-
Quest Prerequisite(s): Wandering Guardian Quest.
Quest Reward(s): Mora coin
 , Exp.
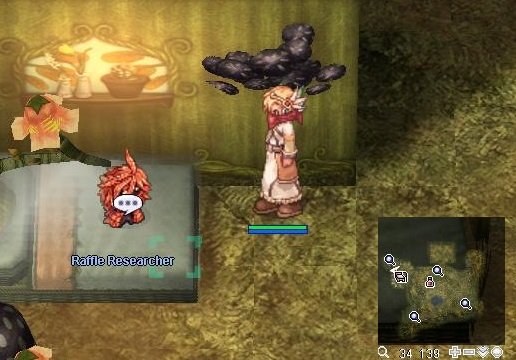
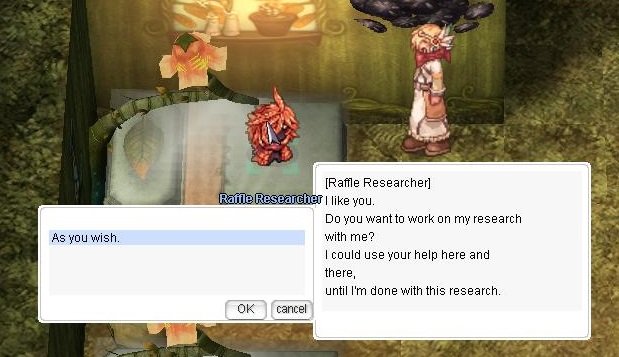
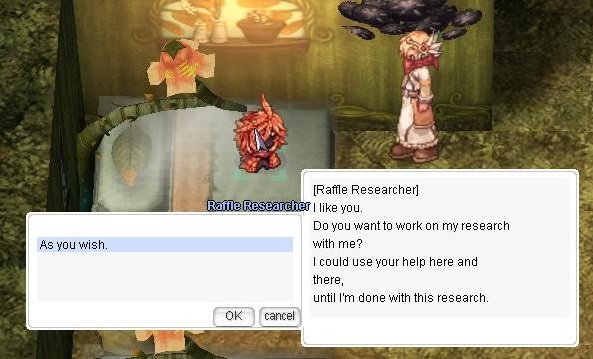
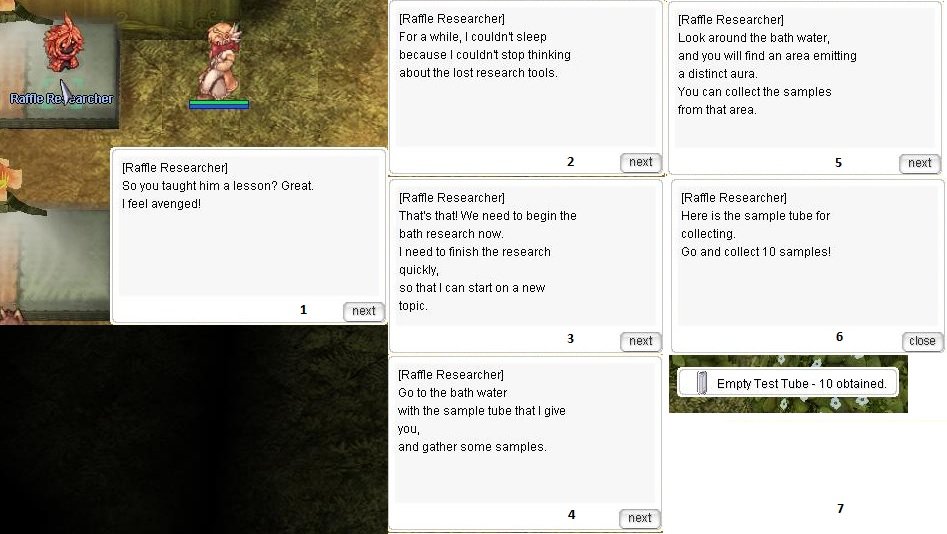
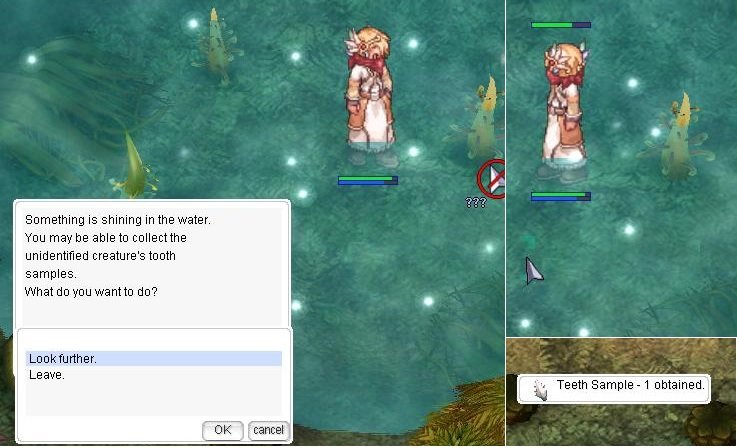
1. In Mora, speak to Raffle Researcher.
- 'What is your business here?'
- '... ...'
- 'Well... that's... um...'
- 'Glad to hear that...'
- 'Help him.'
- '... ... '
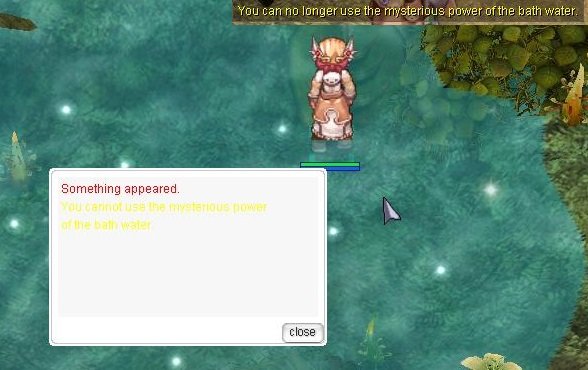
2. Now walk around in the pond in middle of Mora, until you receive an announcement.
3. Then talk to Black Shadow. You will be attacked by the Unidentified creature.
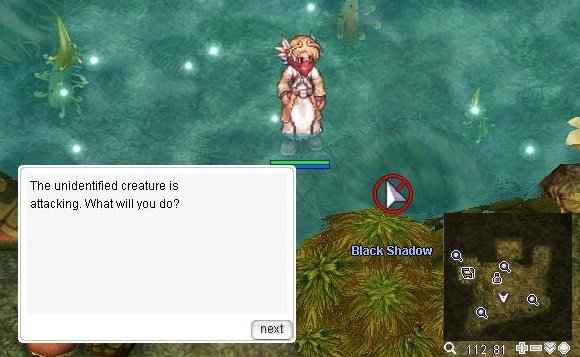
4. You need to defeat a monster with 200 HP. Use Weapon : 10 damage, high accuracy . Use Skill : 20 damage, medium accuracy. Use Teeth/Bite : 50 damage, low accuracy
My technique: The first thing we do is to hit with the teeth. If the hit did not do damage, select run away in fear or it's too muck run away. Repeat until we strike the first blow. After we struck the first blow, we see the scoreboard of lives. Next, we use several techniques:
1) T-D S-D W-D S-D S-D W-B W-B T-D T-D T-D and other
2) T-D S-D S-D W-B W-D T-D T-D T-D S-D T-D T-D S-D and other
If you have low HP, simply cancel the battle and launch a new one.
Note 2: If you lose, you will be teleported to the Mora inn. You can restart the battle by walking near one of the ??? - Spots in the water (mora 116, 82), so the Black Shadow will be available again for battle.

5. You will receive Research Tool Bag
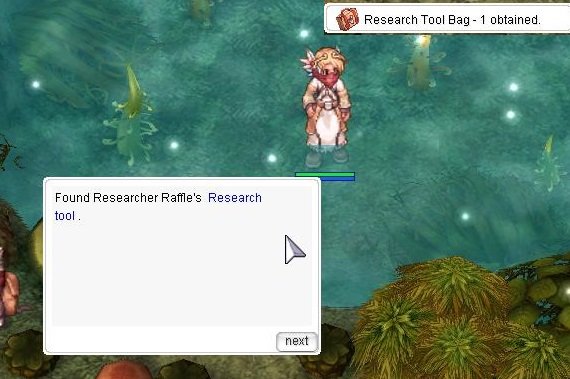
6. Return to speak to Raffle Researcher. You will receive 1x Mora coin
.
7. Now, you need to come back after 1 hour. Raffle Researcher will ask you to help kill 3 more monsters ( Black shadows). After you killed the monster, you need to wait 1 hour to continue killing the monster.
8. After completing the 3 more times, return to Raffle Researcher and he will give you 10 x Empty Test Tube
 .
.
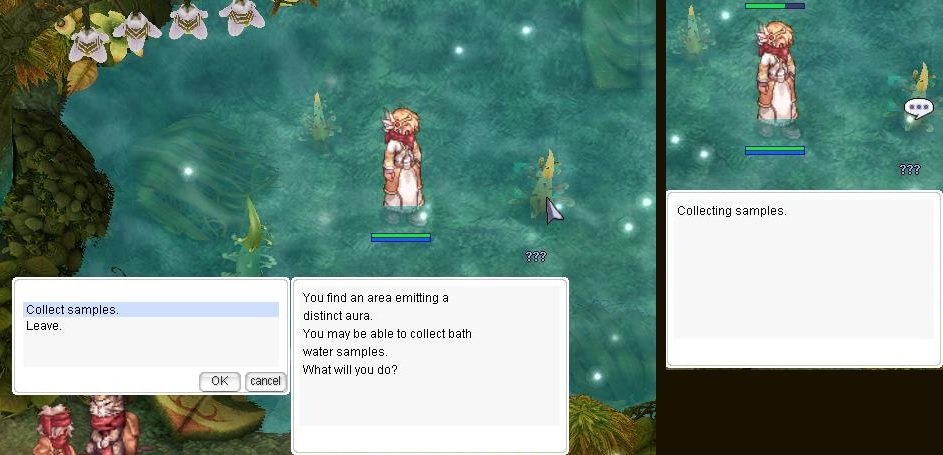
You need to collect 10x Bath Water Sample
 in bath pool. At the bath pool, click on the ??? spots to collect water samples.
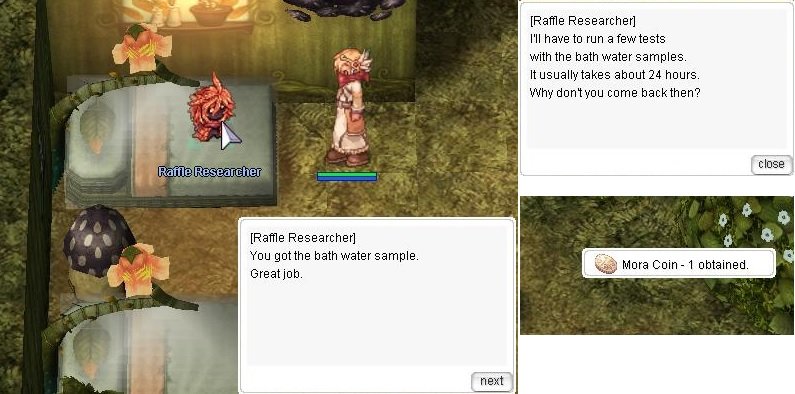
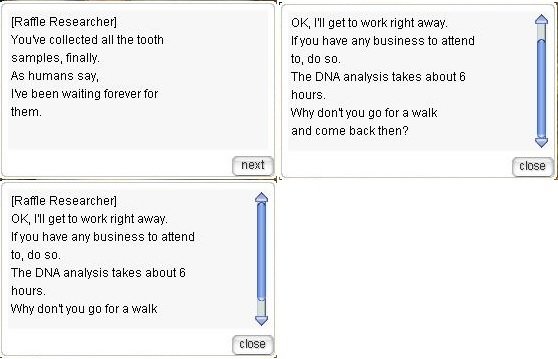
9. When you return with the 10 Bath Water Samples
, the Raffle Researcher tells you he will need 1 day to analyze them. He will also give you 1 Mora Coin .
10. Return to the Raffle Researcher and he will ask you to collect either 10 Scale Sample or 10 Teeth Sample from the bath water.
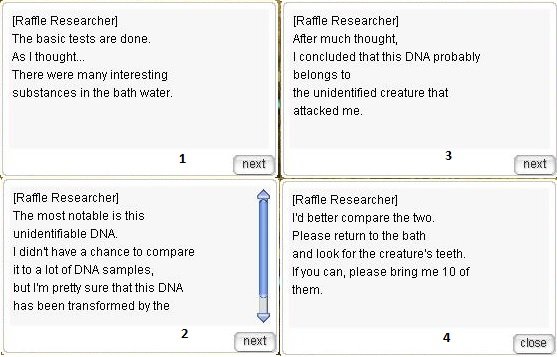
11. At the bath pool, click on the ??? spots to collect samples.
12. When you return with the 10 samples, the researcher tells you he will need 6 hours to analyze them. He will also give you 1 Mora Coin
. If the NPC fails, it may require more resources.
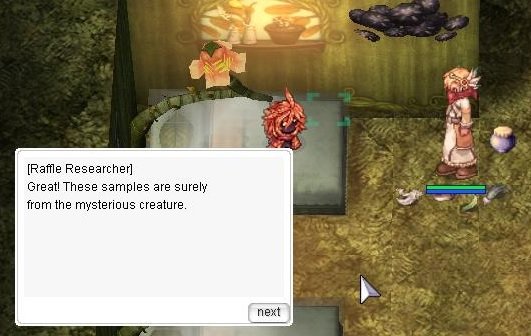
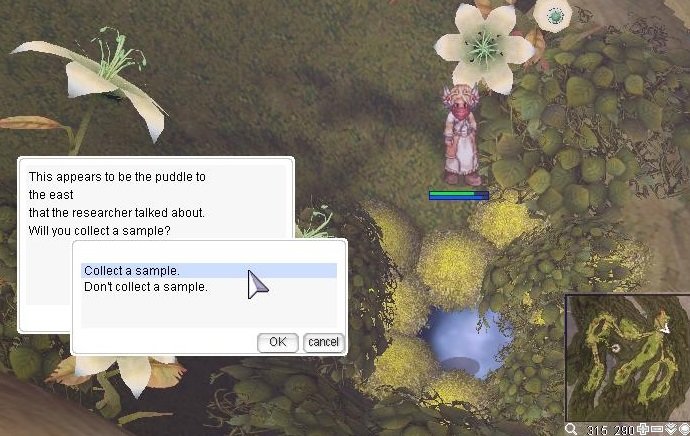
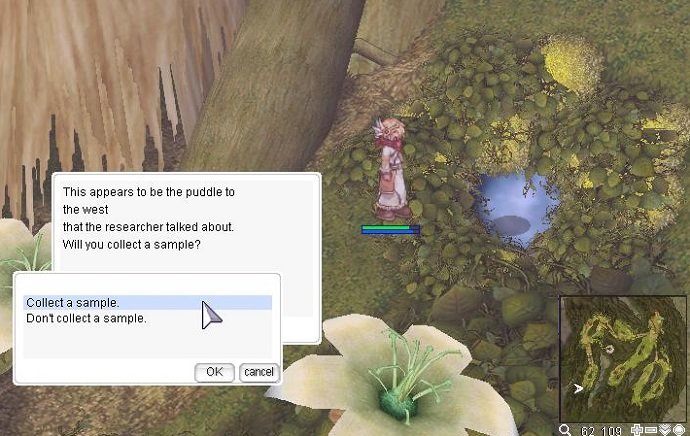
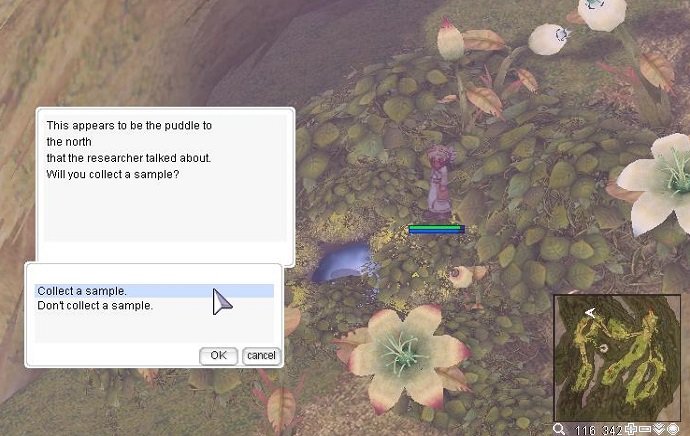
13. After 6 hours, the researcher asks you to collect 4 Sample of Puddle Research
 from the ponds on the field outside town. He will give you 1 Test Tube at a time and ask you to visit the following ponds:

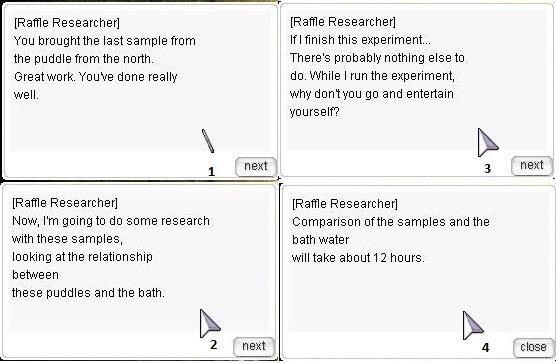
14. After you return, you'll be rewarded with 4 Mora Coins
and asked to return in 12 hours.
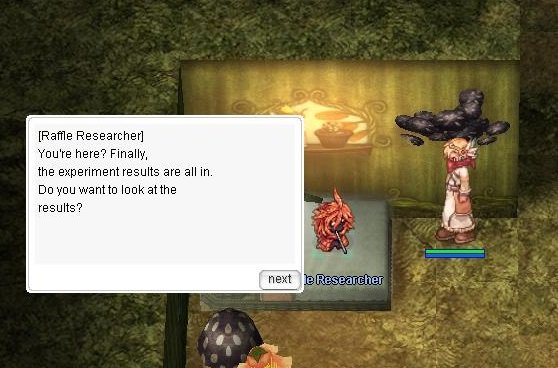
15. Return after 12 hours and you will be shown the results of your research. You will also be rewarded with 5 000 000 Base Exp
and 30 additional Mora Coins
.
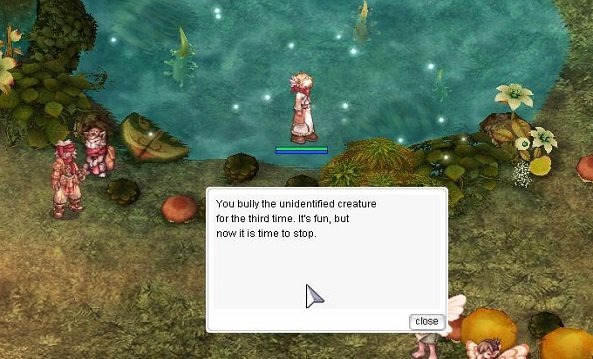
Bonus part:
1. Now walk around in the pond in middle of Mora and fight the Unidentified Creature 26~30 times.
-
at some point you will get 1 x Mora coin
2. After battling him 26~30 times, come back again and he'll ask you not to bully him anymore. Offer to help him and he'll let you know that he's actually a fish named Fishee that lived in one of the puddles outside of town. He then requests you to go find his family and tell them that he's okay.
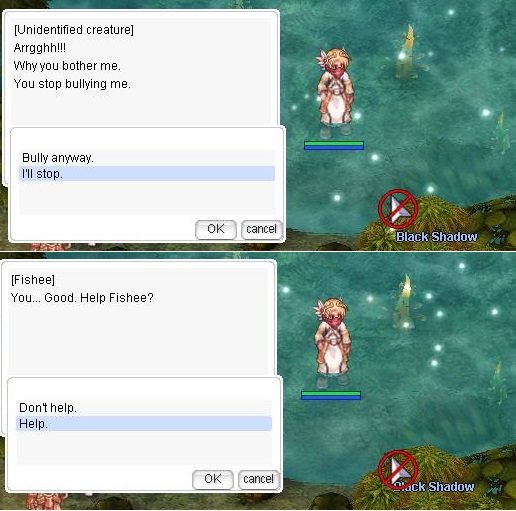
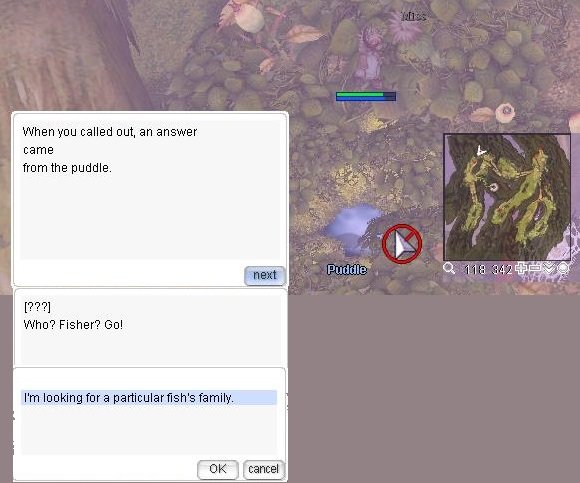
3. Go to the 4 ponds on the field outside of town and search for his family. When you find his family, tell them his name and they will tell you to talk to their son again after you let them know he is okay.
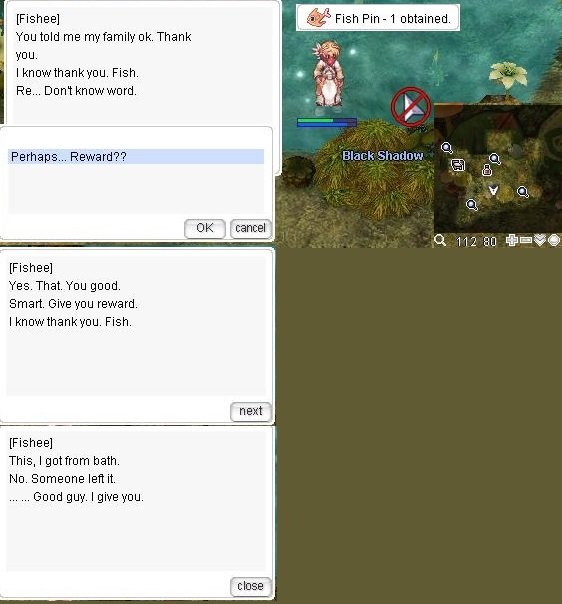
4. Return to Fishee once more and he will reward you with a Fish Pin.
-
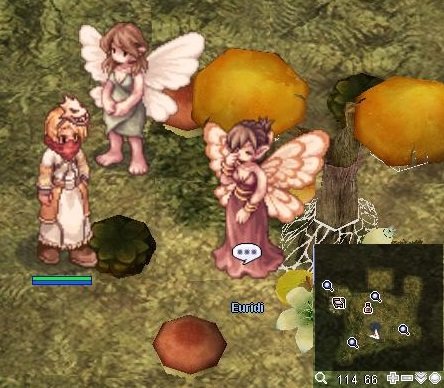
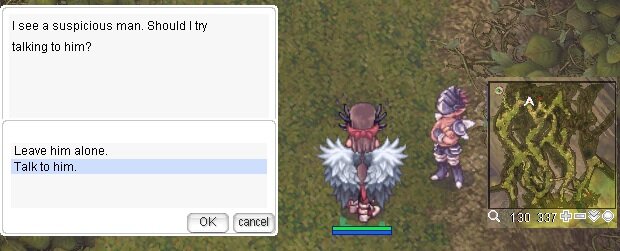
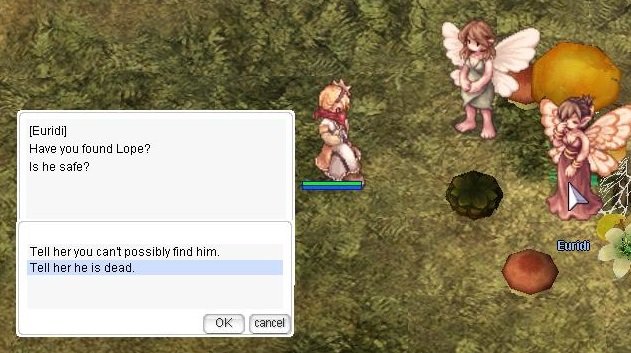
1. Visit Mora and speak to Euridi.
'No, I didn't.'
'I'll help you.?'
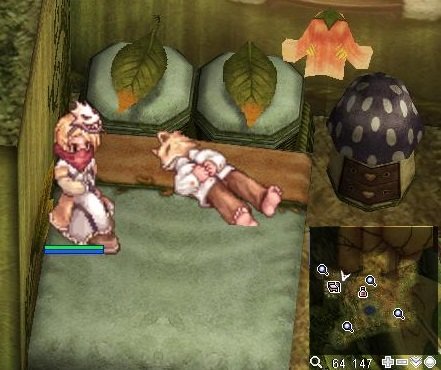
2. Now, go to Mora Inn and speak to Pitt.
3.Then talk to Euridi again. She will ask you to find her 30 x Lope's Clue.
- Bring her the items.
- The items are dropped by 'Parus' inside Hazy Forest instance.
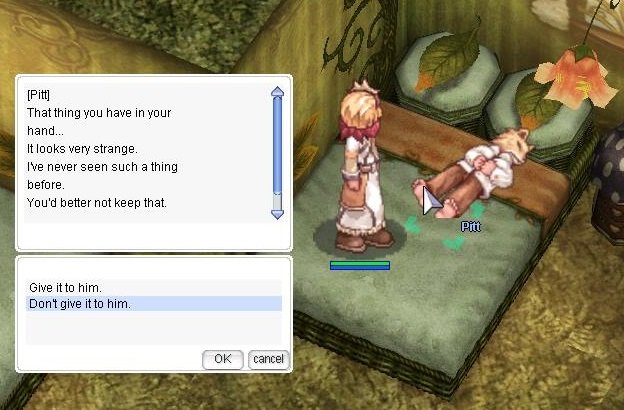
4.When you have the items, talk to Pitt.
5. Then talk to Euridi. She will take 30 x Lope's clue
6. Then talk to Pitt again. He will give you Lope's Ring

7. Now back to Euridi.
8. Then speak with Euridi's Friend, standing next.

9. We need to find Lope in Bifrost Field 01.
10. Then talk to Lope again
11. Go back to Mora and speak with Euridi.
12. For the final, speak with Euridi's Friend for the reward.
You will be rewarded 10 mora coins, 5 000 000 Base exp, 10 000 000 Job exp.
-
Quest Prerequisite(s): Helping Lope and Euridi
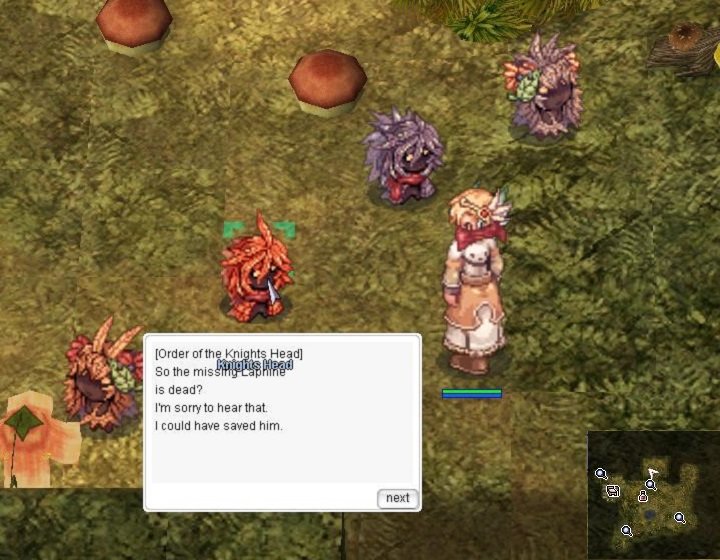
Order of the Knights Head (100+ Lvl)
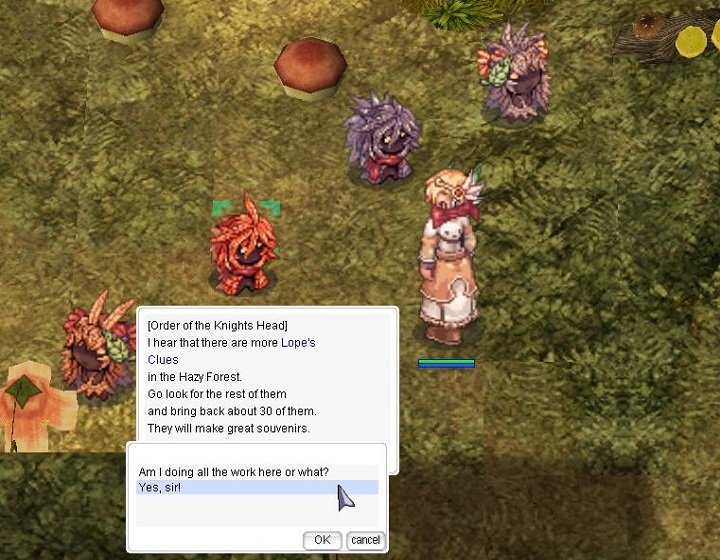
In Mora Village, talk to Order of the Knights Head (mora 114, 163) and he'll mention his sadness over the death of the missing Laphine and if he had known, he could have helped. However, he hears that there are more Lope's Clues in the forest so he requests you to bring him 30 because they would make great souvenirs.
Return to him with 30 Lope's Clue (dropped by Parus on HazyForest) and he will reward you with 2 Mora Coins, 5 000 000 Base EXP
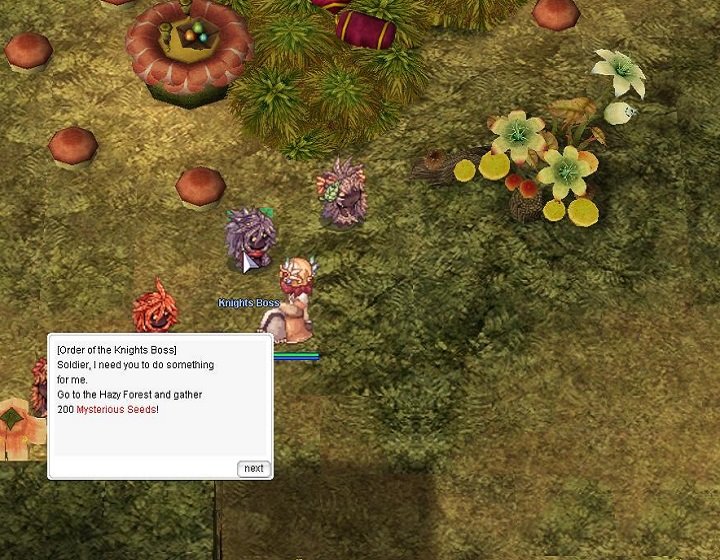
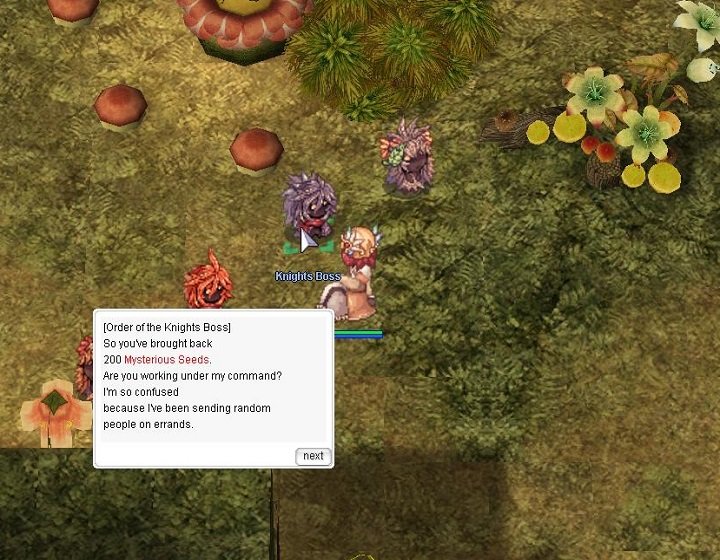
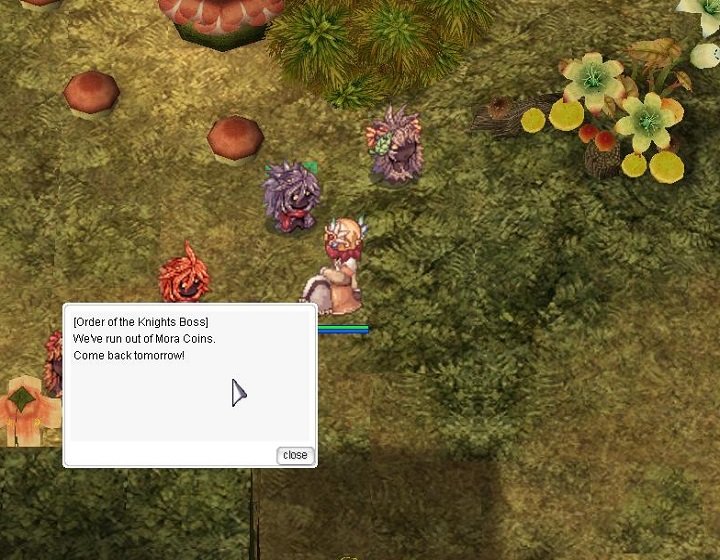
Order of the Knights Boss (99+ Lvl)

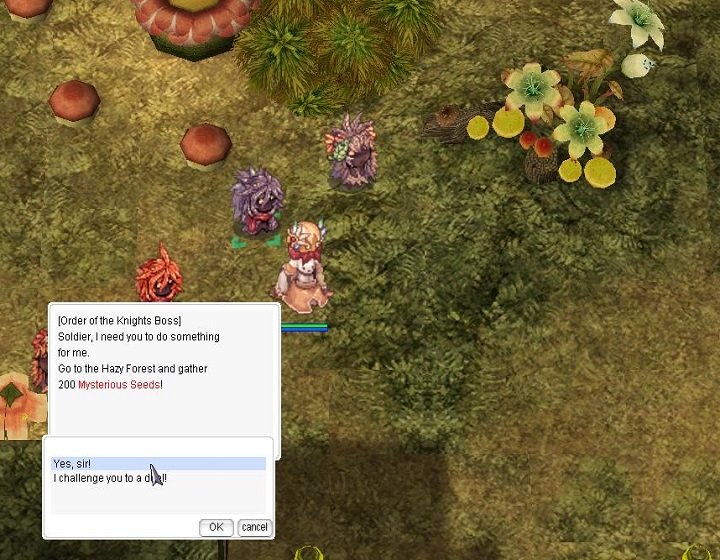
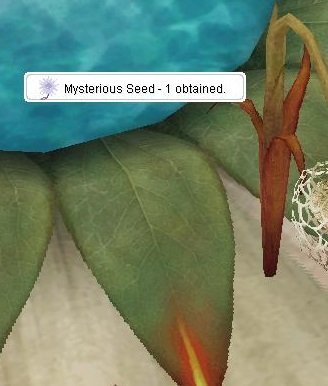
In Mora Village, talk to Order of the Knights Boss (mora 116, 165) and he'll qualify you as a soldier of Order of the Neighborhood Knights. He'll request you to gather 20?0 Mysterious Seeds which can be gathered from the flowers in Hazy Forest.
Return to him with the 200 Mysterious Seeds and he will reward you with 1 Mo?ra Coin.
-
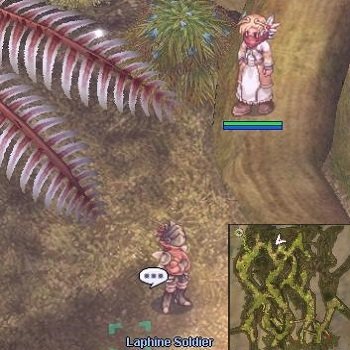
1. While in a Party, speak with the Laphine Soldier at (bif_fild01 158, 340) and tell him you wish to Venture into the Hazy Forest.
2. After the dungeon is created, speak to the Log Tunnel (bif_fild01 161, 355) just to the north to enter the dungeon.

A window will appear showing pertinent time limits for the dungeon 2 hours. If it is closed, it can be opened again with with the shortcut Alt+B.
There is a 2 hour time limit for completing the quest before the instance is destroyed.
The monster spawn rate is less in the quest Hazy Forest instance than in the normal Hazy Forest. The example of spawn rate difference is in the map database at Hazy Forest (click).
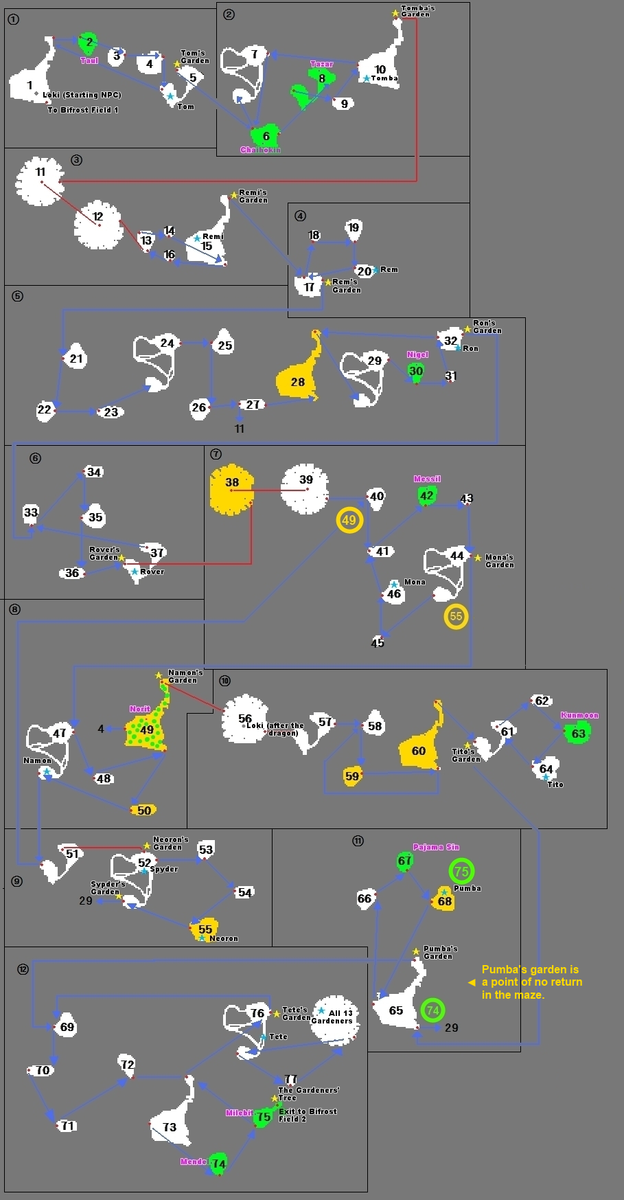
- In each section:
- kill the guardian labeled with a blue star
- chop down the tree labeled with a yellow star
- In section 12, kill all 13 guardian.
- Chop down the tree, exit out the portal.
Map ( click image to enlarge)
Red lines are two way portals.
Blue lines are one way portals.
Yellow islands have a chance to spawn of Lost Dragon.
- Island #28
- Island #38
- Island #49
- Island #50
- Island #55
- Island #59
- Island #60
- Island #68
The Lost Dragon will spawn randomly in one of the yellow-marked islands in the map. If you still haven't found it when you reach Island 56, keep going until you find him. You can then return to island 29 through the portal at island 65 in Pumba's area. Don't forget to make sure you've checked Spyder's and Neoron's enclosed area, accessible from island 47 in Namon's area.
Green islands where there are souls.

Proceed until you find the Lost Dragon or you are done with either your Mora Dailies or your Wandering Guardian quest.
Alternatively, keep going to the end, kill all the gardeners, and exit to Bifrost Field 2.
Wandering Guardian Quest
- Kill the Lost Dragon
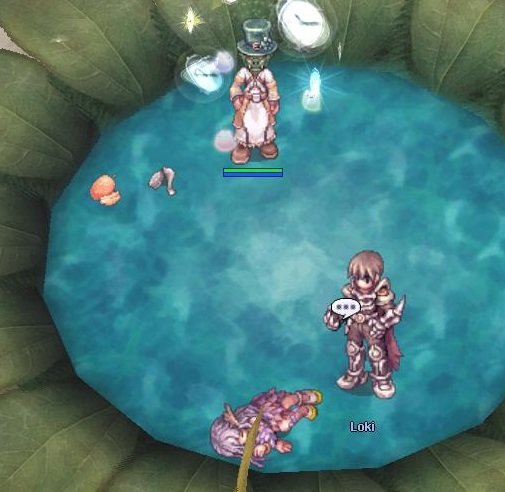
- Go back and find NPC Loki on 56th island
- Relogging or reach the end (75th island)
- Let's go mora
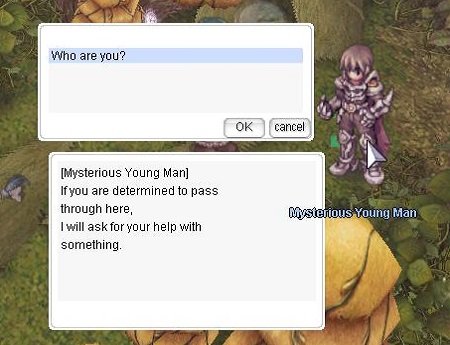
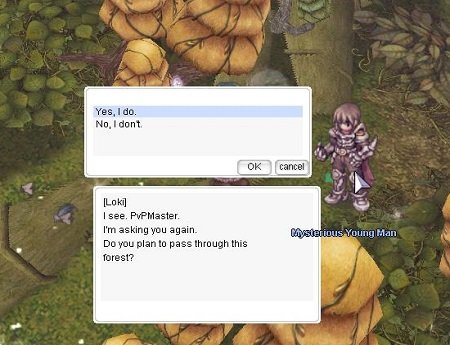
1. Once inside, before doing anything else, talk to the Mysterious Young Man. All party members wishing to complete the Wandering Guardian Quest must talk to him. Once you've done this, you're ready to venture into the Hazy Forest.
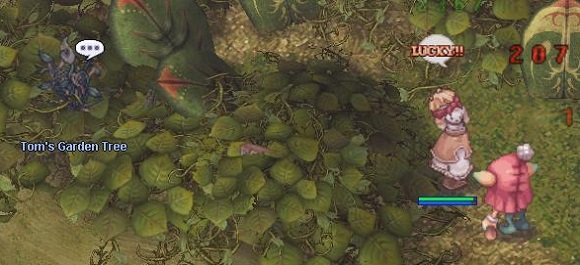
The Hazy Forest is sort of a maze of portals and little islands. Most of the portals are accessible from the start, except for a few, which are guardian portals. These guardian portals block the way to the next areas, and they all have names such as Tom's Garden Tree and others.
To unlock these portals you need to kill the guardian monster with the same name, in this case; Tom. The guardian can often easily be found either on the island where the garden tree is, or a few island away within the same area. You can consult the map to find their exact locations, if you have trouble finding them.
Once the guardian monster is defeated, talk to the Garden Tree and select Chop Down the Tree to open the portal to the next area.

While venturing through the Hazy Forest, you will be able to find the Lost Dragon in one of the islands. You must kill the Lost Dragon to proceed with the quest.
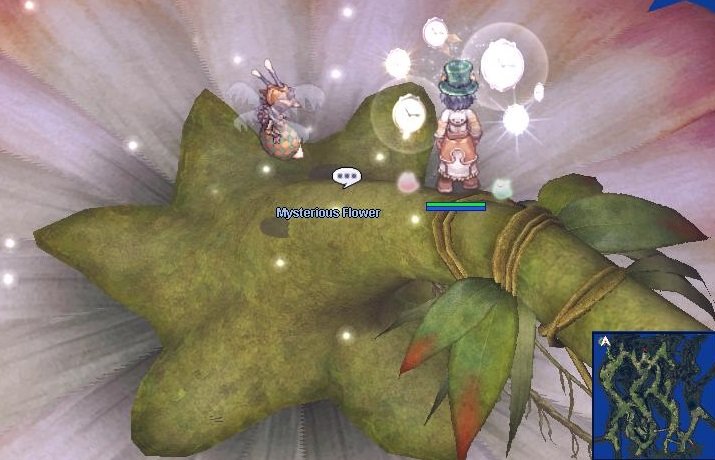
Do not forget to collect resources ! You can obtain Mysterious Seeds by clicking on the bubbles on the flower shaped islands (Islands 11, 12, 38, 39, 56 and 78).

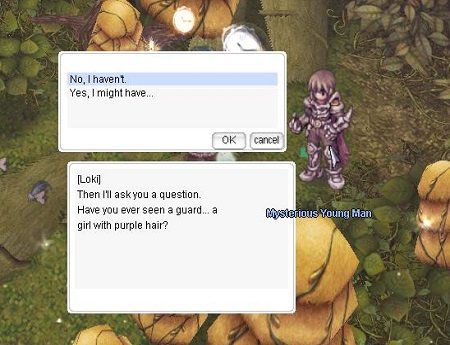
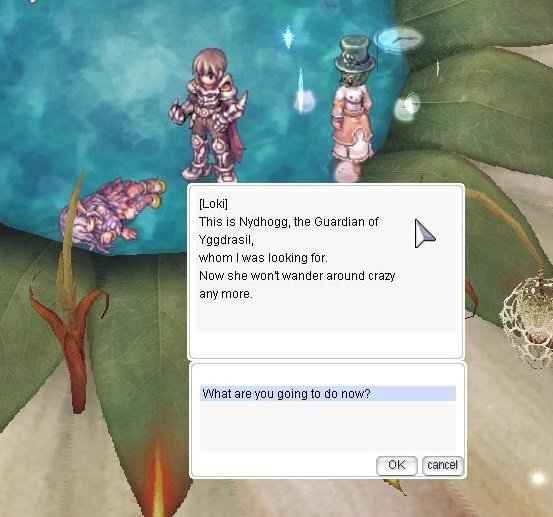
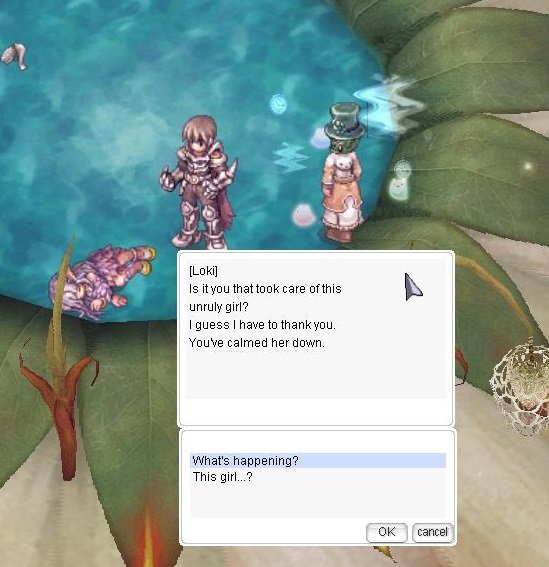
2. When you have defeated the dragon, keep going ahead until you reach island 56. NPCs will appear: The Mysterious Young Man, who you find ou?t is Loki and the girl he was looking for.
Talk to Loki until he says he will meet you back in the village ( Mora ). When you've done this you are done in the Hazy Forest for now. You can leave by relogging.
3. The easiest way to go to Mora, is by going back to Bifrost Field 1 using the Mysterious Seed item, then use another Mysterious Flower (Warp) on the nearby tree trunk to warp into Bifrost Field 2, then walk until you reached the nearest entrance to Mora.
4. In northwest Mora, speak to Flower Smelling Lady, then Young Man with Sharp Eyed Man ( Mora 47, 151).
This concludes the Wandering Guardian quest. You now have access to Mora Daily Quests and can start collecting Mora Coins.
You will be rewarded with Loki's Muffler, a Pendant of Guardian, 2 000 000 Base exp.
* The Pendant of Guardian allows use of the Call of Guardian? Skill, which teleports the caster to Mora.
-
This quest is part of the chain of instance (Hazy Forest) quests!
-
Theore's Request
Quest item: Ring of the Ancient Wise King (Ring of the Wise King quest)
1.At the Rune Midgard Expedition Camp, talk to Theore (mid_camp 148, 222).
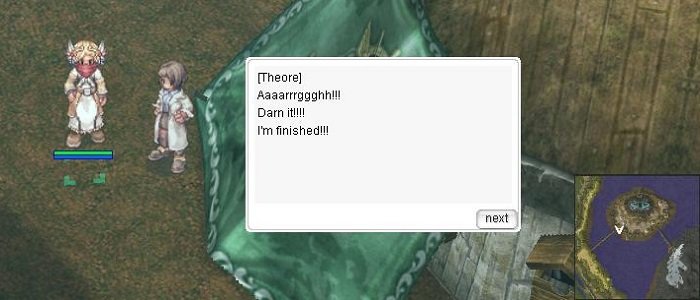
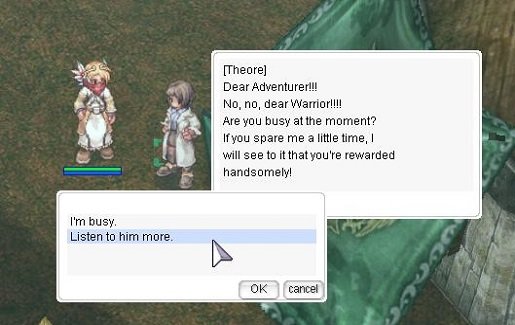
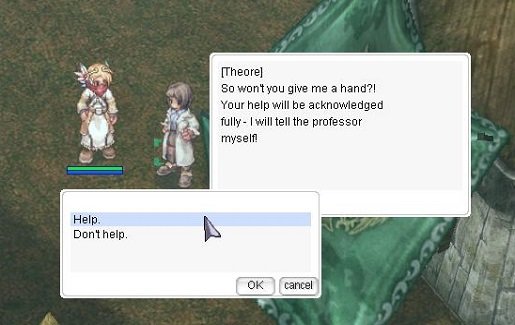
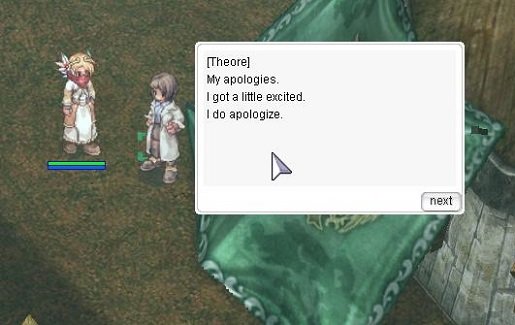
When you offer to help him, he ?will get so excited that it takes him 1 minute to calm down. Talk to him again sho?rtly.
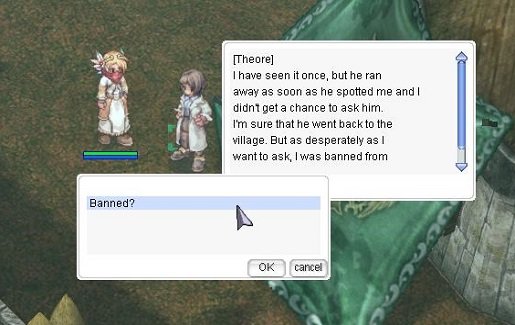
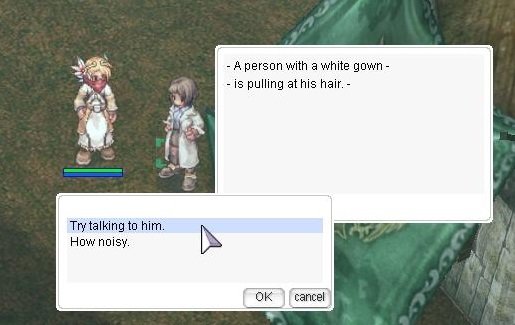
2.On Splendide Field 02, search among the bushes for a fairy. (You can continuously click any bush until the fairy appears) Make sure to pay attention to the fairy's Hair Color, Skin Color, Wing Type and Clothing Color.


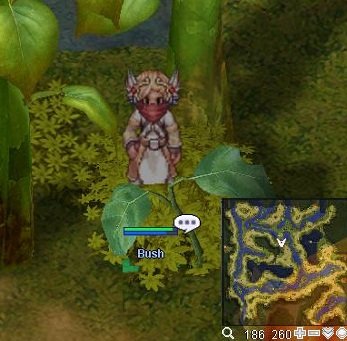

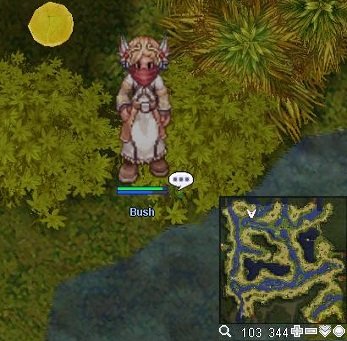
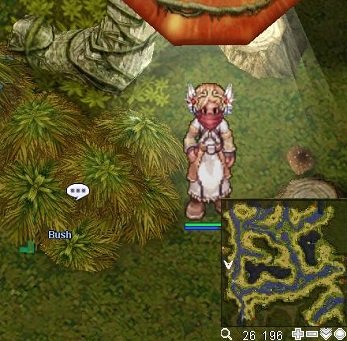
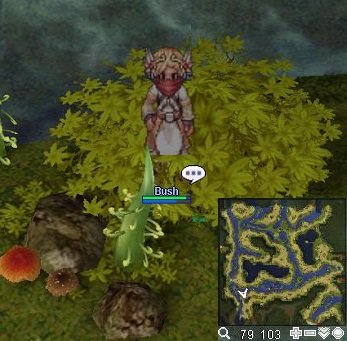

3.After you find the fairy and it escapes, walk over the bushes where found a fairy, until you receive a Small Pocket.

4. Return to Theore with the pocket, he realizes it is very important to a laphine and tells you to find the fairy who dropped it so you can return it.
5. In southwest Splendide, talk to the Tired-looking Fairy (splendide 182, 117), and show her the pouch. Be sure to wear a Ring of the Ancient Wise King
- 'Show the pouch.'
- 'I found it in the bushes.'
- 'I think I saw a fairy that might be the owner.'
(Step 6 may be skipped, to save a lot of time, if you know what the fairy looked like originally. Simply talk to her again to move onto step 7)
6. Go speak to 3 fairies around Splendide to gather clues about the missing pouch.
- 'Mine was 'Grassy-green hair.' 'Dark-Skinned' 'Snow-white clothing'. 'Round wings'.
- Theodore (splendide 304, 297) (green hair, dark skin, white clothes, round wings)

Pauchon (splendide 168, 301) (blue hair, dark skin, green clothes, characteristic wings)

Kusmi (splendide 119, 138) (blonde hair, light skin, grape clothes, two-pair wings)

7. Mine was Pauchon, now i need to talk to Pauchon, in Spldendide.
- 'Show the pouch'
- 'Ask about the rumor'
- Then talk to him again, he will give you a new task.
- Then talk to him again, until he asks you to help him.
- 'Supply route from mainland?'
- 'yes.'
8. After returning the pouch to it's rightful owner, the fairy tells you that they have lost contact with the rest of the laphine. Offer to help and you will be directed to go to the north exit of Splendide to speak to the guard.
9. The guard (splendide 262, 376) tells you there is a crack in the bridge to Alfheim. The only other path is through to Hazy forest.
10. Return to the fairy you returned the pouch to (Mine was Pauchon) and you will be asked to enter Mora Village in search of the fairy's friend.
11. She will ask you to visit Mora to talk to his friend Humming (mora 139, 102). The other fairy has following info:

Theodore's friend Lilitia can be found at (mora 98, 66).

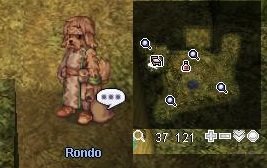
Kusmi's friend Rondo can be found at (mora 35, 119).
12. While in Mora, speak with the requested friend (who doesn't have much to say), and visit the Warehouse Manager (mora 185, 163) in north east mora.

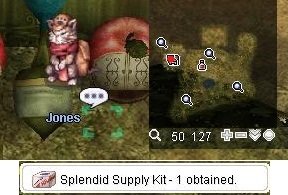
13. Retrieve Splendid Supply Kit from Jones (mora 55, 124) in the inn.
14. In northwest S?plendide, deliver the supplies to Daphrer (splendide 121, 260) and she will ?reward you with 5 Mora Coins

15. Talk to the fairy who lost her pouch one last time to remove the quest log.
16. Return to Theore who will be fascinated with your story and reward you with 5 Mora Coins


 [1]")

9.Two Tribes (70+ LvL)
in Episode 13.1-13.2 Ash Vacuum & Into the Unknown
Posted
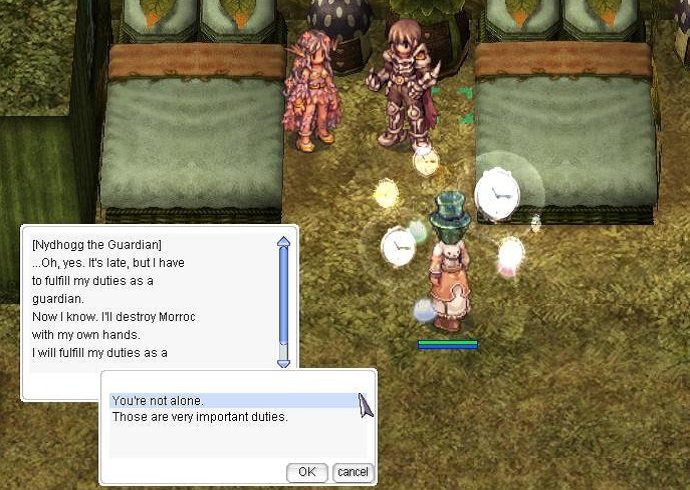
1. With your Ring of the Ancient Wise King equipped, head to Splendide, the village of the Laphine. In the main village area, enter the first hut on the right side, Arc (Guard Fairy) will stop you at first, but you can speak to him again and he will introduce himself. Offer to help him look for his friend. He tells you his friend frequently ties knots in weeds to leave a trail.
2. Talk again
3. Talk to the weeds outside the village, they are knotted and point south.
4.Enter the Nidhoggur's Dungeon found below the Yggdrasil Tree just east (373, 110) of where the last footprints are found. (This is as far as you need to go in order to start the Guardian of Yggdrasil and Collecting Draco Eggs Quest).
5. Inside the dungeon, click on the Petrified Sapha in the northwest corner.
6. Walk north a few cells to and climb out of the dungeon.
7. Return to Arc, he tells you Terra left with some bradium, after some discussion, you decide to head back to the Petrified Sapha.
8. Return to the Petrified Sapha, after noticing bits of bradium ore scattered about, you decide to go visit the Sapha.
9. In Manuk, speak to the Villagers near, they mention Terra's arrival in Manuk.
11. Inside the building at speaks to Snorren and offer to interpret for him.
12. Speak to Snorren again, the guard on the other side of the door says Terra's wounds need to be treated first. Head back to Arc to find out how.
13. Speak to Arc, he tells you that Yggdrasil Berries are the best way to cure a Laphine's wounds. He gives you 3 and tells you that you can get more at the root of the Yggdrasil Tree. Need 6~7 .
.
Collect 1 Yggdrasil Berry , 1 Mastela Fruit
  from the fruit near:
14. Return to Snorren with the Berries. (Warning: If you have more than 6 Berries, he will take them ALL)
15. After giving Snorren the Berries, enter the room behind him. Talk to him then talk to the captured Laphine, she will tell you about the injured Sapha. Her captors are skeptical and want to see proof to ensure they are not being led into a trap.
16. Return the Petrified Sapha. You will need to take something back with you, take his Muffler and the Fragment of Bradium
 .
.
17. Return to Snorren (enter the room behind him) with the items, He recognizes that the bradium has not been properly refined and would not have helped Ogen. He also recognizes the muffler as Ogens. He asks you to lead him to the roots of the tree.
18. Return to the Petrified Sapha, Snorren tells you Ogen is too far gone to be saved. His body can remain as a statue in his honor.
19. Return to Snorren, he will reward you with 15 Manuk Coin .
.
20. Return to Arc, he tells you to meet him at Terra's Yai. Inside, talk to Terra. Receive 25 Splendide Coin , 600 000 Base exp and 50 000 Job exp.